Homemade Fried Peach Pies Recipe for Dessert
Southern kitchens buzz with memories when fried peach pies grace the countertop, a nostalgic dessert that whispers generations of culinary love.
Sweet summer orchards inspire this golden, crispy treat that upgrades simple ingredients into pure comfort.
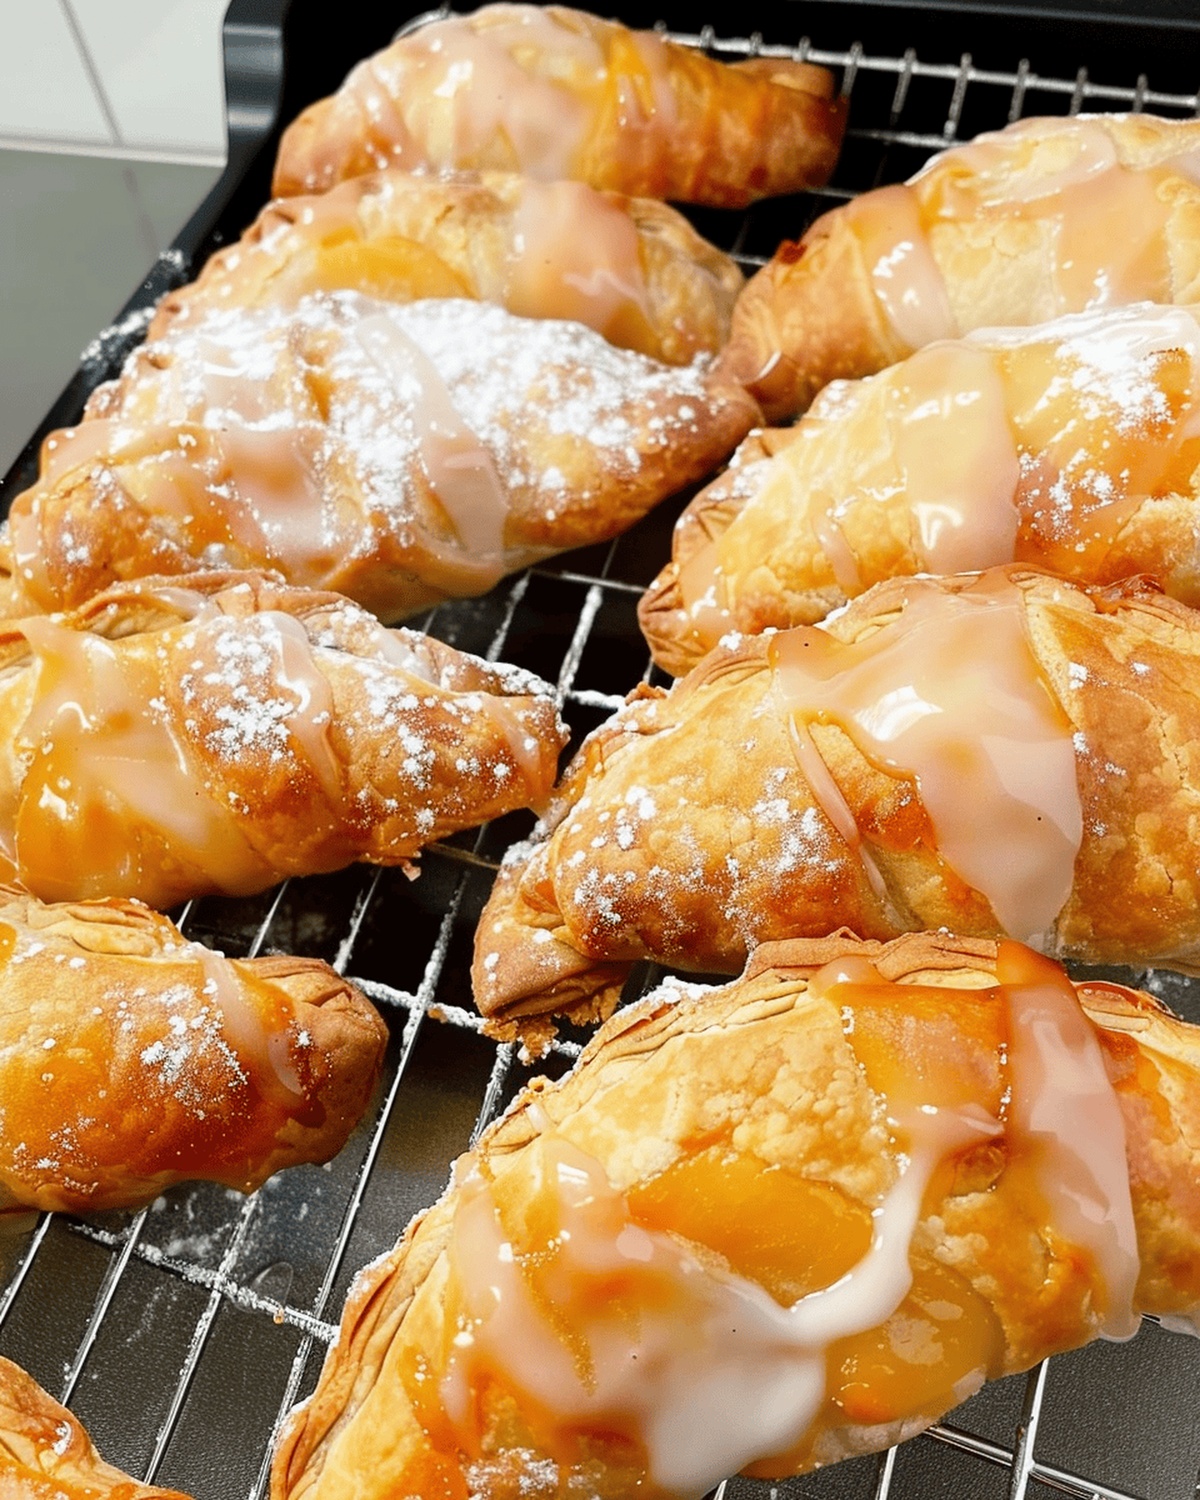
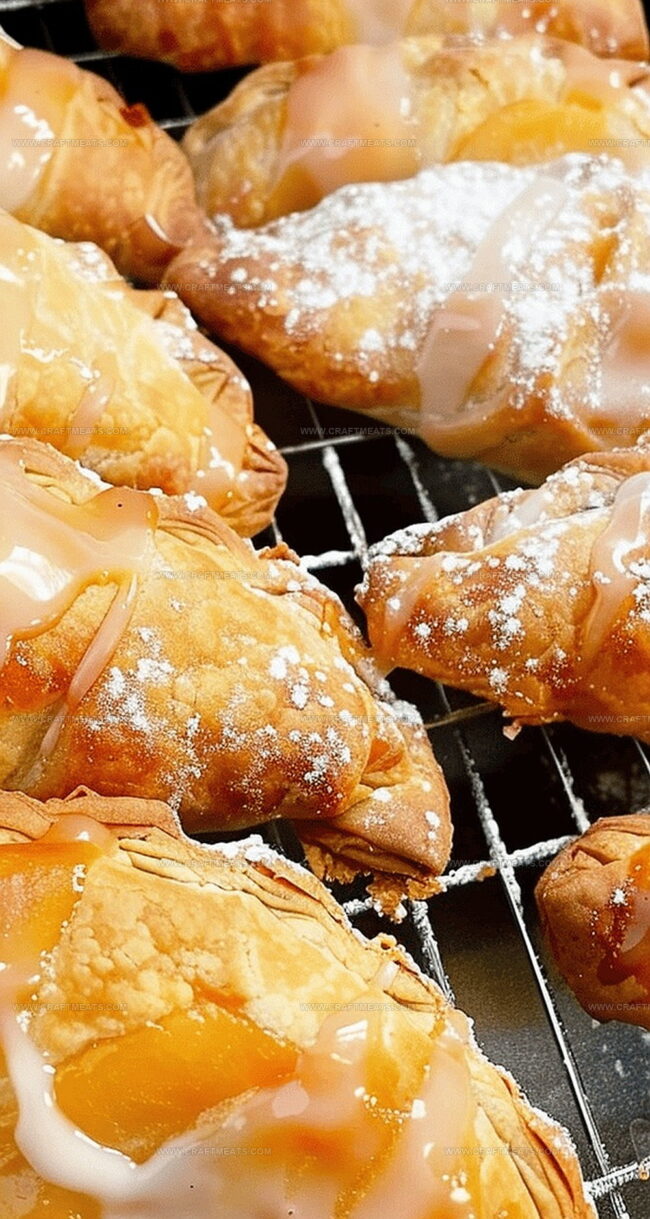
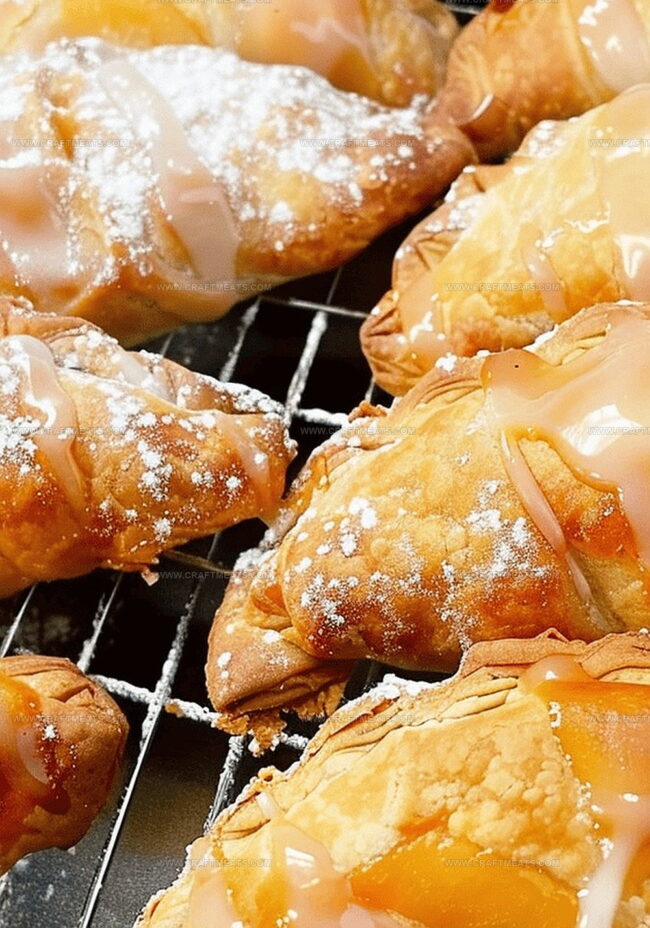
Flaky pastry encases luscious peach filling, creating a handheld delight that sparks joy with every bite.
Delicate crimped edges hint at the careful craftsmanship behind this beloved classic dessert.
Warm spices and ripe fruit mingle inside a perfectly sealed pocket, promising a burst of concentrated flavor.
Crisp exterior gives way to soft, gooey centers that transport you to childhood gatherings and family celebrations.
These irresistible hand pies represent more than just a recipe—they embody tradition, warmth, and connection.
Why Fried Peach Pies Are Crispy, Gooey, and Pure Nostalgia
Ingredients for Southern-Style Fried Peach Pies
Pie Dough:Fruit Filling:Glaze Ingredients:How to Make Mini Fried Pies with Sweet Peach Filling
Step 1: Prepare Biscuit Dough
Grab your rolling pin and gently flatten each biscuit into a 4-6 inch round. If the dough sticks, sprinkle a light dusting of flour on top.
Step 2: Fill with Peachy Goodness
Completely drain the peaches. Arrange peach slices onto each biscuit round. Carefully fold the biscuit over the peaches, creating a beautiful half-moon shape.
Step 3: Seal the Edges
Firmly press the biscuit edges together. Use a fork to crimp and completely seal the pie’s borders, ensuring no filling escapes during frying.
Step 4: Chill and Stabilize
Transfer the hand pies to a parchment-lined baking sheet. Pop them in the freezer for at least 15 minutes to help them maintain their perfect shape during cooking.
Step 5: Heat the Cooking Oil
Select a large skillet (cast iron works wonderfully). Pour in oil and heat to 350°F (175°C). Use a cooking thermometer to ensure precise temperature.
Step 6: Fry to Golden Perfection
Carefully lower four pies into the hot oil. Fry for 2-4 minutes on one side, then gently flip using metal tongs. Cook an additional 2 minutes until they turn a beautiful golden brown.
Step 7: Drain Excess Oil
Place the freshly fried pies on a wire rack positioned over a parchment-lined baking sheet. This allows excess oil to drip away, keeping the pies crisp.
Step 8: Create Luscious Glaze
In a small mixing bowl, combine:Stir until the mixture becomes smooth and silky.
Step 9: Add Final Finishing Touch
Once the pies have cooled slightly, drizzle the glaze generously over each hand pie. Serve warm and watch everyone’s faces light up with delight!
Chef’s Tips:Tips for Perfectly Golden, Non-Greasy Fried Pies
Best Way to Store and Reheat Fried Pies
What to Serve with Fried Peach Hand Pies
Pie Variations with Fruit Fillings or Spices
Print
Fried Peach Pies Recipe
- Total Time: 25 minutes
- Yield: 8 1x
Description
Southern charm meets sweet indulgence in these delightful fried peach pies. Crispy golden pastry envelops a luscious peach filling, promising a nostalgic taste of homemade comfort with each delectable bite you’ll savor.
Ingredients
Main Ingredients:
- 1 can (8 count) refrigerated Grands biscuits
- 1 can (15 ounces / 425 grams) peaches, drained
Dry Ingredients:
- 1 cup powdered sugar
Liquid and Flavoring Ingredients:
- ¼ cup (60 milliliters) milk
- ½ teaspoon pure almond extract
Instructions
- Flatten each biscuit dough into a thin, circular shape using a rolling pin, dusting with flour to prevent sticking.
- Carefully strain the peach slices to remove excess liquid.
- Position two to three peach slices onto one half of each dough circle.
- Delicately fold the dough over the peaches, creating a crescent-shaped pocket.
- Firmly crimp the edges with fingertips, then reinforce the seal by pressing with a fork.
- Transfer the assembled pies to a parchment-lined tray and place in the freezer for 15 minutes to stabilize their structure.
- Heat vegetable oil in a heavy skillet to 350°F, maintaining a consistent temperature.
- Gently lower four pies into the hot oil, avoiding overcrowding.
- Fry each side for 2-3 minutes until achieving a deep golden-brown color, using metal tongs to flip carefully.
- Remove pies and drain on a wire rack positioned over a lined baking sheet to remove excess oil.
- Whisk powdered sugar, milk, and almond extract until creating a smooth, glossy glaze.
- Once pies have slightly cooled, drizzle glaze generously across the surface.
- Serve immediately while warm for optimal flavor and texture.
Notes
- Freeze pies beforehand to maintain their delicate crescent shape during the frying process.
- Create perfect golden-brown crusts by maintaining consistent oil temperature around 350°F.
- Drizzle homemade almond glaze over warm pies for an irresistible sweet finish that elevates the entire dessert experience.
- Prep Time: 15 minutes
- Cook Time: 10 minutes
- Category: Desserts, Snacks
- Method: Frying
- Cuisine: Southern American
Nutrition
- Serving Size: 8
- Calories: 250
- Sugar: 12 g
- Sodium: 450 mg
- Fat: 10 g
- Saturated Fat: 3 g
- Unsaturated Fat: 5 g
- Trans Fat: 0 g
- Carbohydrates: 36 g
- Fiber: 1 g
- Protein: 3 g
- Cholesterol: 0 mg
Isabella Rossi
Founder & Culinary Content Creator
Expertise
Recipe Development, Traditional Irish and European Cuisines, Food Styling and Photography, Culinary Education
Education
Dublin Institute of Technology (DIT) – School of Culinary Arts and Food Technology
Ballymaloe Cookery School
Liam is the voice behind many of Craft Meats’ most flavorful features. With roots in Dublin’s smoky barbecue scene and a culinary degree from the Dublin Institute of Technology, he brings time-tested cooking techniques to life.
His training at Ballymaloe Cookery School sharpened his farm-to-table approach, giving him a deep respect for every ingredient he writes about.
He’s not about overcomplicating the process, just helping you cook meat that’s worth talking about. When he’s not writing or grilling, he’s out foraging or nerding out on regional spice blends to add to his next recipe.