Gooey Chocolate Peanut Butter Cookies Recipe for Sweet Smiles
These irresistibly soft chocolate peanut butter cookies melt hearts faster than they cool on the rack.
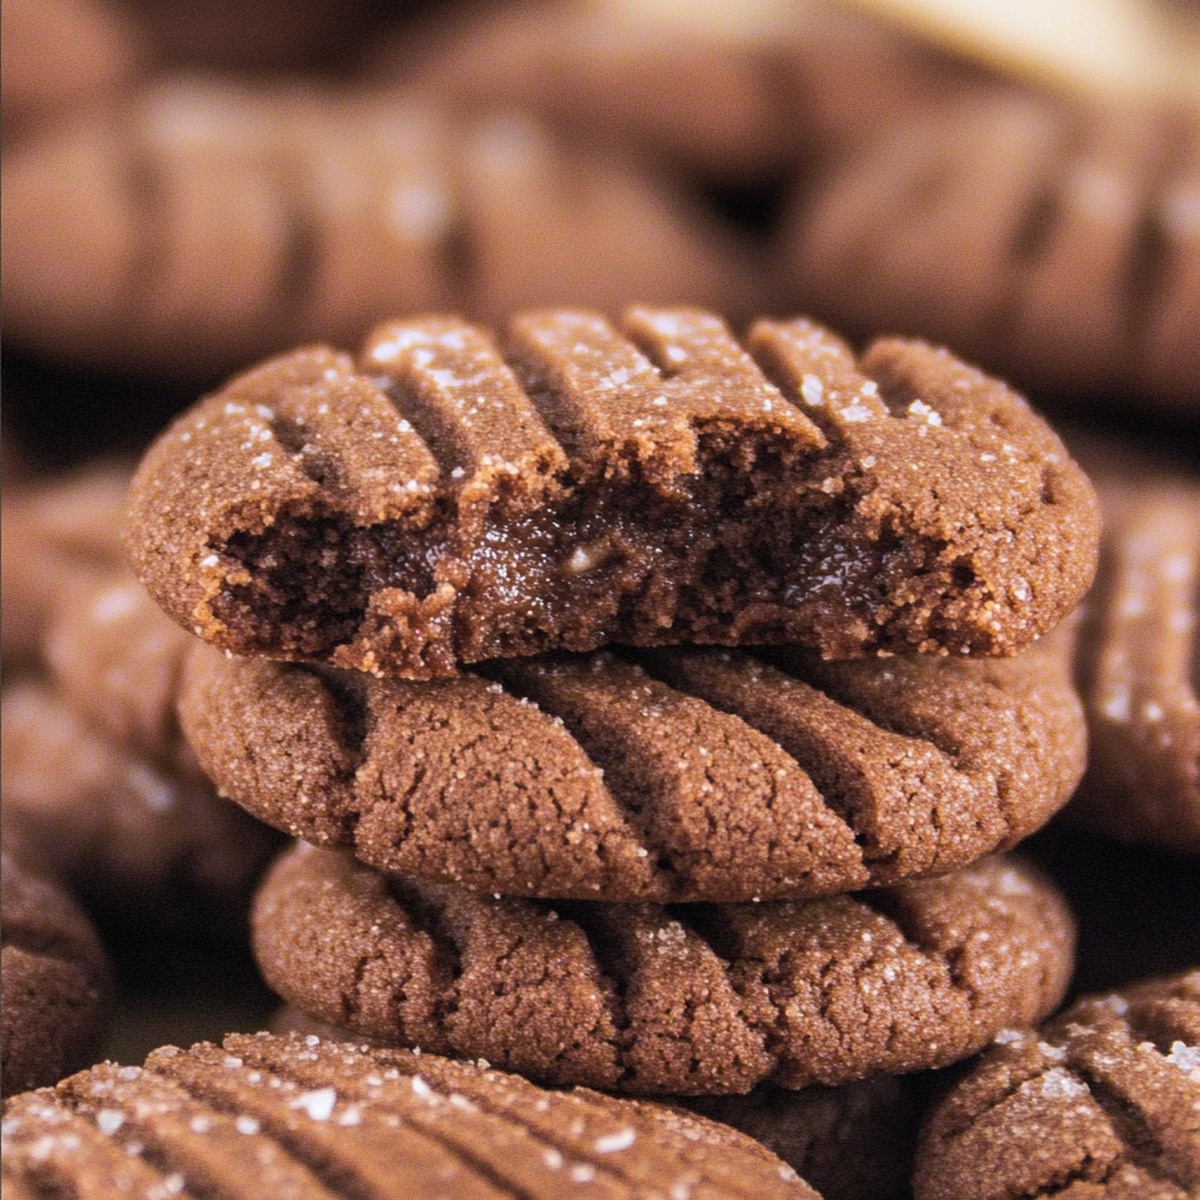
Rich cocoa swirls perfectly with creamy peanut butter, creating a decadent treat that whispers comfort in every bite.
Bakers seeking pure indulgence will adore this simple yet sublime combination of flavors.
The recipe balances sweet and nutty notes with remarkable precision.
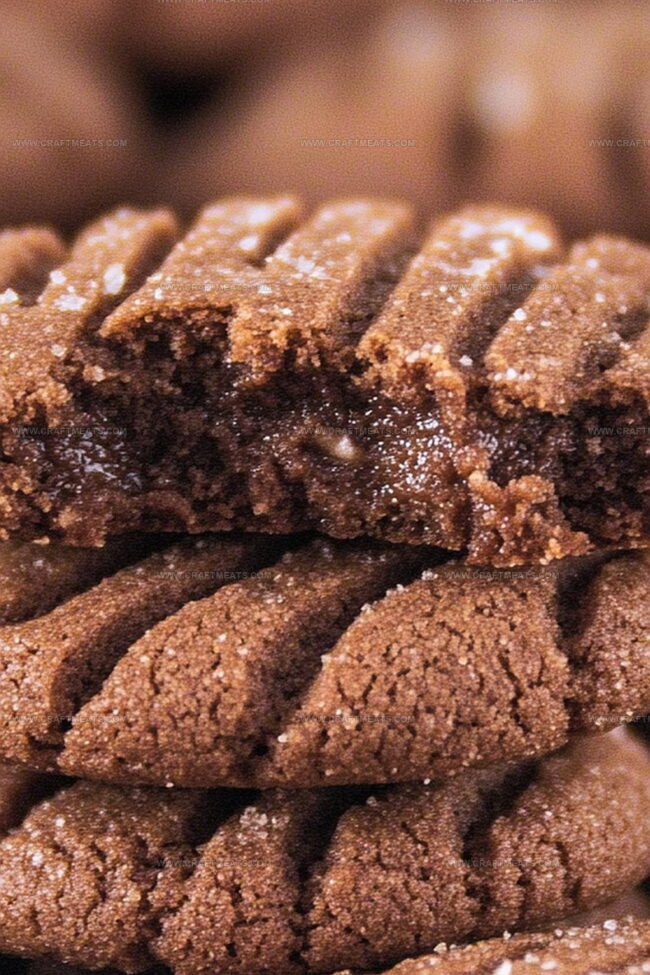
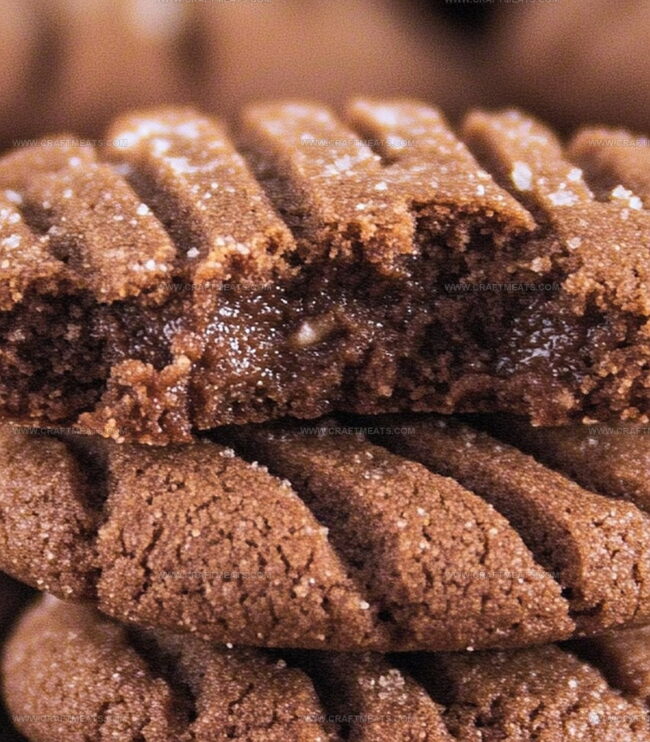
Every cookie promises a moment of pure bliss, crisp on the edges and tender in the center.
Warm from the oven, these cookies transform an ordinary afternoon into a delightful celebration of taste.
You won’t be able to resist their charm.
Quick Recipe Overview
What You’ll Use For Chocolate Peanut Butter Cookies
For Base and Flavor:For Binding and Structure:For Extra Texture and Indulgence:Baking Tools For Chocolate Peanut Butter Cookies
How To Bake Chocolate Peanut Butter Cookies Easily
Get your kitchen warming up and ready for cookie magic. Line baking sheets with protective paper or silicone mats.
Combine creamy butter, nutty peanut butter, and both white and brown sugars. Whip them together until they transform into a fluffy cloud-like mixture.
Introduce an egg and splash of vanilla. Blend until everything looks smooth and harmonious.
In a separate bowl, dance together flour, rich cocoa powder, baking soda, and a pinch of salt. Gently mix these powdery friends.
Slowly marry the wet and dry ingredients. If feeling adventurous, sprinkle in some chocolate or peanut butter chips for extra delight.
Roll small balls of dough and place them on prepared baking sheets. Give each one some personal space.
Press a fork gently onto each dough ball, creating a classic crosshatch design that looks professionally charming.
Slide the cookies into a hot oven. Watch them transform for 8-10 minutes until edges look perfectly set but centers remain soft.
Let cookies rest briefly on baking sheets, then transfer to a cooling rack. Allow them to reach their full delicious potential before devouring.
Flavor Ideas For Chocolate Peanut Butter Cookies
Best Ways To Serve Chocolate Peanut Butter Cookies
Storage Help For Chocolate Peanut Butter Cookies
Print
Gooey Chocolate Peanut Butter Cookies Recipe
- Total Time: 25 minutes
- Yield: 23 1x
Description
Chocolate peanut butter cookies deliver pure comfort with nostalgic homemade charm. Crisp edges, rich chocolate, and creamy peanut butter create an irresistible treat you’ll savor with pure delight.
Ingredients
- ½ cup (115 g / 4 oz) unsalted butter, softened
- ½ cup (120 g) creamy peanut butter
- 1 large egg
- 1 tsp vanilla extract
- 1 cup (125 g) all-purpose flour
- ½ cup (100 g) granulated sugar
- ½ cup (100 g) brown sugar, packed
- ⅓ cup (40 g) unsweetened cocoa powder
- 1 tsp baking soda
- ¼ tsp salt
- ½ cup (90 g) chocolate chips
- ½ cup (90 g) peanut butter chips
- Flaky sea salt (for garnish)
Instructions
- Oven Preparation: Preheat oven to 350F (175C) and line two baking sheets with parchment paper or silicone mats for smooth cookie release.
- Creaming Process: Blend butter, peanut butter, granulated sugar, and brown sugar in a large mixing bowl until light and fluffy, creating a smooth, aerated base.
- Moisture Integration: Add egg and vanilla extract, mixing thoroughly to create a cohesive wet mixture that binds all flavors together.
- Dry Ingredient Combination: Whisk flour, cocoa powder, baking soda, and salt in a separate bowl, ensuring even distribution of all dry components.
- Dough Formation: Gently combine wet and dry mixtures, folding in chocolate or peanut butter chips until just incorporated, creating a rich, consistent dough.
- Cookie Shaping: Roll tablespoon-sized dough portions into smooth spheres, arranging them on prepared baking sheets with ample spacing between each cookie.
- Surface Styling: Use a fork to create signature crisscross patterns, adding classic visual texture to each cookie ball.
- Baking and Cooling: Bake for 8-10 minutes until edges are set but centers remain slightly soft. Rest cookies on baking sheets for 5 minutes, then transfer to a wire rack to complete cooling and set their final texture.
Notes
- Prevent Overmixing: Mix ingredients just until combined to avoid tough, dense cookies, which can happen when gluten develops too much during excessive stirring.
- Temperature Matters: Use room temperature butter and egg for smoother blending and more consistent cookie texture, ensuring even distribution of ingredients.
- Customize Chip Options: Swap chocolate or peanut butter chips with dairy-free alternatives like vegan chocolate chips for dietary restrictions, maintaining the rich flavor profile.
- Perfect Baking Technique: Remove cookies when edges are set but centers appear slightly soft, as they’ll continue cooking on the hot baking sheet and firm up during cooling.
- Prep Time: 15 minutes
- Cook Time: 10 minutes
- Category: Snacks, Desserts
- Method: Baking
- Cuisine: American
Nutrition
- Serving Size: 23
- Calories: 182
- Sugar: 12 g
- Sodium: 100 mg
- Fat: 10 g
- Saturated Fat: 4 g
- Unsaturated Fat: 5 g
- Trans Fat: 0 g
- Carbohydrates: 22 g
- Fiber: 1 g
- Protein: 4 g
- Cholesterol: 20 mg
Liam O’Sullivan
Founder & Culinary Content Creator
Expertise
Recipe Development, Traditional Irish and European Cuisines, Food Styling and Photography, Culinary Education
Education
Dublin Institute of Technology (DIT) – School of Culinary Arts and Food Technology
Ballymaloe Cookery School
Isabella brings a global spark to the Craft Meats table. Born in Florence and trained at the Apicius International School of Hospitality, she blends classic Italian flavor with modern writing that’s easy to follow and hard to forget.
Her additional training at the Italian Chef Academy fueled her love for well-crafted dishes, especially ones that spotlight beautiful cuts of meat.
She’s a food writer with heart, and a deep love for storytelling through single recipes. Her goal? To help you cook with more confidence and a little more joy, no matter where you start.