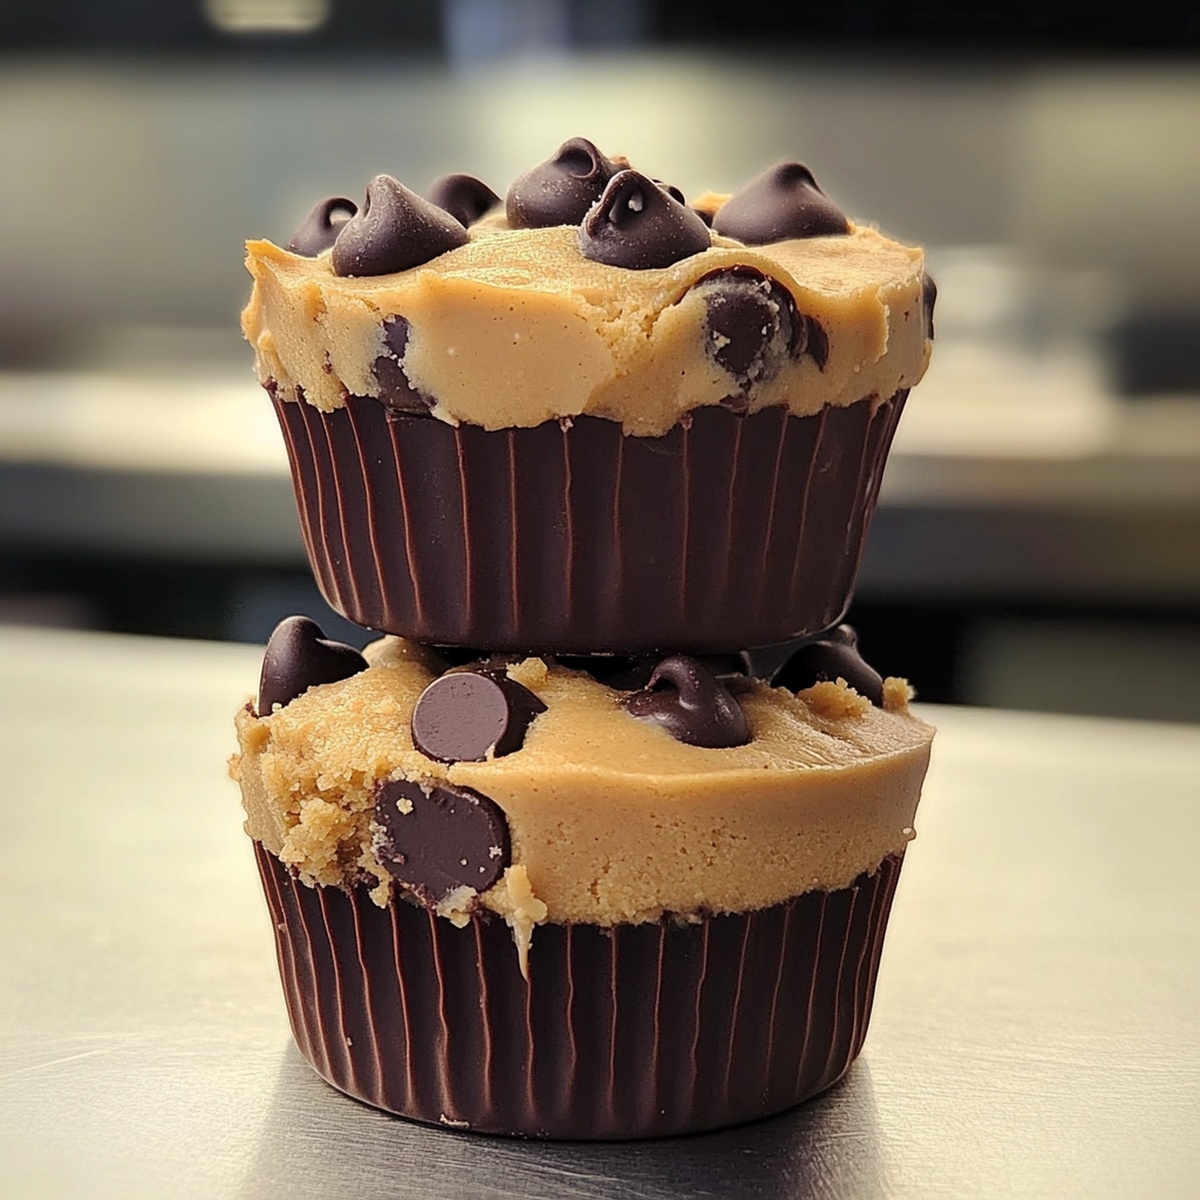
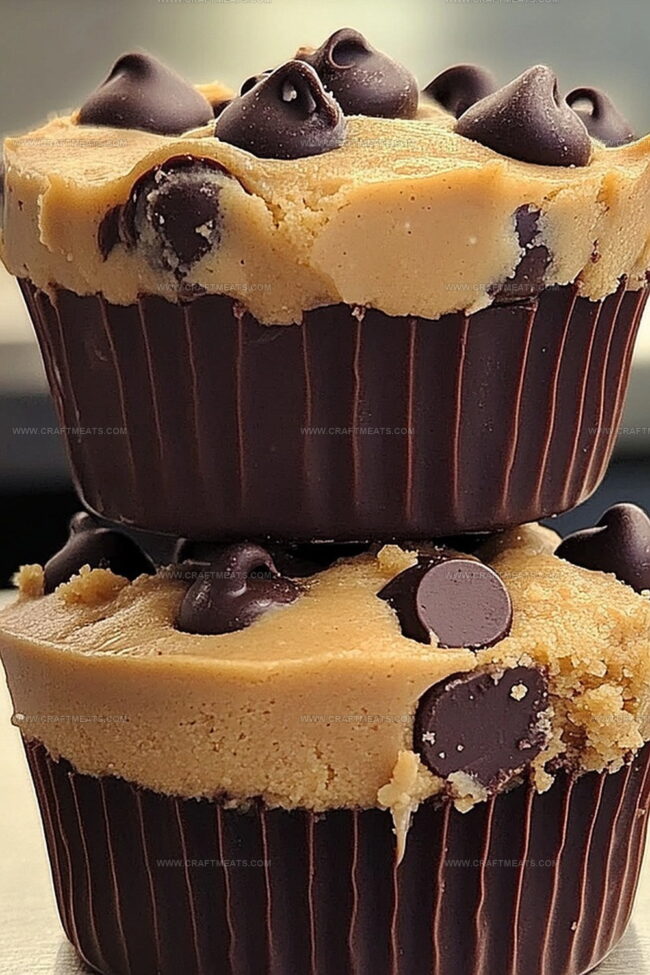
Sweet Pocket Delights: Peanut Butter Chocolate Chip Cookie Cups Recipe
Baking warm peanut butter chocolate chip cookie cups fills the kitchen with an irresistible aroma that draws everyone close.
These delectable treats blend creamy peanut butter with rich chocolate in a perfectly portioned dessert.
Soft, chewy edges give way to a gooey center that melts in your mouth.
Each bite delivers a harmonious balance of sweet and nutty flavors that dance across your palate.
The simple ingredients come together quickly, making these cookie cups a delightful weekend baking project.
Serve them warm with a cold glass of milk for a nostalgic comfort that sparks joy and creates lasting memories.
Quick Recipe Overview
Ingredients To Grab For Peanut Butter Chocolate Chip Cookie Cups
For Base and Binding:For Sweet and Creamy Elements:For Texture and Flavor Boosters:Kitchen Tools For Peanut Butter Chocolate Chip Cookie Cups
Make Peanut Butter Chocolate Chip Cookie Cups This Way
Crank up your oven to a toasty 350 degrees. Grab your mini muffin tin and give it a quick spray of cooking oil or nestle in some cute paper liners.
Mix together your softened butter, peanut butter, sugars, egg, and vanilla until they’re smooth and dreamy. In another bowl, blend your flour, baking soda, and salt. Gently combine both mixtures until they form a delightful cookie dough. Fold in those chocolate chips for an extra burst of happiness.
Scoop small rounds of dough into each muffin cavity. Press the dough gently against the sides and bottom, creating little cookie cups that look like edible nests.
Slide the tin into the preheated oven and bake for about 12-15 minutes. You’ll know they’re ready when the edges turn a gorgeous golden brown and the centers look set but soft.
Let the cookie cups chill in the tin for a few minutes after pulling them out. Then carefully transfer them to a wire rack. As they cool, they’ll firm up and become the perfect handheld treat that’s part cookie, part mini pie.
Easy Tips For Peanut Butter Chocolate Chip Cookie Cups
How To Plate Peanut Butter Chocolate Chip Cookie Cups
Store Peanut Butter Chocolate Chip Cookie Cups With Care
Print
Gooey Peanut Butter Chocolate Chip Cookie Cups Recipe
- Total Time: 30 minutes
- Yield: 11 1x
Description
Creamy peanut butter chocolate chip cookie cups invite sweet tooths into a delightful dessert experience. Crisp edges and gooey centers combine with rich chocolate morsels for an irresistible treat you’ll crave again and again.
Ingredients
- ¾ cup (180 g) creamy peanut butter
- 1 cup (175 g) semi-sweet chocolate chips
- ½ cup (115 g) unsalted butter, softened
- ½ cup (100 g) packed brown sugar
- ½ cup (100 g) granulated sugar
- 1 ½ cups (190 g) all-purpose flour
- 1 large egg
- 1 tsp vanilla extract
- ½ tsp baking soda
- ¼ tsp salt
- ¼ cup (50 g) powdered sugar
- 2 tbsps unsalted butter, softened
Instructions
- Preparation: Adjust the oven rack to the middle position and preheat to 350F (175C), establishing an optimal baking environment for these indulgent treats.
- Setup: Generously coat a mini muffin tin with non-stick spray, ensuring effortless cookie extraction.
- Base Mixture: Blend softened butter and peanut butter until achieving a seamless, velvety consistency, thoroughly integrating the rich, nutty essences.
- Sugar Integration: Whip granulated and brown sugars into the butter mixture, transforming the blend into a light, airy texture that promises delectable softness.
- Wet Ingredients: Gently fold eggs and vanilla extract into the mixture, creating a silky, unified foundation that will bind the cookie cups with delicate precision.
- Dry Ingredient Incorporation: Delicately combine flour, baking soda, and salt, stirring until a uniform dough emerges without compromising the tender texture through overmixing.
- Chocolate Infusion: Tenderly fold chocolate chips throughout the dough, ensuring each cookie cup will showcase delightful chocolate pockets in every bite.
- Molding and Baking: Portion the dough into muffin tin cavities, filling each approximately two-thirds full, then bake for 10-12 minutes until edges turn golden and centers appear just set.
- Cooling Process: Allow cookie cups to rest in the tin for 5 minutes, facilitating structural integrity, then transfer to a wire rack to complete cooling, preserving their perfect form and irresistible texture.
Notes
- Prevent Dry Cookies: Use room temperature butter and eggs to create a smoother, more consistent dough that ensures moist, soft cookie cups.
- Chocolate Distribution Hack: Reserve a few chocolate chips to press onto the top of each cookie cup just before baking for a more visually appealing and evenly studded surface.
- Avoid Overbaking Pitfall: Check cookies at the 10-minute mark, as they will continue to set while cooling in the tin. Golden edges with slightly soft centers indicate perfect doneness.
- Dietary Modification Option: Swap regular flour with gluten-free flour blend and use dairy-free butter and chocolate chips to create a delicious allergen-friendly version of these cookie cups.
- Prep Time: 15 minutes
- Cook Time: 15 minutes
- Category: Desserts, Snacks
- Method: Baking
- Cuisine: American
Nutrition
- Serving Size: 11
- Calories: 290
- Sugar: 18 g
- Sodium: 130 mg
- Fat: 16 g
- Saturated Fat: 7 g
- Unsaturated Fat: 9 g
- Trans Fat: 0 g
- Carbohydrates: 32 g
- Fiber: 1 g
- Protein: 5 g
- Cholesterol: 20 mg
Liam O’Sullivan
Founder & Culinary Content Creator
Expertise
Recipe Development, Traditional Irish and European Cuisines, Food Styling and Photography, Culinary Education
Education
Dublin Institute of Technology (DIT) – School of Culinary Arts and Food Technology
Ballymaloe Cookery School
Isabella brings a global spark to the Craft Meats table. Born in Florence and trained at the Apicius International School of Hospitality, she blends classic Italian flavor with modern writing that’s easy to follow and hard to forget.
Her additional training at the Italian Chef Academy fueled her love for well-crafted dishes, especially ones that spotlight beautiful cuts of meat.
She’s a food writer with heart, and a deep love for storytelling through single recipes. Her goal? To help you cook with more confidence and a little more joy, no matter where you start.