
Peanut Butter Cup Dump Cake Recipe With Fudgy Layers
Rich chocolate and creamy peanut butter cup dump cake brings decadence to dessert lovers everywhere.
Chocolate lovers adore this ridiculously simple treat that combines classic flavors in one pan.
The magic happens with minimal effort and maximum satisfaction.
Each bite delivers a perfect balance of sweet chocolate and nutty peanut butter notes.
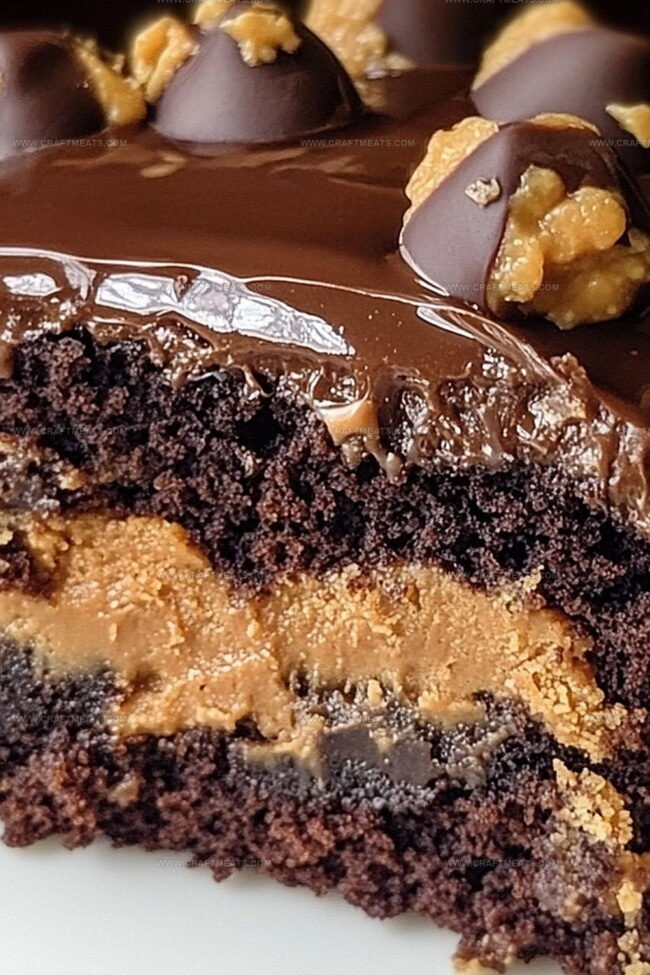
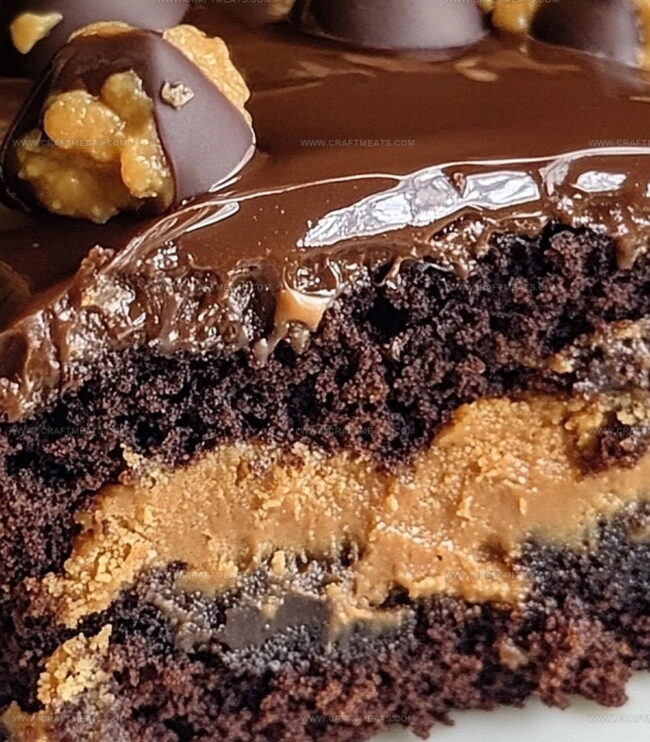
Layers of moist cake and crumbled peanut butter cups create an irresistible texture that melts in your mouth.
This dessert works for casual gatherings or special celebrations.
Dive into this delightful recipe and treat yourself to a slice of pure indulgence.
Quick Recipe Overview
What’s Needed For Peanut Butter Cup Dump Cake
For Base Layer:For Flavor and Texture Boosters:For Structure and Binding:Kitchen Tools For Peanut Butter Cup Dump Cake
Simple Steps For Peanut Butter Cup Dump Cake
Spread a luxurious layer of smooth peanut butter across the bottom of your baking dish, creating a rich and decadent base that will make your taste buds dance with excitement.
Scatter chopped peanut butter cups generously over the peanut butter landscape, creating a tempting mosaic of chocolate and peanut butter goodness that promises pure indulgence.
Drizzle sweetened condensed milk over the candy layer, allowing it to weave between the chocolate pieces and create a silky, dreamy texture that will make everyone swoon.
Sprinkle dry chocolate cake mix across the surface, transforming the dish into a potential masterpiece of deliciousness that hints at the magical transformation about to happen.
Drizzle melted butter over the cake mix, ensuring every inch gets a golden touch, then crown the creation with remaining chocolate chips and peanut butter cup pieces.
Bake until the top becomes bubbly and develops a tantalizingly crisp edge, signaling that your dessert has reached pure culinary perfection.
Let the cake cool slightly, then serve warm with a scoop of vanilla ice cream or a dollop of whipped cream for the ultimate comfort dessert experience.
Extra Tips For Peanut Butter Cup Dump Cake
Serving Peanut Butter Cup Dump Cake Ideas
Storing Peanut Butter Cup Dump Cake Easily
Keep leftover cake in an airtight container at room temperature for 2-3 days, ensuring maximum freshness and flavor retention.
Print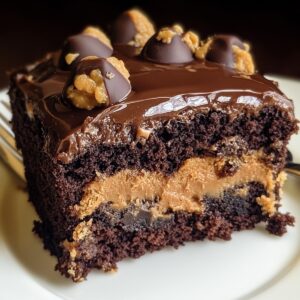
Gooey Peanut Butter Cup Dump Cake Recipe
- Total Time: 50 minutes
- Yield: 11 1x
Description
Irresistible peanut butter cup dump cake delivers pure chocolate and peanut butter bliss in a simple dessert. Chocolate chips and Reese’s pieces create a rich, indulgent treat you’ll crave again and again.
Ingredients
- 1 can (14 oz / 400 ml) sweetened condensed milk
- 1 ½ cups (226 g) chopped peanut butter cups
- 1 cup milk chocolate chips
- 1 cup creamy peanut butter
- ½ cup (113 g) melted butter
- 1 box chocolate cake mix
- Whipped cream (optional)
- Vanilla ice cream (optional)
- Extra chopped peanut butter cups for garnish (optional)
Instructions
- Oven Preparation: Set the oven to 350F (175C) and lightly grease a 9×13-inch baking dish with non-stick spray or butter.
- Base Layer Creation: Spread peanut butter evenly across the bottom of the dish, forming a creamy foundation.
- Candy Distribution: Scatter half of the chopped peanut butter cups over the peanut butter layer, ensuring consistent coverage.
- Moisture Infusion: Pour condensed milk across the candy, creating a sweet, smooth underlayer.
- Cake Mix Application: Uniformly distribute dry chocolate cake mix over the condensed milk, completely covering the surface.
- Moisture Enhancement: Drizzle melted butter across the cake mix to guarantee a rich, moist texture.
- Final Topping: Sprinkle remaining peanut butter cup pieces and milk chocolate chips over the top, creating a decadent finish.
- Baking Process: Bake for 35-40 minutes until the surface becomes bubbly and slightly crisp, indicating perfect doneness.
- Cooling and Serving: Allow the cake to rest for 10-15 minutes, letting layers settle and flavors meld. Serve warm, optionally topped with whipped cream or vanilla ice cream for an indulgent dessert experience.
Notes
- Butter Distribution Technique: Ensure melted butter covers entire cake mix evenly to prevent dry patches and guarantee a moist, rich texture throughout the dessert.
- Temperature Monitoring: Watch cake closely during last 5-10 minutes of baking to prevent burning, as chocolate components can quickly turn from perfectly caramelized to overly dark.
- Candy Placement Strategy: Chop peanut butter cups into consistent, medium-sized pieces for balanced flavor distribution and more attractive visual presentation in each slice.
- Dietary Modification Option: For gluten-sensitive individuals, substitute regular chocolate cake mix with gluten-free alternative without compromising overall decadent taste and texture.
- Prep Time: 10 minutes
- Cook Time: 40 minutes
- Category: Desserts, Snacks
- Method: Baking
- Cuisine: American
Nutrition
- Serving Size: 11
- Calories: 400
- Sugar: 30 g
- Sodium: 300 mg
- Fat: 25 g
- Saturated Fat: 10 g
- Unsaturated Fat: 15 g
- Trans Fat: 0 g
- Carbohydrates: 40 g
- Fiber: 2 g
- Protein: 6 g
- Cholesterol: 40 mg
Liam O’Sullivan
Founder & Culinary Content Creator
Expertise
Recipe Development, Traditional Irish and European Cuisines, Food Styling and Photography, Culinary Education
Education
Dublin Institute of Technology (DIT) – School of Culinary Arts and Food Technology
Ballymaloe Cookery School
Isabella brings a global spark to the Craft Meats table. Born in Florence and trained at the Apicius International School of Hospitality, she blends classic Italian flavor with modern writing that’s easy to follow and hard to forget.
Her additional training at the Italian Chef Academy fueled her love for well-crafted dishes, especially ones that spotlight beautiful cuts of meat.
She’s a food writer with heart, and a deep love for storytelling through single recipes. Her goal? To help you cook with more confidence and a little more joy, no matter where you start.