
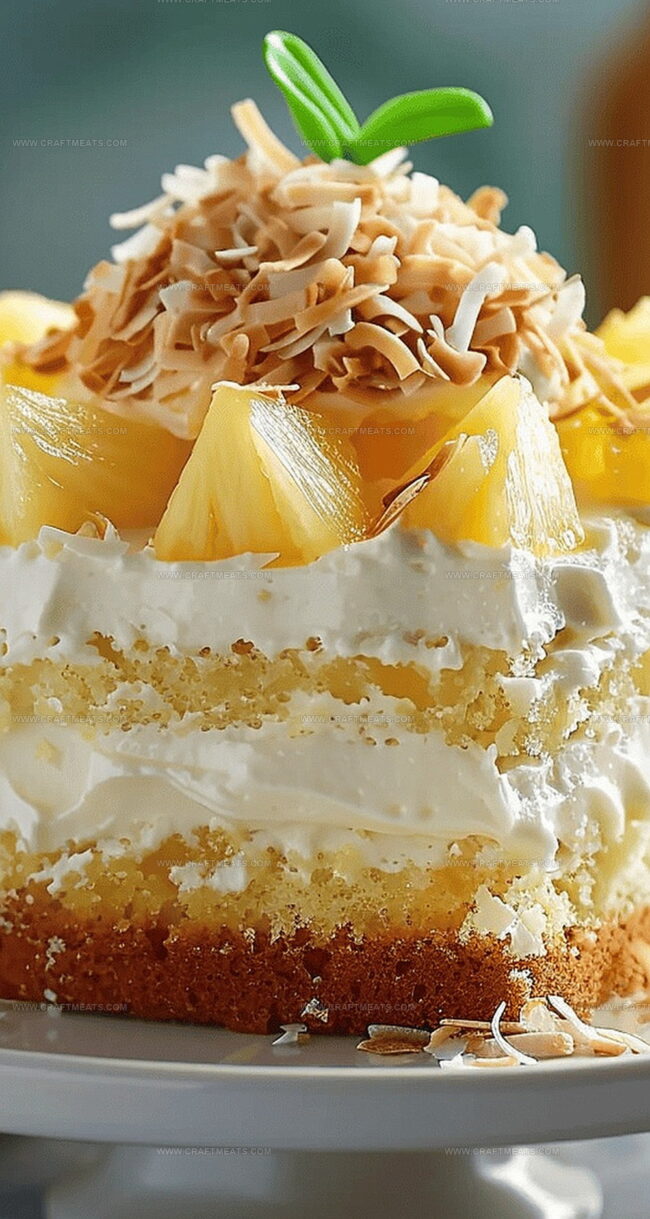
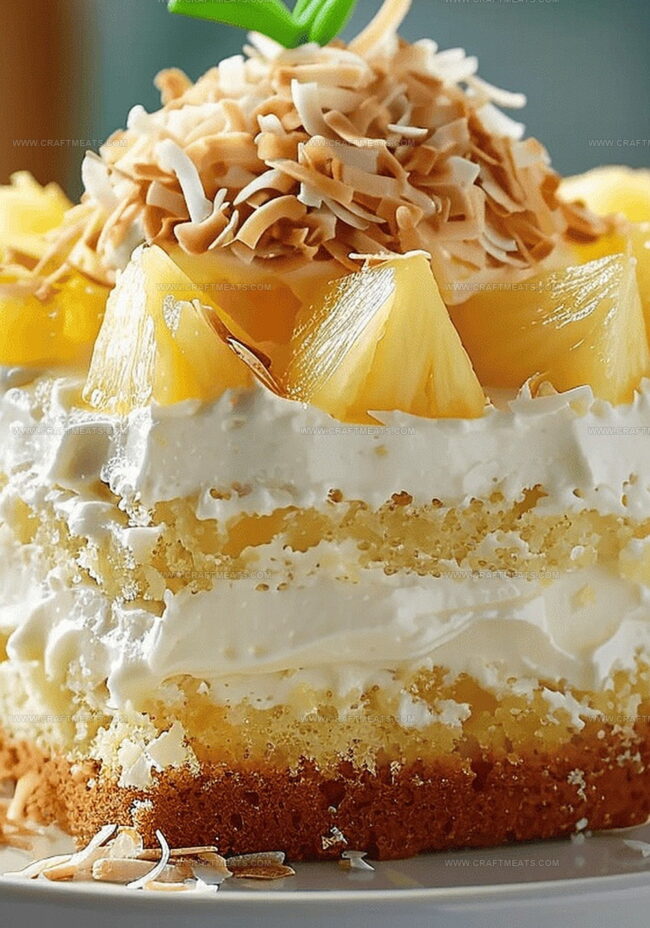
Island-Style Coconut Pineapple Cake Recipe With Tropical Flavor
Tropical paradise bursts with flavor in this coconut pineapple cake that captures island magic in every delectable slice.
Sweet and tangy ingredients dance together, creating a sensational dessert that whisks you away to sunny beaches.
Imagine soft, moist layers infused with rich coconut and bright pineapple notes that sing with exotic charm.
Creamy textures and luscious undertones make this cake a true celebration of Pacific island cuisine.
Vibrant ingredients blend seamlessly, promising a delightful experience that tingles your taste buds with each heavenly bite.
Tropical dreams come alive through this exceptional dessert that reinvents simple ingredients into an extraordinary culinary adventure.
You can want to savor every moment of this incredible cake that brings a slice of Hawaiian bliss right to your plate.
Why Hawaiian Paradise Coconut Pineapple Cake Tastes Like Vacation
What You’ll Need for Coconut Pineapple Cake
Dry Ingredients:Wet Ingredients:Filling and Garnish Ingredients:Baking Steps for Hawaiian Paradise Cake
Step 1: Prepare the Oven
Crank up your oven to 350°F (175°C). Grab three 9-inch round cake pans and give them some love:Step 2: Create Dry Ingredient Mix
In a medium bowl, whisk together:Ensure the mixture looks completely smooth with zero lumps.
Step 3: Whip Butter and Sugar
Grab a large mixing bowl and transform butter and sugar into a fluffy cloud. Beat for 3-5 minutes until the mixture looks light and dreamy.
Step 4: Introduce Eggs and Flavor
Crack eggs one by one into the butter mixture, beating thoroughly between each addition. Splash in vanilla extract and mix until everything looks silky smooth.
Step 5: Blend Wet and Dry Ingredients
Alternate adding dry ingredients and coconut milk to the butter mixture. Start and end with dry ingredients. Mix gently until just combined – no overmixing!
Step 6: Fold in Tropical Goodness
Carefully fold in:Distribute evenly throughout the batter.
Step 7: Bake to Perfection
Pour batter equally into prepared pans. Slide into the oven and bake 25-30 minutes. Check doneness by inserting a toothpick – it should come out clean.
Step 8: Craft Creamy Frosting
Whip together:Beat until impossibly smooth and luscious.
Step 9: Assemble Tropical Masterpiece
Once cakes cool completely:Step 10: Store and Serve
Refrigerate cake in airtight container up to 5 days. For a warm slice, microwave briefly (10-15 seconds).
Enjoy your tropical cake adventure!
Tips for a Moist and Tropical Cake
Storing and Reheating Pineapple Coconut Cake
Refrigerate Carefully: Store your Hawaiian Coconut Pineapple Cake in an airtight container to prevent moisture loss and maintain its delightful texture. Place cake slices in a sealed container with a tight-fitting lid to keep them fresh.
Preserve Freshness: Keep the cake refrigerated for up to 5 days, ensuring the cream cheese frosting stays cool and maintains its creamy consistency. Protect the cake from absorbing other refrigerator odors by covering it completely.
Warm Gently: When ready to enjoy a slice, microwave briefly for 10-15 seconds to slightly warm the cake. Avoid overheating, which can dry out the delicate texture and compromise the cake’s soft, moist crumb.
Ideal Pairings for This Tropical Dessert
Flavor Twists for Hawaiian Coconut Cake
FAQs for Hawaiian Paradise Coconut Pineapple Cake
Absolutely! You can bake the cake layers a day before and store them wrapped in plastic at room temperature. The frosting can also be prepared in advance and refrigerated.
No worries! Canned crushed pineapple works perfectly. Just make sure to drain it well before adding to the batter to prevent excess moisture.
Insert a toothpick into the center of the cake. If it comes out clean with no wet batter, your cake is done. The edges should also be slightly pulling away from the pan sides.
Yes, you can! Wrap the unfrosted cake layers tightly in plastic wrap and freeze for up to 3 months. Thaw at room temperature before frosting and serving.
Print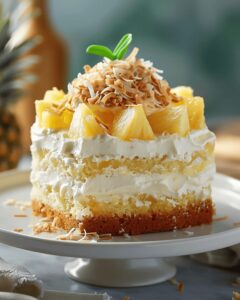
Hawaiian Paradise Coconut Pineapple Cake Recipe
- Total Time: 50 minutes
- Yield: 12 1x
Description
Sweet Hawaiian paradise coconut pineapple cake delivers tropical bliss with each delectable slice. Luscious layers of island-inspired goodness promise a delightful escape that delights senses and transports you to sun-drenched shores.
Ingredients
Main Ingredients:
- 3 cups all-purpose flour
- 5 large eggs
- 1 cup unsalted butter, room temperature
- 1 cup coconut milk
- 1 cup crushed pineapple, drained
- 1 cup shredded coconut
Dry Ingredients:
- 2 ½ teaspoons baking powder
- ½ teaspoon salt
- ½ cup granulated sugar
- 4 cups powdered sugar
Flavoring and Frosting Ingredients:
- 2 teaspoons vanilla extract
- 1 cup (8 ounces / 226 grams) cream cheese, softened
- ½ cup unsalted butter, softened
- ½ cup pineapple chunks (for garnish)
- ½ cup toasted coconut flakes (for garnish)
Instructions
- Meticulously prepare the baking environment by warming the oven to 350°F and artfully preparing three round cake pans with grease, flour, and parchment paper liners to guarantee effortless cake release.
- In a pristine mixing vessel, thoroughly integrate the dry ingredients – flour, baking powder, and salt – ensuring a completely uniform powder without any lingering clumps.
- Utilize a robust electric mixer to transform butter and sugar into a cloud-like, aerated mixture, whipping energetically for approximately 3-5 minutes until the texture becomes exceptionally light and voluminous.
- Methodically incorporate eggs into the butter mixture, introducing them individually and blending completely after each addition, then infuse with pure vanilla extract for enhanced aromatic depth.
- Carefully alternate adding dry ingredients and coconut milk to the butter base, gently folding with minimal stirring to maintain the batter’s delicate airiness, completing the process with dry ingredients.
- Tenderly fold crushed pineapple and shredded coconut throughout the batter, distributing the tropical ingredients evenly to guarantee consistent flavor in every slice.
- Distribute the luminous batter equally among prepared pans, then slide into the preheated oven, baking for 25-30 minutes until a slender testing skewer emerges pristinely clean.
- While cakes cool, craft a velvety cream cheese frosting by blending cream cheese, butter, powdered sugar, and vanilla until achieving a silky, luxurious consistency.
- Once completely cooled, level cake layers if needed, then construct a magnificent tropical confection by layering and lavishly coating with cream cheese frosting, finishing with artful garnishes of fresh pineapple chunks and toasted coconut flakes.
- Preserve the cake’s exceptional quality by storing in a sealed container within the refrigerator, where it will maintain its delectable character for up to five days, ready to be enjoyed chilled or briefly warmed.
Notes
- Tropical Bliss Awaits: This Hawaiian-inspired cake bursts with sweet pineapple and coconut flavors that transport you to a beachside paradise.
- Texture Magic Technique: Creaming butter and sugar thoroughly creates an incredibly light, moist cake that melts in your mouth with each delightful bite.
- Ingredient Harmony: Coconut milk replaces traditional milk, intensifying the tropical essence and ensuring a rich, tender crumb throughout the cake.
- Make-Ahead Marvel: Perfectly prep this cake a day in advance, allowing flavors to meld and frosting to set for an even more delicious dessert experience.
- Garnish with Flair: Toasting coconut flakes before sprinkling adds a nutty, caramelized dimension that elevates the cake’s visual and flavor profile.
- Storage Wisdom: Refrigeration keeps the cream cheese frosting stable and maintains the cake’s freshness for up to five days, making it an ideal make-ahead dessert.
- Prep Time: 20 minutes
- Cook Time: 30 minutes
- Category: Desserts
- Method: Baking
- Cuisine: Hawaiian
Nutrition
- Serving Size: 12
- Calories: 420
- Sugar: 40 g
- Sodium: 210 mg
- Fat: 22 g
- Saturated Fat: 14 g
- Unsaturated Fat: 6 g
- Trans Fat: 0 g
- Carbohydrates: 54 g
- Fiber: 1 g
- Protein: 5 g
- Cholesterol: 100 mg
Isabella Rossi
Founder & Culinary Content Creator
Expertise
Recipe Development, Traditional Irish and European Cuisines, Food Styling and Photography, Culinary Education
Education
Dublin Institute of Technology (DIT) – School of Culinary Arts and Food Technology
Ballymaloe Cookery School
Liam is the voice behind many of Craft Meats’ most flavorful features. With roots in Dublin’s smoky barbecue scene and a culinary degree from the Dublin Institute of Technology, he brings time-tested cooking techniques to life.
His training at Ballymaloe Cookery School sharpened his farm-to-table approach, giving him a deep respect for every ingredient he writes about.
He’s not about overcomplicating the process, just helping you cook meat that’s worth talking about. When he’s not writing or grilling, he’s out foraging or nerding out on regional spice blends to add to his next recipe.