Heaven in a Bowl Recipe: Full of Comfort and Sweetness
Indulgent heaven in a bowl promises a culinary journey that defies ordinary dessert expectations.
Imagine a luscious creation that melts seamlessly on your palate with incredible richness.
Sweet layers of creamy decadence combine in a harmonious blend that whispers pure comfort.
Each spoonful delivers an unexpected symphony of textures and delightful sensations.
Clouds of silky smoothness intermingle with subtle hints of delectable complexity.
Your taste buds will dance with excitement as contrasting elements weave a magical experience.
Comfort and luxury converge in this irresistible treat that beckons you to savor every single bite.
Heaven in a Bowl That Lives Up to Its Name
Everything You’ll Need for Heaven in a Bowl
Base Layer Ingredients:Pudding Layer Ingredients:Topping and Garnish Ingredients:Assembling Heaven in a Bowl, Step by Step
Step 1: Prepare Brownie Base
Preheat oven to 350°F (175°C). Grease a 12×9-inch baking pan with butter. Mix brownie batter according to package instructions. Pour batter into prepared pan and bake for 20-25 minutes. Check doneness by inserting a toothpick – it should come out with moist crumbs. Allow brownies to cool completely, then slice into 3/4-inch pieces.
Step 2: Prepare Reese’s Cups
Carefully slice each miniature Reese’s peanut butter cup in half. Set aside some pieces for garnishing and layering.
Step 3: Create Creamy Pudding Mixture
In a large mixing bowl, whisk instant vanilla pudding mix with cold milk for 2 minutes until mixture thickens. Add:Blend until completely smooth. Gently fold in 1 1/2 cups of Cool Whip to create a light, fluffy texture.
Step 4: Build Delicious Layers
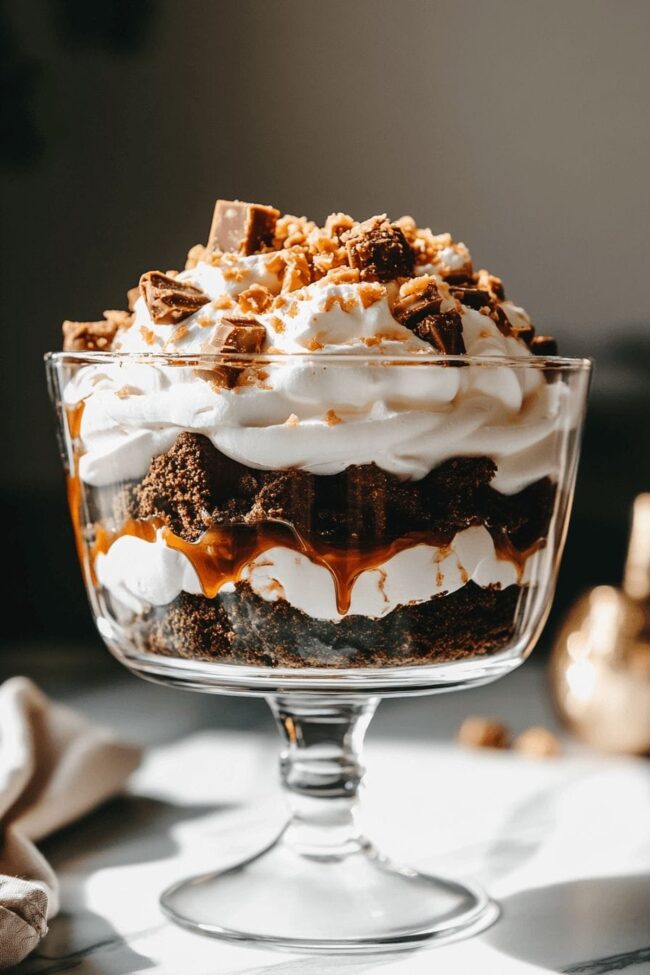
Using a 5-quart trifle dish, start creating beautiful layers:
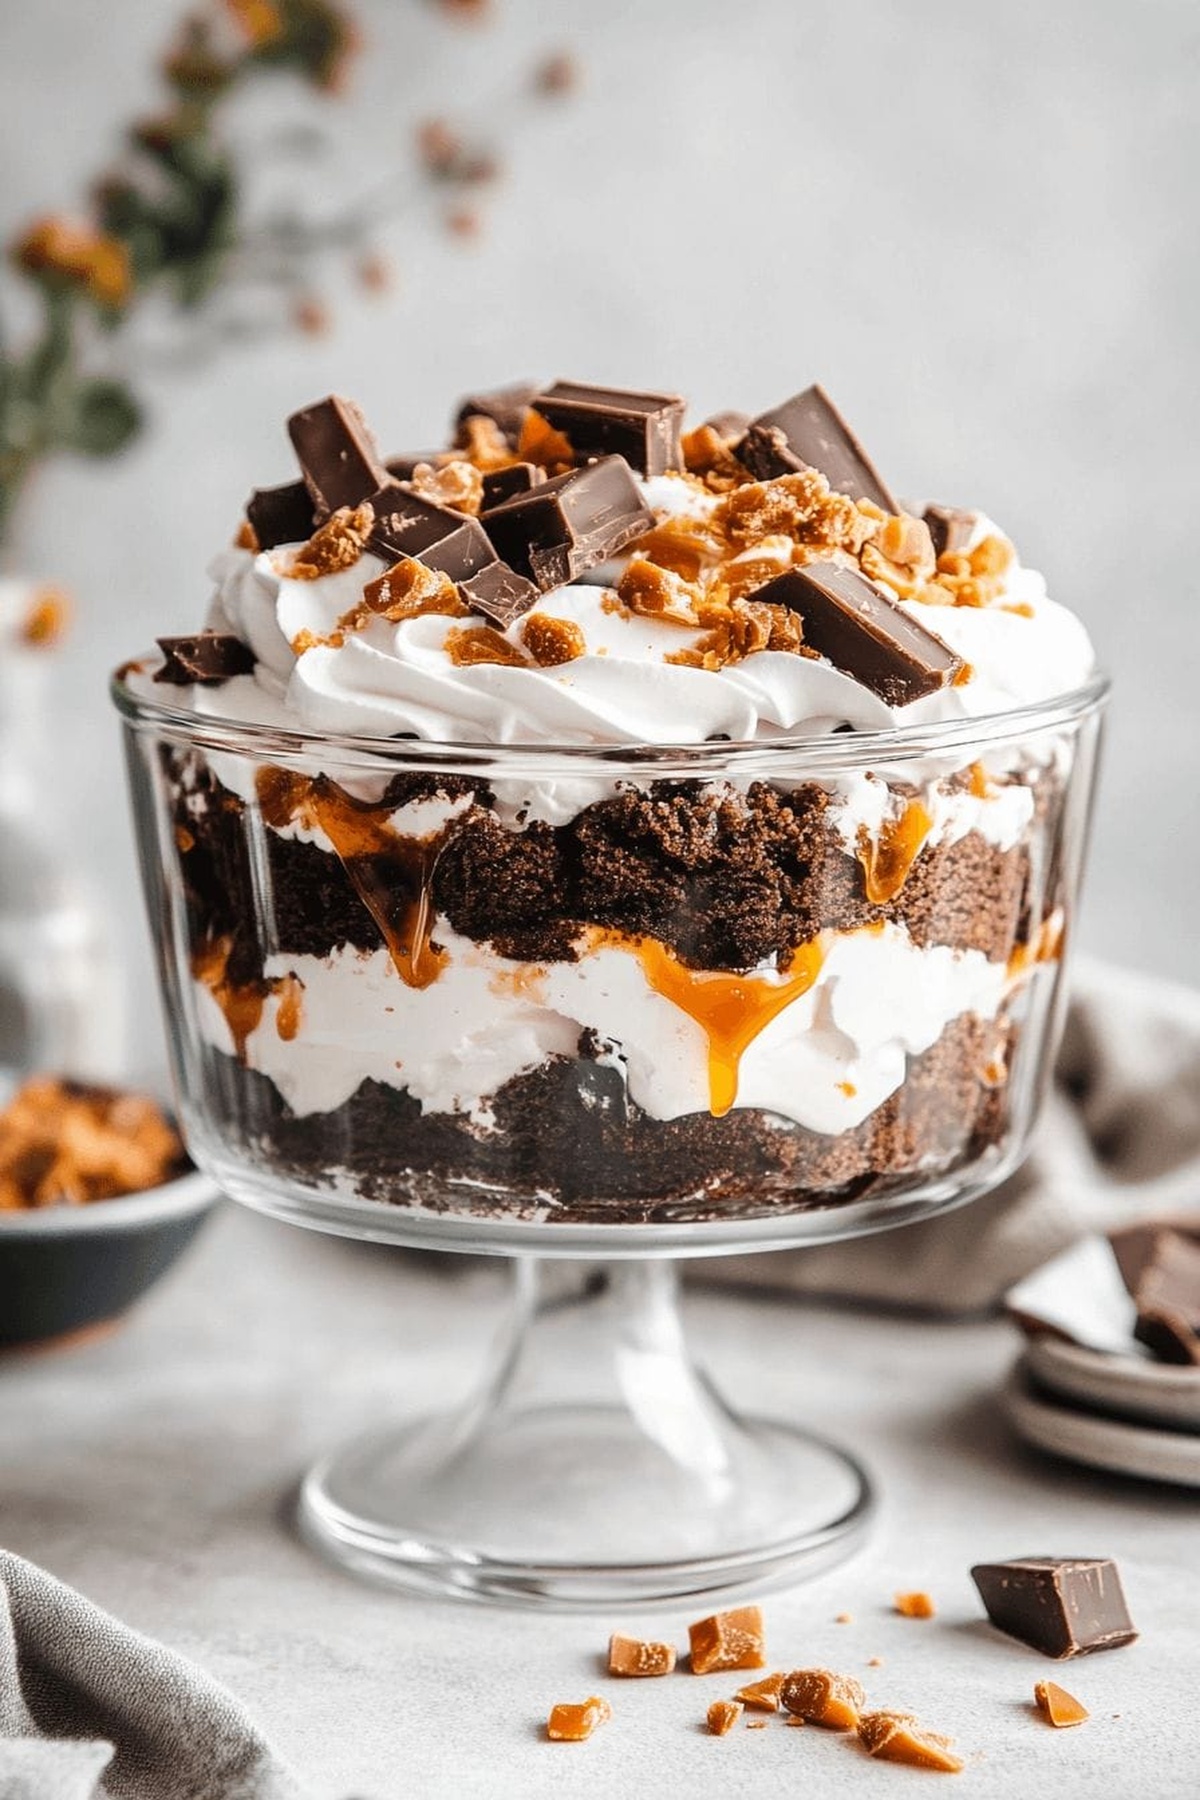
First Layer:Second Layer:Final Layer:Smooth the top for a perfect presentation.
Step 5: Finish and Chill
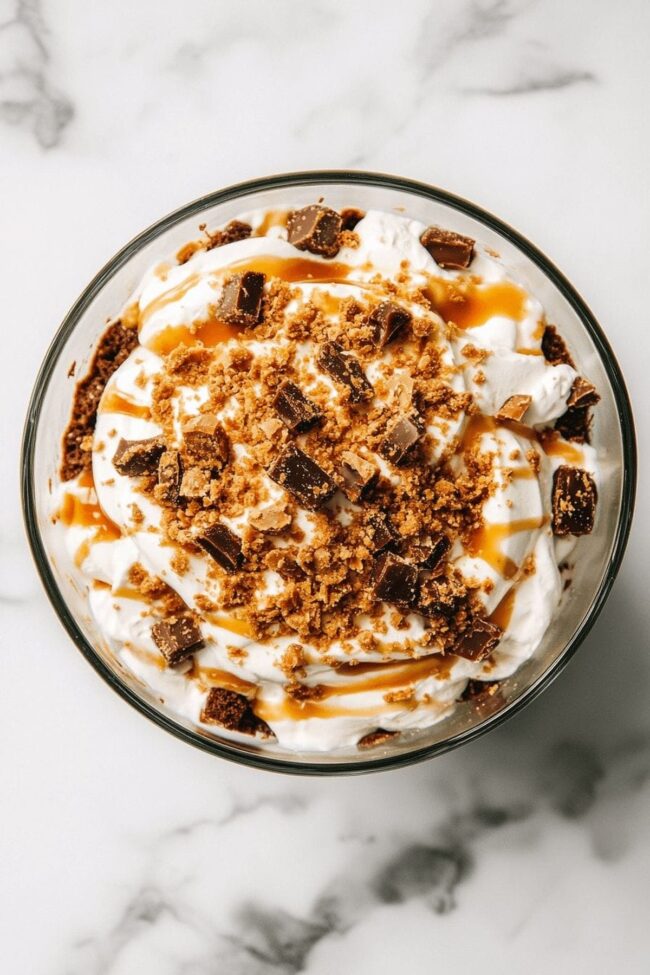
Spread remaining Cool Whip over the top layer. Sprinkle reserved Reese’s cup halves as a decorative garnish. Refrigerate for at least 30 minutes to allow layers to set and flavors to meld together.
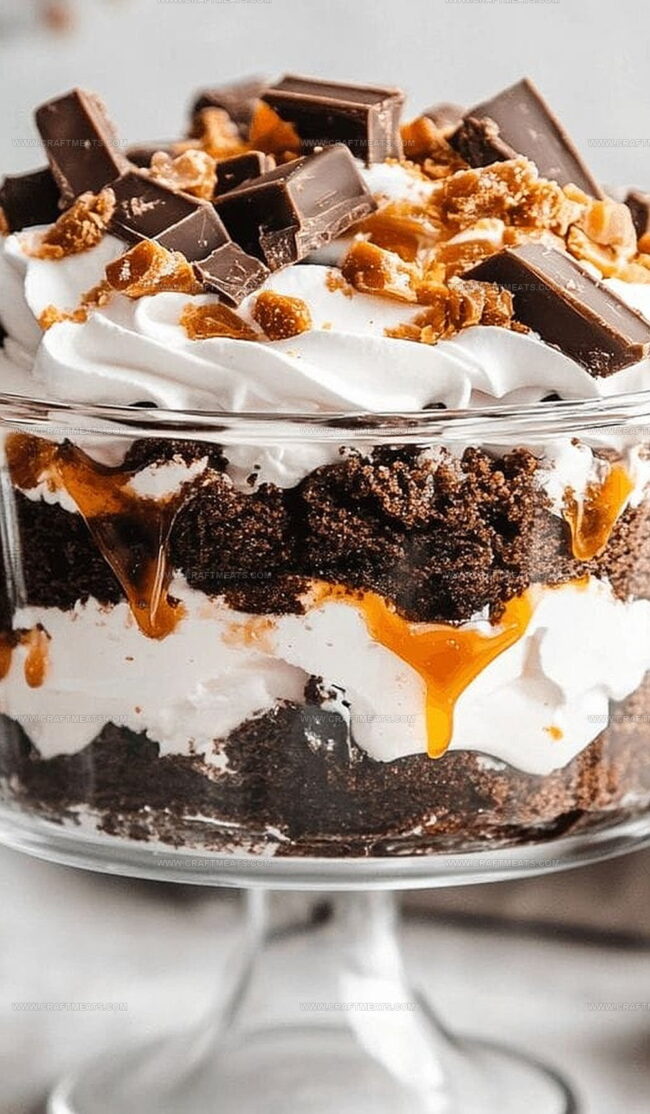
Serve chilled and enjoy this decadent dessert that combines rich brownies, creamy pudding, and classic Reese’s peanut butter cups!
Tips for Making Heaven in a Bowl Even Better

Storage and Reheating Tips for Heaven in a Bowl Leftovers
Pairing Suggestions for Heaven in a Bowl
Sweet and Savory Twists on Heaven in a Bowl
Common Questions About Heaven in a Bowl
Absolutely! Homemade brownies work great and can add a more personalized touch to the dessert. Just ensure they’re cooled completely before layering.
This trifle stays fresh for 2-3 days when stored in an airtight container in the refrigerator. The layers might soften slightly but will still taste delicious.
Yes! You can prepare this up to a day in advance. In fact, letting it chill helps the flavors meld together, making it even more delicious. Just add the final Cool Whip and Reese’s topping right before serving.
You can use homemade whipped cream as a replacement. Just whip heavy cream with a bit of sugar until stiff peaks form. It will work perfectly in this recipe.
Print
Heaven In A Bowl Recipe
- Total Time: 50 minutes
- Yield: 12 1x
Description
Creamy heaven in a bowl delivers ultimate comfort with rich, velvety layers of indulgent goodness. Silky textures and harmonious flavors invite you to savor each spoonful of pure culinary bliss.
Ingredients
Main Ingredients:
- 1 package fudge brownie mix
- 2 packages miniature Reese’s cups (cut in half)
- 1 cup creamy peanut butter
Dairy Components:
- 4 cups cold milk (2%)
- 2 packages instant vanilla pudding
- 2 cans Cool Whip (thawed, 8 ounces each)
Flavor Enhancers:
- 4 teaspoons vanilla extract
Instructions
- Craft the brownie base by preheating the oven to 350°F and preparing the baking pan with butter. Mix the brownie batter according to package directions, then transfer to the pan and bake until a toothpick reveals moist crumbs, approximately 20-25 minutes.
- Allow the brownies to cool completely, then slice into precise 3/4-inch cubes. Carefully halve each miniature Reese’s peanut butter cup, reserving pieces for layering and decorative garnish.
- Whip the instant vanilla pudding mix with cold milk, blending vigorously for two minutes until achieving a luxurious, thick consistency. Incorporate smooth peanut butter and vanilla extract, gently folding in Cool Whip to create a creamy, decadent mixture.
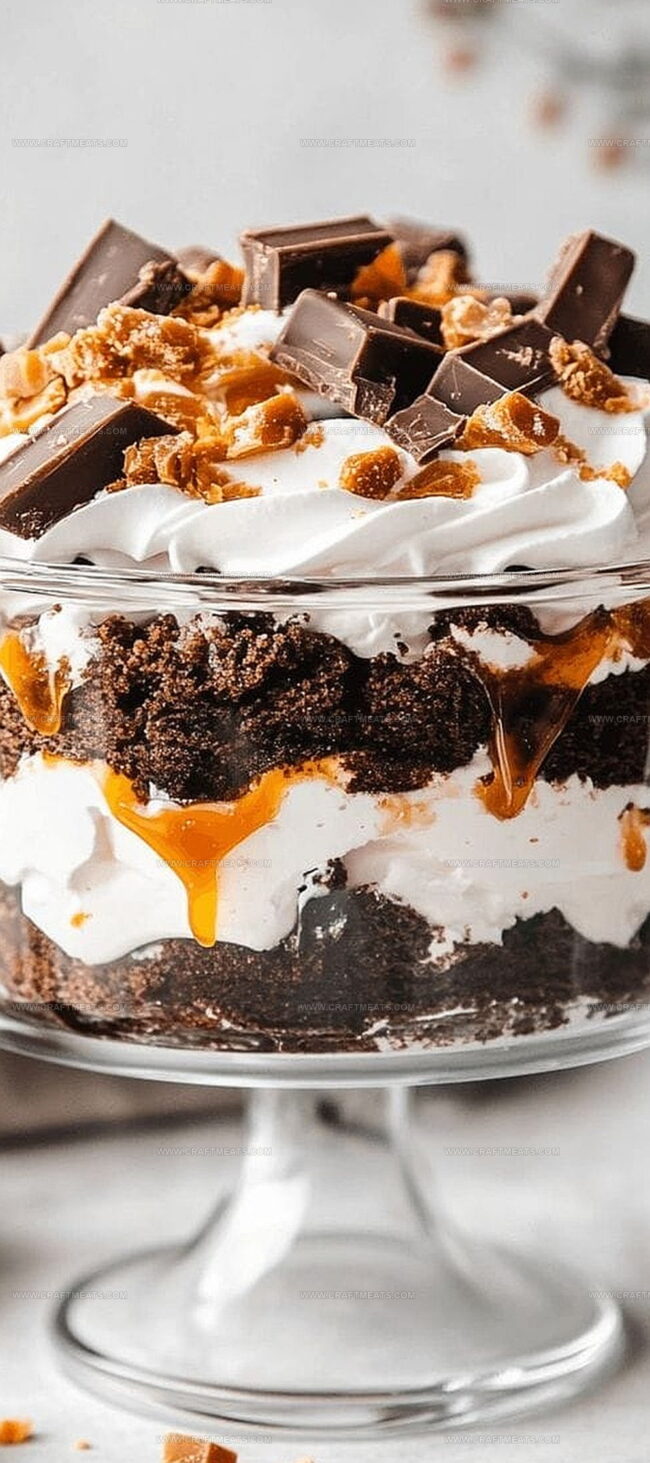
- Construct the trifle by establishing the first foundation layer of brownie cubes in the dish. Generously spread a portion of the pudding mixture, then artfully scatter halved Reese’s cups across the surface.
- Repeat the layering process, alternating between brownie cubes and pudding mixture, ensuring even distribution of Reese’s cup fragments throughout the dessert.
- Crown the trifle with a final layer of Cool Whip, elegantly arranging the remaining Reese’s cup halves as a tempting decorative element.
- Refrigerate the dessert for a minimum of 30 minutes, allowing the layers to meld and set into a harmonious, indulgent treat.
Notes
- Prep ahead by cutting Reese’s cups and baking brownies in advance to save time during assembly.
- Ensure brownies are completely cooled to prevent pudding from melting and maintain distinct layers.
- Use instant pudding mix for a quick, no-cook filling that sets up beautifully and creates a creamy texture.
- Layer ingredients carefully, creating even distribution of brownies, pudding, and Reese’s cups for maximum flavor in every bite.
- Chill the dessert for at least 30 minutes to allow flavors to meld and achieve a firm, sliceable consistency.
- Store covered in the refrigerator for up to 3 days, though it’s unlikely to last that long with eager dessert lovers around.
- Prep Time: 25 minutes
- Cook Time: 25 minutes
- Category: Desserts, Snacks
- Method: Baking
- Cuisine: American
Nutrition
- Serving Size: 12
- Calories: 400
- Sugar: 25g
- Sodium: 250mg
- Fat: 20g
- Saturated Fat: 8g
- Unsaturated Fat: 10g
- Trans Fat: 0g
- Carbohydrates: 45g
- Fiber: 2g
- Protein: 6g
- Cholesterol: 15mg
Isabella Rossi
Founder & Culinary Content Creator
Expertise
Recipe Development, Traditional Irish and European Cuisines, Food Styling and Photography, Culinary Education
Education
Dublin Institute of Technology (DIT) – School of Culinary Arts and Food Technology
Ballymaloe Cookery School
Liam is the voice behind many of Craft Meats’ most flavorful features. With roots in Dublin’s smoky barbecue scene and a culinary degree from the Dublin Institute of Technology, he brings time-tested cooking techniques to life.
His training at Ballymaloe Cookery School sharpened his farm-to-table approach, giving him a deep respect for every ingredient he writes about.
He’s not about overcomplicating the process, just helping you cook meat that’s worth talking about. When he’s not writing or grilling, he’s out foraging or nerding out on regional spice blends to add to his next recipe.