Chocolate Blossom Cookie Recipe with a Sweet Surprise Center
Soft, chewy cookies with a delightful chocolate blossom kiss create an irresistible sweet treat that melts in your mouth.
Homemade chocolate blossom cookies bring warmth and nostalgia to any gathering or quiet afternoon.
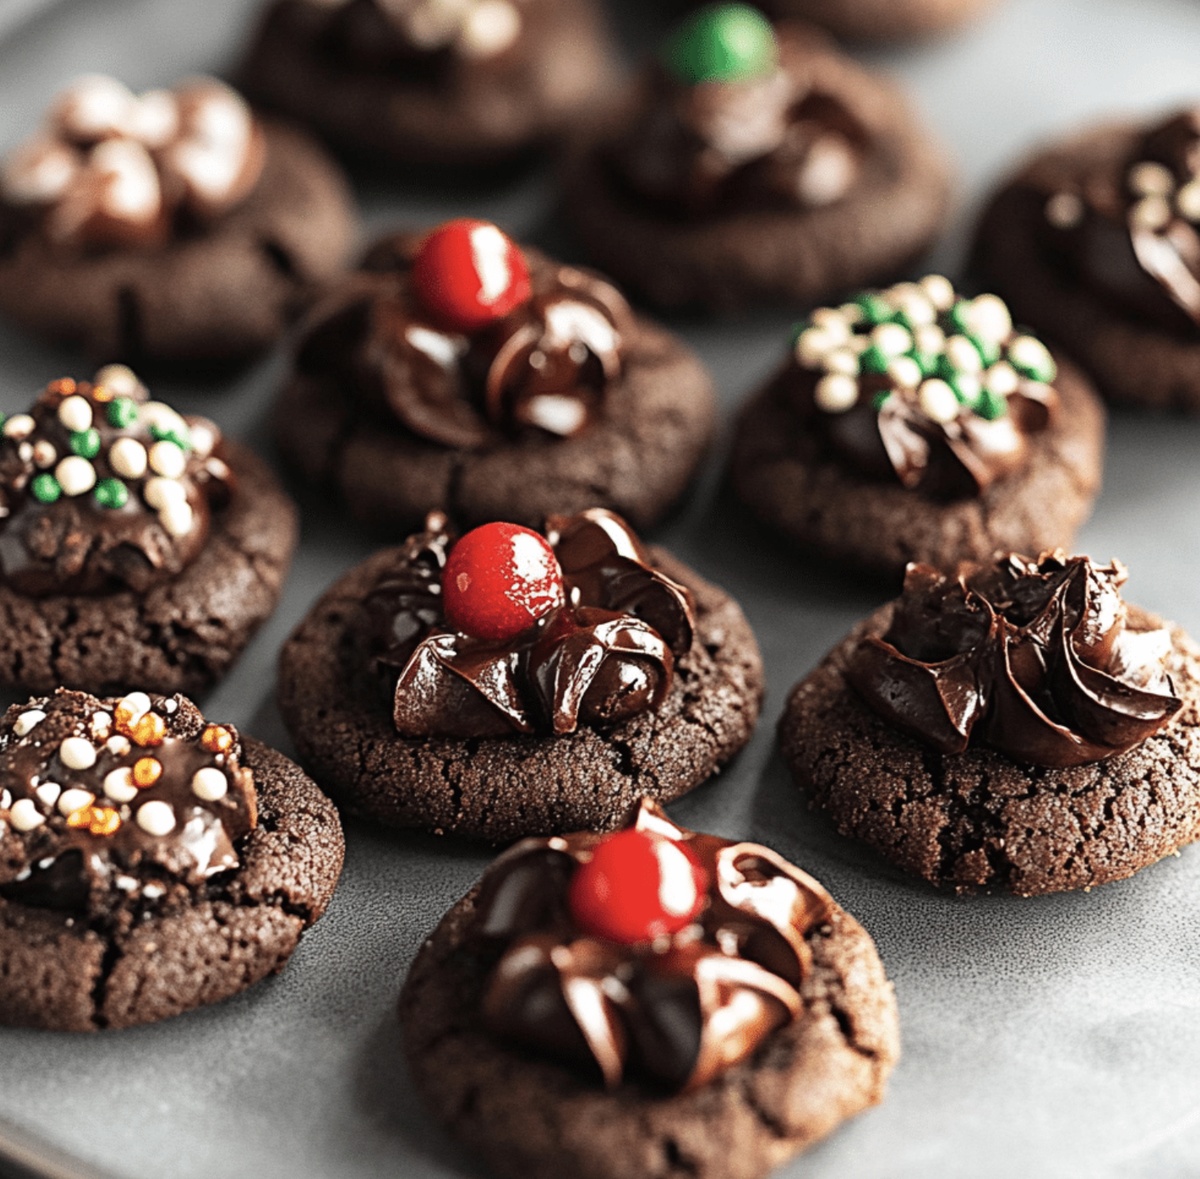
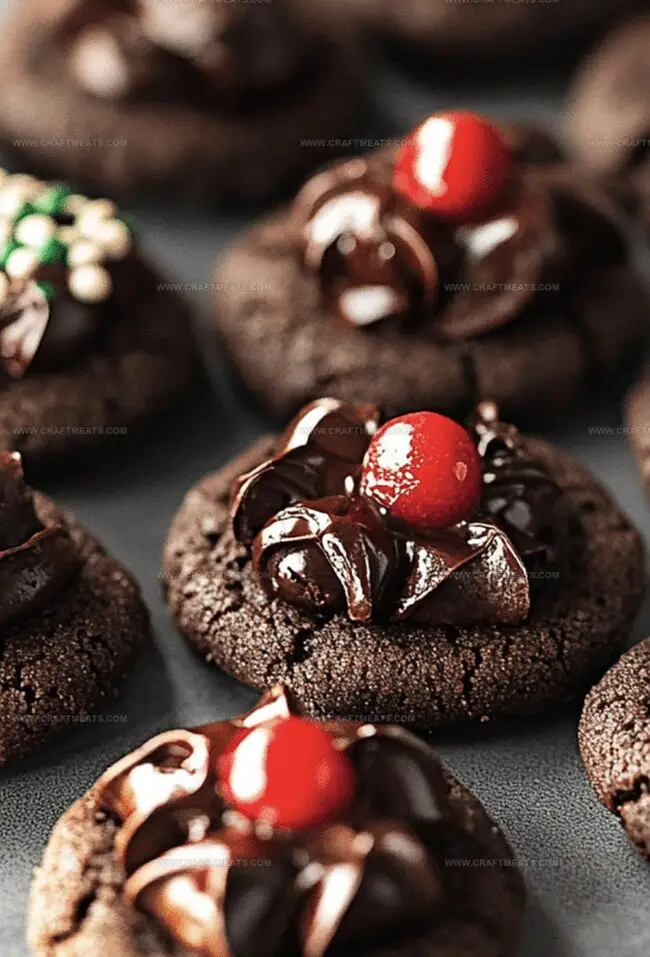
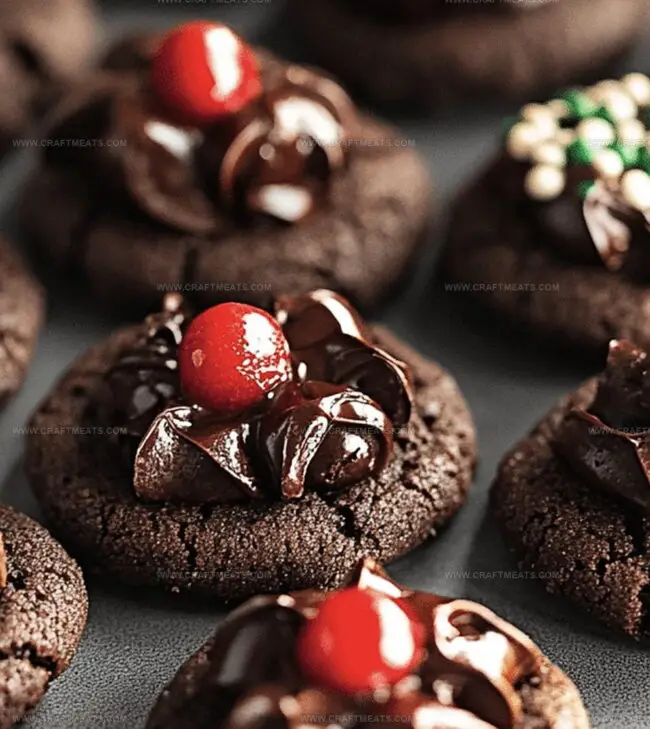
These classic cookies combine rich chocolate dough with a perfectly placed chocolate kiss centerpiece.
Each bite delivers a perfect balance of soft cookie and smooth chocolate kiss.
The recipe comes together quickly with simple ingredients you likely already have in your pantry.
Chocolate lovers will adore the decadent combination of chocolate cookie and creamy kiss topping.
Dive into this delectable recipe and watch these cookies disappear in moments.
Quick Recipe Overview
Ingredients That Make Chocolate Blossom Cookies
For The Base:For Sweetening and Binding:For Finishing and Topping:Kitchen Tools For Chocolate Blossom Cookies
How To Make Chocolate Blossom Cookies Step By Step
Mix butter and sugars in a bowl until creamy and light. Add egg and vanilla, blending smoothly. In another container, combine flour, cocoa, baking soda, and salt. Slowly incorporate dry ingredients into wet mixture. Refrigerate dough for a quick chill.
Heat oven to warm temperature. Create small dough balls and roll them in sugar for a sparkly coating. Space cookies evenly on baking sheet, allowing room between each round.
Cook cookies until edges look set but centers remain soft. Pull from oven and quickly press chocolate kiss into center of each warm cookie. Gentle cracks around chocolate are perfect. Let cookies rest briefly before transferring to cooling rack.
Smart Tips For Chocolate Blossom Cookies
Serving Chocolate Blossom Cookies Made Simple
Keep Chocolate Blossom Cookies Fresh
Print
Heavenly Chocolate Blossom Cookies Recipe
- Total Time: 55 minutes
- Yield: 23 1x
Description
Classic Chocolate Blossom Cookies bring sweet nostalgia to holiday baking traditions. Chocolate kisses nestled atop tender chocolate cookies create an irresistible treat you cannot resist enjoying with family and friends.
Ingredients
- 24 Hershey’s kisses, unwrapped
- ¼ cup (50 g) granulated sugar (for topping)
- ½ cup (100 g) brown sugar, packed
- ½ cup (100 g) granulated sugar
- ½ cup (115 g) unsalted butter, softened
- 1 ½ cups (190 g) all-purpose flour
- 1 large egg
- ¼ cup (25 g) cocoa powder
- 1 tsp vanilla extract
- 1 tsp baking soda
- ¼ tsp salt
Instructions
- Creaming: Whip softened butter with granulated and brown sugars until light and fluffy, achieving a peak-like texture that promises a tender cookie.
- Liquid Integration: Blend egg and vanilla extract into the butter-sugar mixture, creating a smooth, homogeneous base that will ensure even moisture distribution.
- Dry Ingredient Preparation: Sift flour, cocoa powder, baking soda, and salt together, eliminating potential lumps and guaranteeing a uniform dry mixture.
- Dough Formation: Merge dry ingredients into wet components, gently folding until a cohesive dough develops. Refrigerate for 30 minutes to enhance flavor complexity and structural integrity.
- Oven Preparation: Warm the oven to 375F (190C) and line baking sheets with parchment paper, establishing an ideal baking environment.
- Dough Shaping: Roll chilled dough into uniform spheres, generously coating each in granulated sugar to create a crystalline exterior that will caramelize during baking.
- Cookie Placement: Position sugar-coated dough balls on prepared sheets, maintaining sufficient spacing to prevent merging during the baking process.
- Baking and Finishing: Bake for 8-10 minutes until edges set but centers remain slightly soft. Immediately upon removal, press a chocolate kiss into each cookie’s center, allowing residual heat to create an artful cracking effect.
- Cooling: Allow cookies to rest on the baking sheet for 5 minutes, then transfer to a wire rack, permitting the chocolate kiss to solidify and the cookies to reach optimal texture.
Notes
- Optimize Butter Temperature: Let butter soften at room temperature for 30-45 minutes to ensure smooth, even mixing and prevent dense cookies.
- Control Sugar Coating: Roll dough balls lightly in sugar, using a gentle touch to create a delicate, sparkling exterior without excessive clumping.
- Master Chocolate Kiss Placement: Press kiss immediately after baking while cookies are warm, allowing gentle cracking and perfect chocolate integration.
- Customize Dietary Needs: Substitute gluten-free flour blend for traditional flour and use dairy-free butter alternative to accommodate different dietary restrictions.
- Prep Time: 30 minutes
- Cook Time: 10 minutes
- Category: Desserts, Snacks
- Method: Baking
- Cuisine: American
Nutrition
- Serving Size: 23
- Calories: 130
- Sugar: 11 g
- Sodium: 50 mg
- Fat: 6 g
- Saturated Fat: 4 g
- Unsaturated Fat: 2 g
- Trans Fat: 0 g
- Carbohydrates: 18 g
- Fiber: 1 g
- Protein: 1 g
- Cholesterol: 15 mg
Liam O’Sullivan
Founder & Culinary Content Creator
Expertise
Recipe Development, Traditional Irish and European Cuisines, Food Styling and Photography, Culinary Education
Education
Dublin Institute of Technology (DIT) – School of Culinary Arts and Food Technology
Ballymaloe Cookery School
Isabella brings a global spark to the Craft Meats table. Born in Florence and trained at the Apicius International School of Hospitality, she blends classic Italian flavor with modern writing that’s easy to follow and hard to forget.
Her additional training at the Italian Chef Academy fueled her love for well-crafted dishes, especially ones that spotlight beautiful cuts of meat.
She’s a food writer with heart, and a deep love for storytelling through single recipes. Her goal? To help you cook with more confidence and a little more joy, no matter where you start.