Cheesy Garlic Butter Rollups Recipe for Your Dinner Spread
Soft, pillowy dough wrapped around garlic butter and melted cheese creates an irresistible treat that will make mouths water.
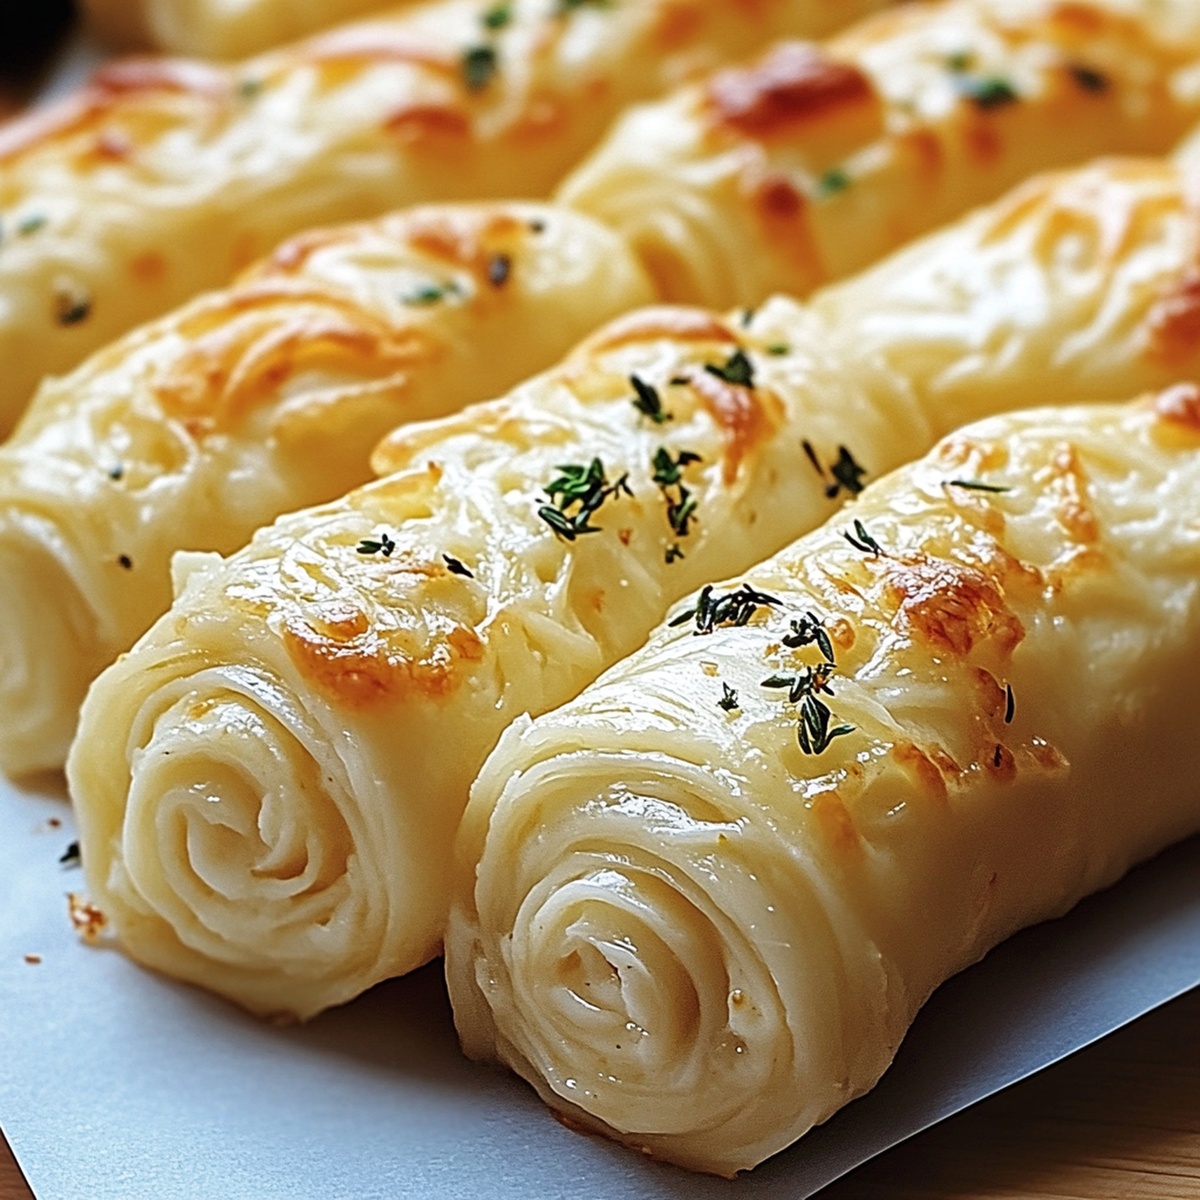
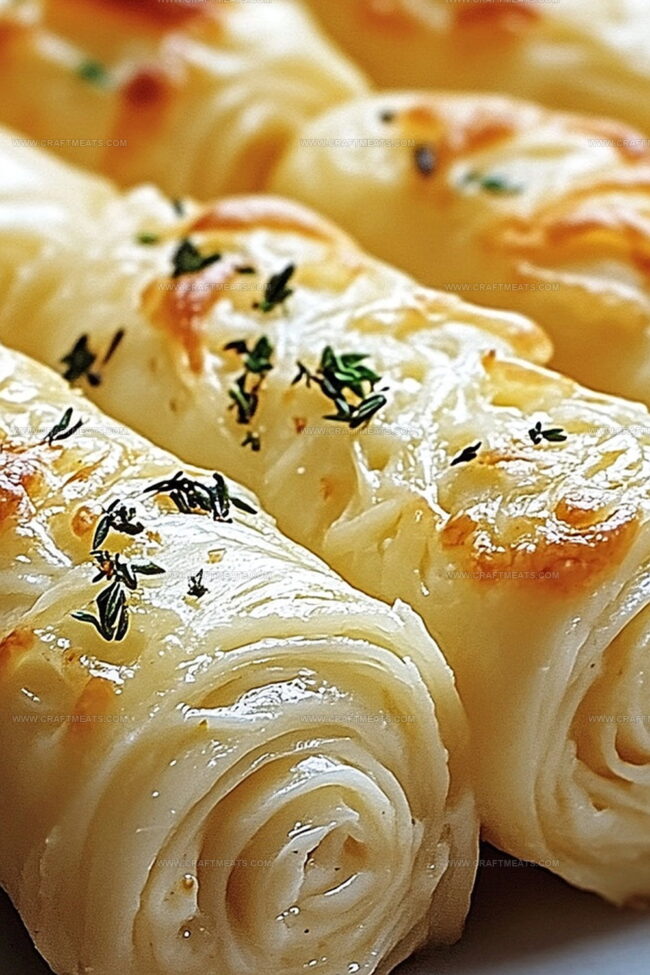
Buttery layers melt with rich, savory flavors in these cheesy garlic butter rollups.
Each bite promises a delightful explosion of comfort and warmth.
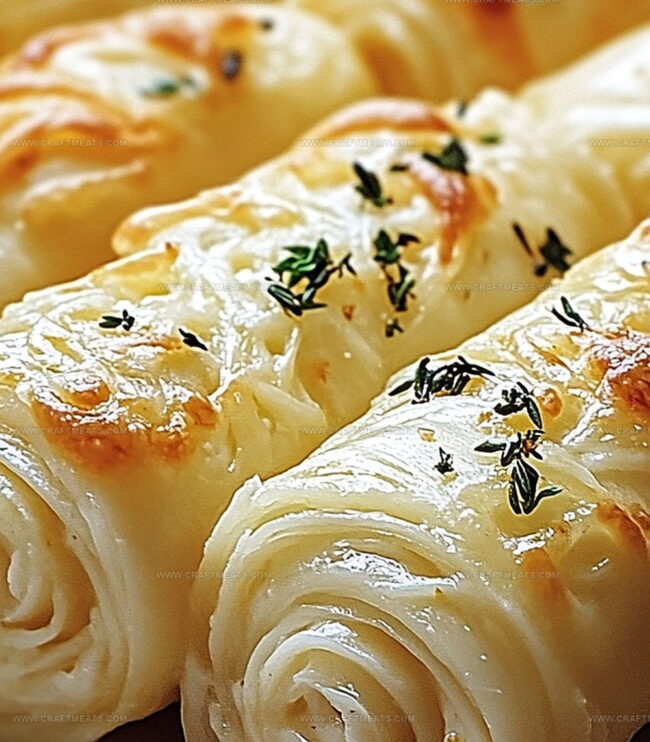
The golden-brown exterior promises a crispy crunch that gives way to a tender, garlicky interior.
Herbs and spices dance through the filling, adding depth and complexity to every mouthful.
Serve these delectable rollups as a crowd-pleasing appetizer or a satisfying side dish that steals the spotlight.
You’ll find these rollups vanish faster than you can plate them, so be sure to make extra.
Quick Recipe Overview
Everything In Cheesy Garlic Butter Rollups
For Base Ingredients:For Cheese Ingredients:For Flavor Enhancers:Kitchen Tools For Cheesy Garlic Butter Rollups
How To Make Cheesy Garlic Butter Rollups
Set the oven to a toasty warmth around 375°F. Cover a baking tray with a protective liner so nothing sticks.
Gently unfold the soft crescent dough, separating each delicate triangle with care.
Sprinkle a handful of mozzarella across each triangle. Add a whisper of Parmesan. Roll from the wide edge toward the pointed tip, creating little clouds of cheesy goodness.
Blend melted butter with garlic and Italian herbs. Stir until the mixture becomes a fragrant dream.
Lavish each rollup with the herbed butter mixture. Make sure every inch gets a delicious bath of flavor.
Slide the tray into the oven. Watch as the rollups turn a gorgeous golden brown, about 10-12 minutes. The cheese will melt into gooey perfection.
Pull from the oven and give a final brush of butter. Scatter some fresh parsley on top. Serve immediately while warm and irresistible.
Tips For Better Cheesy Garlic Butter Rollups
Fun Ways To Serve Cheesy Garlic Butter Rollups
Store Cheesy Garlic Butter Rollups Easily
Print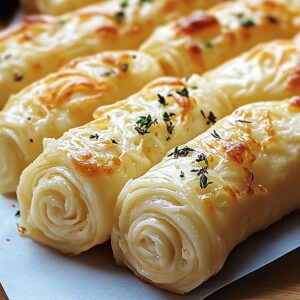
Heavenly Garlic Butter Rollups Recipe
- Total Time: 22 minutes
- Yield: 7 1x
Description
Cheesy garlic butter rollups bring together classic comfort and irresistible flavor in one simple appetizer. Melted butter, herbs, and gooey cheese create a mouthwatering treat you’ll want to devour at every gathering.
Ingredients
- 1 can (8 oz/226 g) refrigerated crescent roll dough
- 1 cup shredded mozzarella cheese
- ½ cup grated Parmesan cheese
- ¼ cup unsalted butter, melted
- 2 cloves garlic, minced
- 1 tsp Italian seasoning
- ¼ tsp salt
- Chopped fresh parsley
- Extra Parmesan cheese
Instructions
- Oven Preparation: Preheat the oven to 375F (190C) and line a baking sheet with parchment paper for seamless release.
- Dough Preparation: Unroll the crescent roll dough, separating each triangle with precision, creating a canvas for the cheesy rollups.
- Cheese Layering: Generously distribute mozzarella and Parmesan across each dough triangle, ensuring a comprehensive cheese coverage.
- Rolling Technique: Starting from the wide edge, tightly roll each triangle towards the pointed tip, securely encasing the cheese within the dough. Position the rollups seam-side down on the prepared baking sheet.
- Garlic Butter Creation: Merge melted butter, minced garlic, Italian seasoning, and a touch of salt into a harmonious, aromatic mixture.
- Butter Infusion: Lavishly brush each rollup with the garlic butter, ensuring complete flavor penetration and a glossy exterior.
- Baking Process: Bake in the preheated oven for 10-12 minutes, allowing the rollups to transform into golden-brown delicacies with molten cheese centers.
- Final Touch: Apply a final layer of reserved garlic butter, then garnish with freshly chopped parsley and an additional Parmesan sprinkle for visual and flavor enhancement.
- Serving Recommendation: Serve immediately while piping hot, inviting guests to indulge in the irresistible blend of buttery, cheesy, and garlicky notes.
Notes
- Prevent Cheese Leakage: Pinch dough edges tightly to seal cheese inside, stopping potential melting and dripping during baking.
- Optimize Dough Handling: Work with cold crescent roll dough for easier rolling and more precise shaping, maintaining structural integrity.
- Control Butter Application: Brush garlic butter sparingly to avoid soggy bottoms, ensuring crisp and golden exterior while maintaining rich flavor profile.
- Customize Cheese Varieties: Experiment with different cheese combinations like sharp cheddar or provolone for unique taste variations while maintaining similar melting properties.
- Prep Time: 10 minutes
- Cook Time: 12 minutes
- Category: Snacks, Appetizer
- Method: Baking
- Cuisine: American
Nutrition
- Serving Size: 7
- Calories: 215
- Sugar: 1 g
- Sodium: 360 mg
- Fat: 15 g
- Saturated Fat: 9 g
- Unsaturated Fat: 4 g
- Trans Fat: 0 g
- Carbohydrates: 18 g
- Fiber: 0 g
- Protein: 7 g
- Cholesterol: 35 mg
Liam O’Sullivan
Founder & Culinary Content Creator
Expertise
Recipe Development, Traditional Irish and European Cuisines, Food Styling and Photography, Culinary Education
Education
Dublin Institute of Technology (DIT) – School of Culinary Arts and Food Technology
Ballymaloe Cookery School
Isabella brings a global spark to the Craft Meats table. Born in Florence and trained at the Apicius International School of Hospitality, she blends classic Italian flavor with modern writing that’s easy to follow and hard to forget.
Her additional training at the Italian Chef Academy fueled her love for well-crafted dishes, especially ones that spotlight beautiful cuts of meat.
She’s a food writer with heart, and a deep love for storytelling through single recipes. Her goal? To help you cook with more confidence and a little more joy, no matter where you start.