Royal Kings Hawaiian Cheesecake Danish Recipe
Sweet mornings call for irresistible treats, and this kings hawaiian cheesecake danish promises pure breakfast bliss.
Pastry lovers will swoon over the delicate layers of creamy goodness.
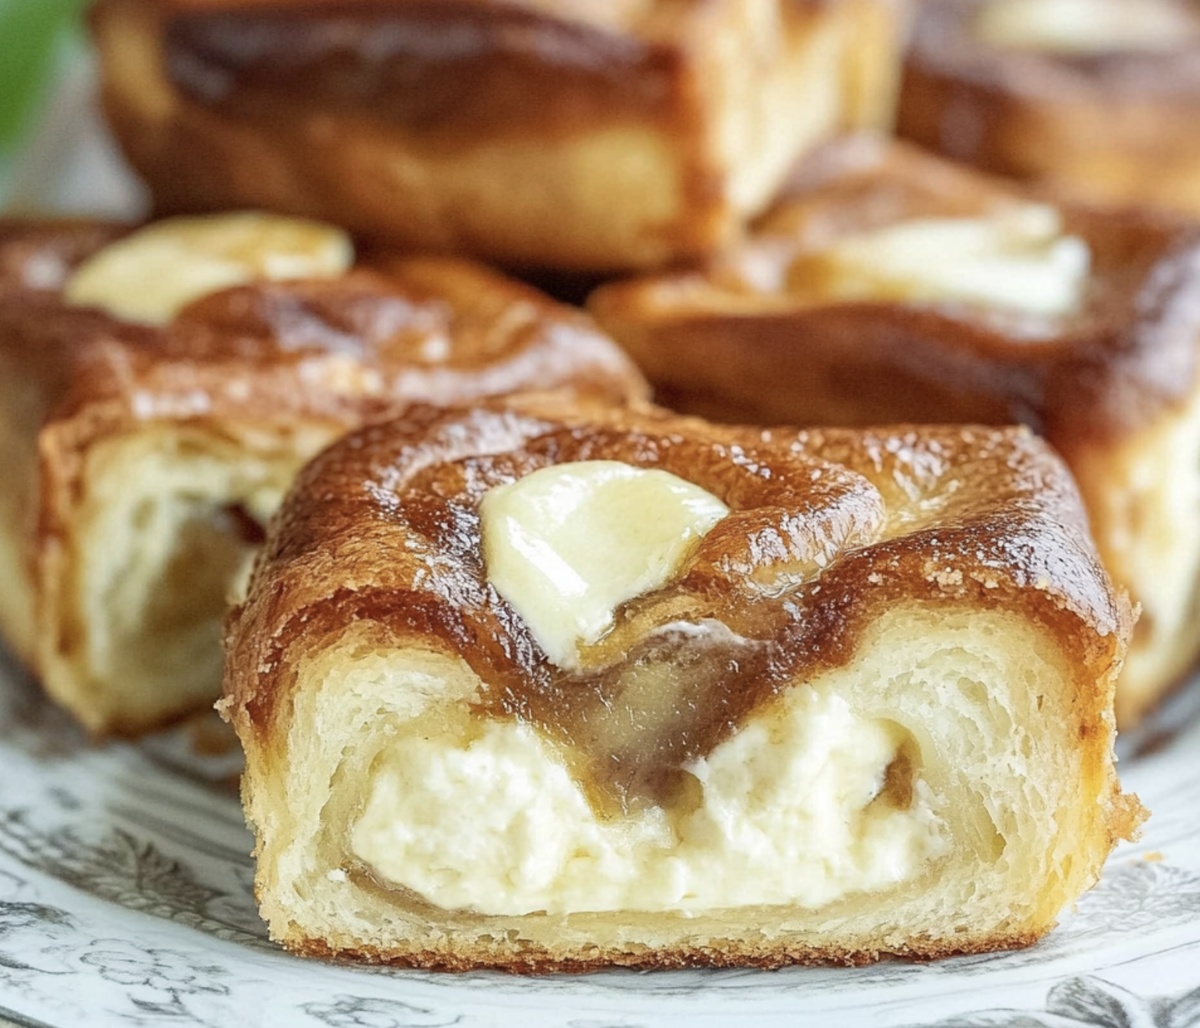
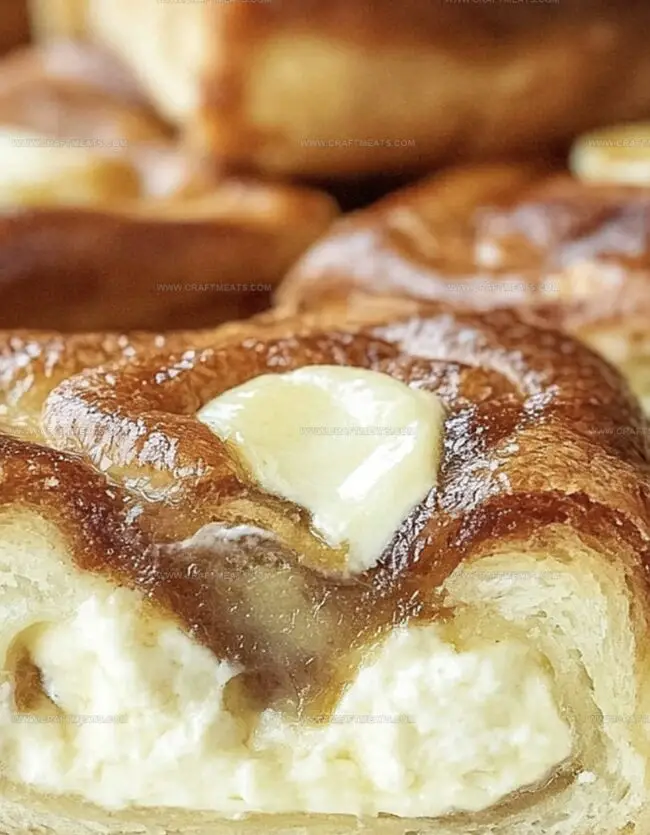
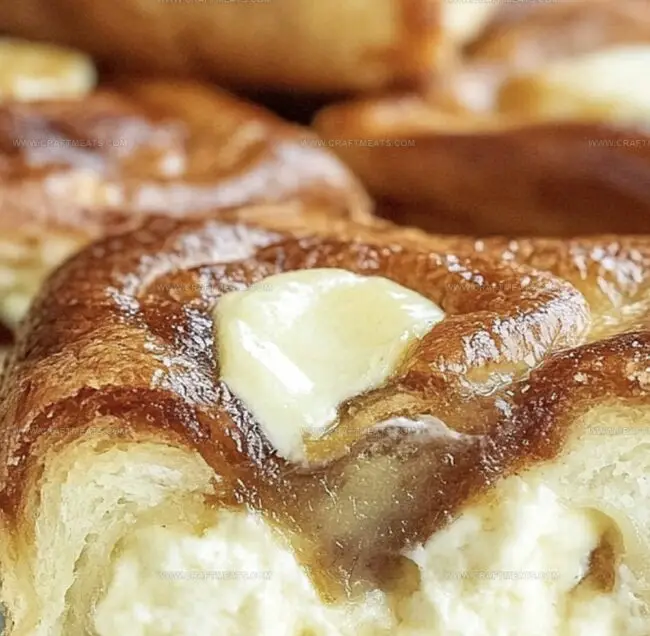
Soft, pillowy danish dough melts with rich cream cheese filling that hints at tropical comfort.
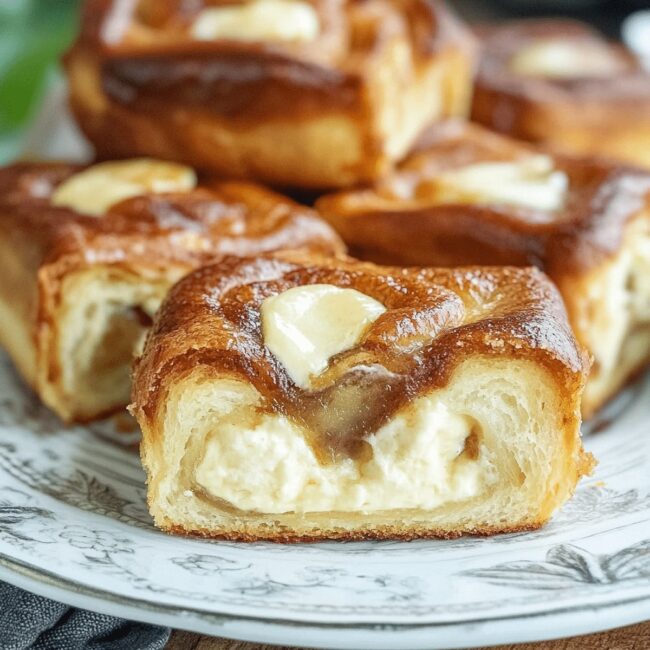
Each bite delivers a perfect balance of sweet and tangy flavors.
The golden-brown edges crisp up beautifully, creating a stunning presentation.
Simple ingredients come together to create something extraordinary.
Dive into this delectable recipe and transform your breakfast routine with a touch of Hawaiian-inspired magic.
Quick Recipe Overview
Ingredients In Kings Hawaiian Cheesecake Danish Recipe
For Base Ingredient:For Filling Ingredients:For Topping Ingredients:Tools Needed For Kings Hawaiian Cheesecake Danish Recipe
Steps To Bake Kings Hawaiian Cheesecake Danish Recipe
Unwrap the soft, fluffy rolls and keep them connected as one delightful bread block. Gently create small indentations in the center of each roll using fingertips or a small spoon, being careful not to puncture through the bottom.
Blend cream cheese with sugar and vanilla until silky smooth. Carefully fill each roll’s center with the luxurious mixture, stopping halfway to leave room for fruity goodness.
Add a dollop of vibrant fruit preserves on top of the creamy cheesecake filling. Spread gently to create a beautiful swirled effect across each roll.
Place the roll block in a preheated oven at 350°F. Bake until roll edges turn a gorgeous golden brown and the cheesecake filling sets perfectly, typically 15-18 minutes.
Whisk powdered sugar, milk, and vanilla into a smooth, glossy glaze. Drizzle the sweet mixture generously over the warm danishes, creating a mouthwatering finish.
Separate the rolls and serve while warm. Perfect for breakfast, brunch, or a delectable sweet treat any time of day.
Flavor Tips For Kings Hawaiian Cheesecake Danish Recipe
Serving Kings Hawaiian Cheesecake Danish Recipe Neatly
Storage Tips For Kings Hawaiian Cheesecake Danish Recipe
Print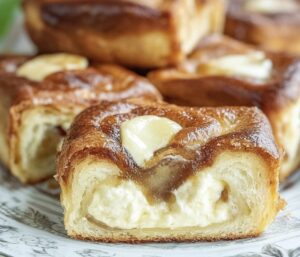
Heavenly Kings Hawaiian Cheesecake Danish Recipe
- Total Time: 25-30 minutes
- Yield: 11 1x
Description
Delightful Kings Hawaiian cheesecake danish merges tropical sweetness with creamy richness. Flaky pastry and luscious filling create a memorable breakfast or dessert treat for you to savor.
Ingredients
- 1 package Kings Hawaiian rolls (12 rolls)
- ½ cup (170 grams) fruit preserves (strawberry, raspberry, or your favorite flavor)
- 8 oz (226 grams) cream cheese, softened
- ⅓ cup (67 grams) granulated sugar
- 1 tsp vanilla extract
- ½ cup (60 grams) powdered sugar
- 2 tsps milk
- ½ tsp vanilla extract
Instructions
- Prepare Rolls: Preheat oven to 350F (175C). Arrange Kings Hawaiian rolls in a baking dish, keeping them connected as a single unit.
- Create Cheesecake Base: Blend cream cheese, sugar, and vanilla extract until smooth and creamy. Gently create shallow wells in each roll’s center without compromising the base.
- Fill and Top Rolls: Carefully fill each well with the cheesecake mixture, covering approximately half the depth. Artfully spread fruit preserves over the cheesecake layer to create a vibrant flavor profile.
- Bake Danish: Transfer the baking dish to the preheated oven. Bake for 15-18 minutes until rolls develop golden edges and cheesecake filling sets with a delicate firmness.
- Craft Glaze: While rolls cool slightly, whisk powdered sugar, milk, and vanilla extract to create a drizzle-worthy glaze. Adjust liquid consistency as needed for smooth application.
- Finish and Serve: Elegantly drizzle glaze over warm Danish using a spoon or piping technique. Separate individual rolls and serve immediately, celebrating the delightful fusion of textures and flavors.
Notes
- Maintain Roll Integrity: Keep rolls connected during preparation to ensure uniform baking and easier handling.
- Create Precise Wells: Use a small spoon or fingertip to gently hollow roll centers without breaking the base, ensuring even cheesecake distribution.
- Control Moisture Balance: Avoid overfilling cheesecake mixture to prevent soggy rolls and ensure a perfect creamy texture.
- Glaze Temperature Trick: Drizzle glaze when Danish is warm but not hot, allowing optimal absorption and preventing runny consistency.
- Prep Time: 10 minutes
- Cook Time: 15-18 minutes
- Category: Desserts, Snacks
- Method: Baking
- Cuisine: Hawaiian
Nutrition
- Serving Size: 11
- Calories: 200
- Sugar: 15 g
- Sodium: 150 mg
- Fat: 8 g
- Saturated Fat: 4 g
- Unsaturated Fat: 2 g
- Trans Fat: 0 g
- Carbohydrates: 30 g
- Fiber: 1 g
- Protein: 3 g
- Cholesterol: 25 mg
Liam O’Sullivan
Founder & Culinary Content Creator
Expertise
Recipe Development, Traditional Irish and European Cuisines, Food Styling and Photography, Culinary Education
Education
Dublin Institute of Technology (DIT) – School of Culinary Arts and Food Technology
Ballymaloe Cookery School
Isabella brings a global spark to the Craft Meats table. Born in Florence and trained at the Apicius International School of Hospitality, she blends classic Italian flavor with modern writing that’s easy to follow and hard to forget.
Her additional training at the Italian Chef Academy fueled her love for well-crafted dishes, especially ones that spotlight beautiful cuts of meat.
She’s a food writer with heart, and a deep love for storytelling through single recipes. Her goal? To help you cook with more confidence and a little more joy, no matter where you start.