Homemade 6-Ingredient Peanut Butter Kiss Cookies Recipe
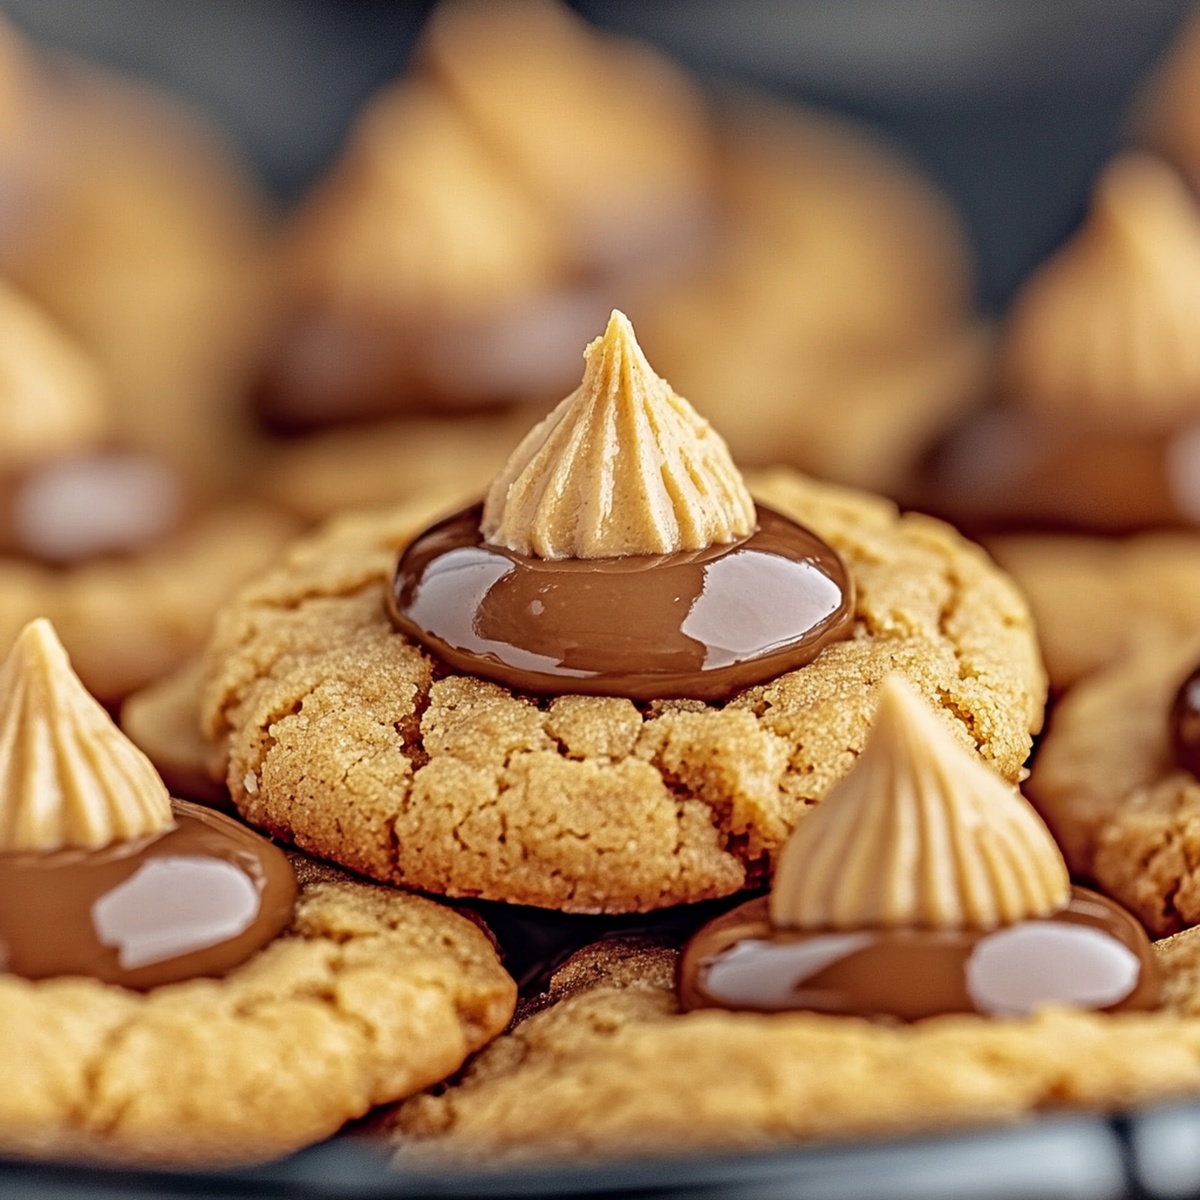
Soft, chewy cookies with a classic peanut butter kiss right in the center make this 6 ingredient peanut butter kiss cookies recipe a true crowd-pleaser.
Baking these simple treats brings warmth and nostalgia to any kitchen.
The minimal ingredient list means you can whip up these delightful cookies in no time.
Each bite delivers a perfect balance of rich peanut butter and sweet chocolate kiss.
Perfectly sweet and incredibly easy, these cookies are ideal for holiday gatherings or casual weekend baking.
The straightforward recipe ensures even novice bakers can create something delicious.
Dive into this simple yet irresistible cookie experience that promises to delight everyone at the table.
Tools Needed For 6 Ingredient Peanut Butter Kiss Cookies
How To Make 6 Ingredient Peanut Butter Kiss Cookies
Warm up the oven to a cozy 350 degrees and grab a baking sheet. Line it with parchment paper for easy cookie removal.
Grab a big mixing bowl and toss in all your cookie ingredients. Blend everything until it looks smooth and creamy, like a delicious peanut butter dream.
Roll the dough into cute little balls, about the size of a ping pong ball. Spread them out on the baking sheet with some breathing room between each cookie.
Pop the cookies into the oven and let them bake until the edges look just set but the centers stay soft and tender. This takes about 8-10 minutes.
Right after pulling the cookies out, gently press a chocolate kiss into the center of each warm cookie. Don’t worry about the little cracks – they’re part of the charm!
Let the cookies hang out on the baking sheet for a few minutes to catch their breath. Then move them to a cooling rack to finish cooling down completely.
Tips To Improve 6 Ingredient Peanut Butter Kiss Cookies
How To Serve 6 Ingredient Peanut Butter Kiss Cookies
Storage Tips For 6 Ingredient Peanut Butter Kiss Cookies
Quick Recipe Overview
Prep Time: 10 minutes
Cook Time: 10 minutes
Total Time: 20 minutes
Calories: 143 kcal
Servings: 23
6 Ingredient Peanut Butter Kiss Cookies Ingredient List
For Cookie Base:For Flavor Enhancers:For Finishing Touch: Print
Heavenly Peanut Butter Kiss Cookies Recipe
- Total Time: 20 minutes
- Yield: 23 1x
Description
Delightful peanut butter kiss cookies blend simple ingredients into irresistible treats. Classic American dessert combines rich peanut butter with chocolate kisses for a sweet moment you’ll savor.
Ingredients
- 1 cup (240 mL / 8 fl oz) creamy peanut butter
- 1 cup (200 g / 7 oz) granulated sugar
- 1 large egg
- 1 tsp (5 mL / 0.17 fl oz) vanilla extract
- ½ tsp (2.5 g / 0.09 oz) baking soda
- 24 chocolate kisses (unwrapped)
Instructions
- Preparation: Warm the oven to 350F (175C) and line a baking sheet with parchment paper, creating an ideal baking environment.
- Mixing: Combine peanut butter, sugar, egg, vanilla extract, and baking soda in a mixing bowl, stirring until a uniform, smooth dough forms with a consistent texture.
- Shaping: Roll the dough into compact, uniform balls roughly 1 inch in diameter, arranging them evenly across the prepared baking sheet with adequate spacing to prevent merging.
- Baking: Place the cookie sheet in the preheated oven and bake for 8-10 minutes, watching for edges to turn golden and centers to remain soft and slightly yielding.
- Finishing Touch: Immediately after removing from the oven, delicately press a chocolate kiss into the center of each warm cookie, allowing the heat to naturally crack the surface and embrace the chocolate.
- Cooling: Let the cookies rest on the baking sheet for 5 minutes to stabilize, then transfer to a wire rack to cool completely, ensuring a perfect texture and allowing the chocolate kiss to set.
Notes
- Measure Precisely: Use exact measurements for consistent cookie texture and taste, avoiding too dry or crumbly results.
- Handle Dough Gently: Roll cookie balls lightly to prevent dense, tough cookies; light touch ensures soft, melt-in-mouth texture.
- Control Kiss Placement: Press chocolate kiss immediately after baking while cookies are warm to help chocolate melt slightly and adhere perfectly.
- Explore Variations: Swap chocolate kiss with different flavor variants like caramel or peanut butter-filled kisses for unique taste experiences.
- Prep Time: 10 minutes
- Cook Time: 10 minutes
- Category: Desserts, Snacks
- Method: Baking
- Cuisine: American
Nutrition
- Serving Size: 23
- Calories: 143
- Sugar: 10 g
- Sodium: 45 mg
- Fat: 7 g
- Saturated Fat: 1.5 g
- Unsaturated Fat: 5 g
- Trans Fat: 0 g
- Carbohydrates: 16 g
- Fiber: 0.5 g
- Protein: 3.5 g
- Cholesterol: 15 mg
Liam O’Sullivan
Founder & Culinary Content Creator
Expertise
Recipe Development, Traditional Irish and European Cuisines, Food Styling and Photography, Culinary Education
Education
Dublin Institute of Technology (DIT) – School of Culinary Arts and Food Technology
Ballymaloe Cookery School
Isabella brings a global spark to the Craft Meats table. Born in Florence and trained at the Apicius International School of Hospitality, she blends classic Italian flavor with modern writing that’s easy to follow and hard to forget.
Her additional training at the Italian Chef Academy fueled her love for well-crafted dishes, especially ones that spotlight beautiful cuts of meat.
She’s a food writer with heart, and a deep love for storytelling through single recipes. Her goal? To help you cook with more confidence and a little more joy, no matter where you start.