
Buttery Snow-Dusted Treats: Classic Snowball Cookies Recipe
Delicate and powdery, these snowball cookies dance with a classic holiday charm that melts hearts faster than winter’s first snowfall.
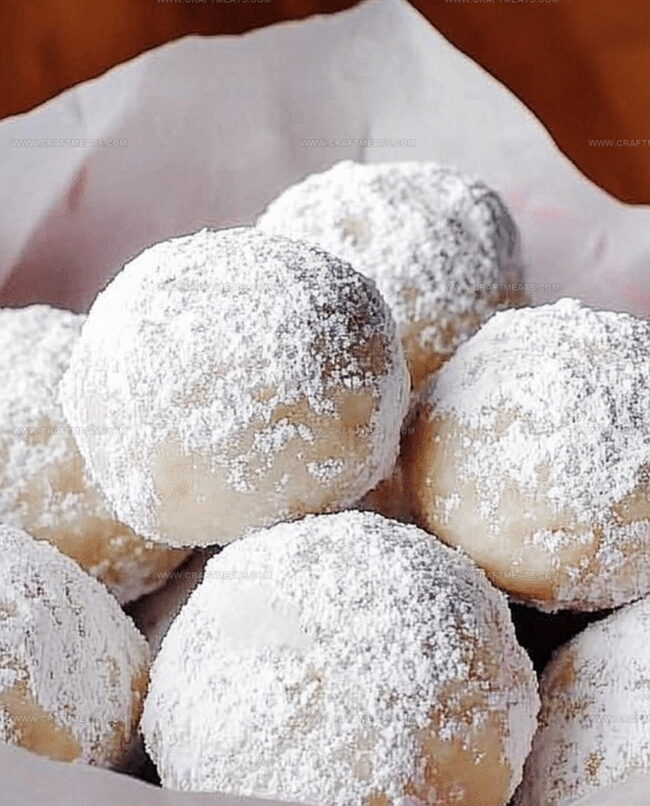
Nestled in a cloud of powdered sugar, the snowball cookies recipe brings a delightful crunch and melt-in-your-mouth texture to every festive gathering.
Buttery pecans blend seamlessly with rich, tender dough, creating a sweet treat that whispers nostalgia.
Each delicate orb promises a moment of pure winter magic, dusted with a generous coating of snow-white sugar.
Perfectly bite-sized and irresistibly simple, these cookies transform ordinary ingredients into extraordinary memories.
One taste transports you to cozy kitchen moments filled with warmth and laughter.
Dive into this beloved recipe and let the holiday spirit sparkle with every delectable bite.
Quick Recipe Overview
Snowball Cookies Ingredient List
For Base Ingredients:For Dry Ingredients:For Coating:Tools For Mixing Snowball Cookies Right
Steps To Bake Snowball Cookies That Don’t Crumble

Get your baking space ready with a clean surface and all your ingredients nearby. Warm up the oven to a toasty 350°F, creating the perfect environment for these delightful morsels.
In a spacious mixing bowl, transform butter into a cloud-like mixture by whipping it with powdered sugar. The goal is a fluffy, dreamy texture that feels like a winter morning cuddle.
Gently fold in vanilla, then gradually introduce flour and a pinch of salt. Sprinkle in nutty goodness to give these cookies their signature crunch. The dough should feel soft and slightly crumbly.
Roll small portions of dough into perfect little spheres. Each ball should be about the size of a walnut, nestled softly on a parchment-lined baking sheet.
Slide the tray into the oven and let the cookies transform. They’ll turn a gentle golden color on the bottom while maintaining a pale, delicate top. This takes roughly 10-12 minutes of patient waiting.
As soon as the cookies emerge, let them rest briefly. While still warm, roll each one in a generous drift of powdered sugar. Once completely cool, give them another sugar coating for that magical snow-covered look.
Arrange these delicate treats on a beautiful plate. They’ll keep their charm for about a week when stored in an airtight container, ready to bring winter warmth anytime.
Add-Ins For Snowball Cookies You’ll Love
How To Serve Snowball Cookies With Powdered Sugar
Storage Tips For Snowball Cookies To Stay Soft
Print
Heavenly Snowball Cookies Recipe
- Total Time: 30 minutes
- Yield: 23 1x
Description
Mexican wedding cookies showcase festive powdered sugar-coated delights that melt in your mouth. Delicate nutty crumbles create sweet memories you’ll cherish during holiday gatherings.
Ingredients
- 2 ¼ cups (280 g) all-purpose flour
- 1 cup (225 g) unsalted butter, softened
- 1 cup (120 g) finely chopped pecans or walnuts
- ½ cup (60 g) powdered sugar (plus extra for rolling)
- 1 tsp vanilla extract
- ¼ tsp salt
Instructions
- Preparation: Position oven rack in middle and preheat to 350F (175C). Line baking sheet with parchment paper for optimal cookie placement.
- Creaming: Whip softened butter and powdered sugar until light, fluffy, and pale, creating a smooth, aerated mixture. Incorporate vanilla extract, blending seamlessly.
- Dough Formation: Gently fold flour and salt into butter mixture, avoiding overmixing. Integrate finely chopped nuts, ensuring even distribution throughout the dough.
- Shaping and Baking: Portion dough into uniform small spheres and arrange on prepared baking sheet with modest spacing. Bake for 10-12 minutes, watching for subtle golden edges while maintaining a pristine pale top.
- Coating and Cooling: Immediately after removing from oven, while cookies are still warm, generously coat each with powdered sugar. Transfer to cooling rack and apply a second sugar dusting for a luxurious, snow-like finish. Allow complete cooling.
- Storage: Once fully cooled, store cookies in an airtight container at room temperature, where they will remain fresh and delectable for up to one week.
Notes
- Prep Like a Pro: Use room temperature butter for smoother, more even mixing and better cookie texture.
- Gentle Mixing Magic: Fold flour and nuts with a light hand to prevent tough, dense cookies – overmixing leads to hard results.
- Sugar Coating Technique: Roll warm cookies in powdered sugar immediately after baking for thicker, more even sugar coverage that sticks perfectly.
- Nut Flexibility: Swap pecans or walnuts based on preference, ensuring nuts are finely chopped to maintain delicate cookie structure.
- Prep Time: 15 minutes
- Cook Time: 15 minutes
- Category: Desserts, Snacks
- Method: Baking
- Cuisine: American
Nutrition
- Serving Size: 23
- Calories: 136
- Sugar: 2 g
- Sodium: 10 mg
- Fat: 13 g
- Saturated Fat: 8 g
- Unsaturated Fat: 5 g
- Trans Fat: 0 g
- Carbohydrates: 9 g
- Fiber: 1 g
- Protein: 2 g
- Cholesterol: 30 mg
Liam O’Sullivan
Founder & Culinary Content Creator
Expertise
Recipe Development, Traditional Irish and European Cuisines, Food Styling and Photography, Culinary Education
Education
Dublin Institute of Technology (DIT) – School of Culinary Arts and Food Technology
Ballymaloe Cookery School
Isabella brings a global spark to the Craft Meats table. Born in Florence and trained at the Apicius International School of Hospitality, she blends classic Italian flavor with modern writing that’s easy to follow and hard to forget.
Her additional training at the Italian Chef Academy fueled her love for well-crafted dishes, especially ones that spotlight beautiful cuts of meat.
She’s a food writer with heart, and a deep love for storytelling through single recipes. Her goal? To help you cook with more confidence and a little more joy, no matter where you start.