
Sweet Homemade Starbucks Cake Pops Recipe: Fun Bite-sized Joy
Sweet treats sometimes strike when you least expect a homemade starbucks cake pops recipe that can rival the coffee shop favorite.
Crafting these delectable bites is easier than most people realize.
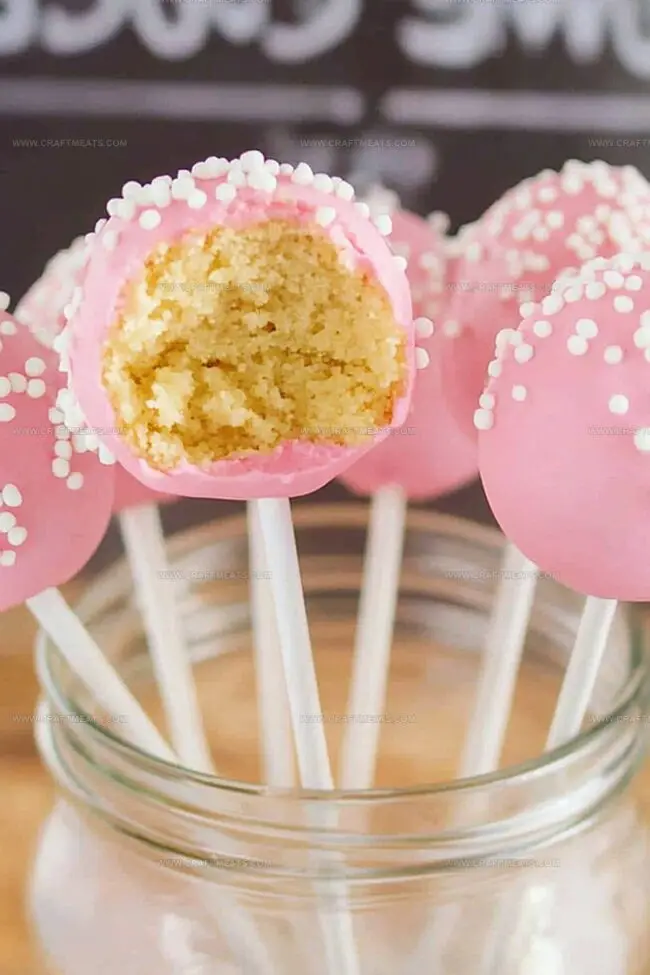
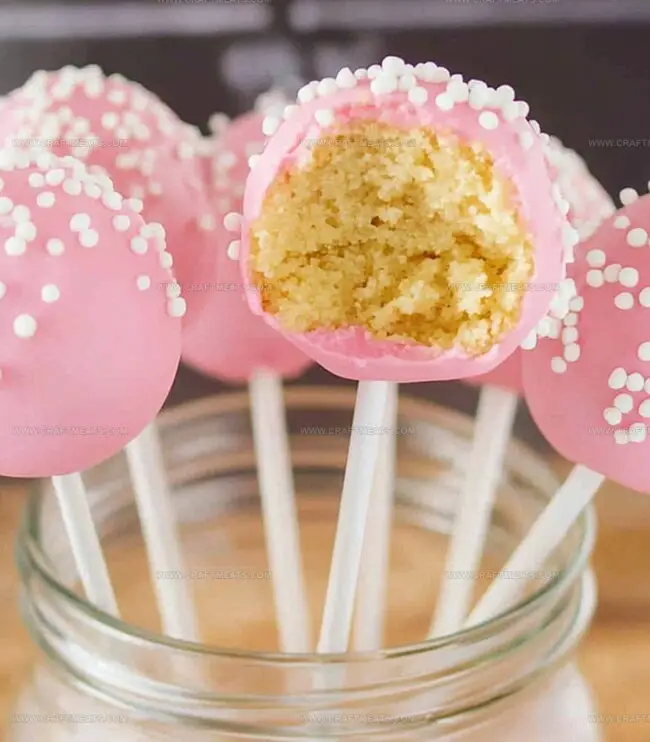
Each bite-sized morsel delivers a perfect blend of moist cake and smooth chocolate coating.
Bakers of all skill levels can successfully create these delightful desserts with simple ingredients.
The playful presentation makes these cake pops an instant crowd-pleaser at parties or casual gatherings.
Colorful sprinkles and creative decorations add a personal touch to these irresistible confections.
Dive into this recipe and transform your kitchen into a delightful dessert paradise.
Quick Recipe Overview
All The Ingredients In Starbucks Cake Pops Recipe
For Cake Base:For Binding and Moisture:For Decoration and Coating:Gear You’ll Need For Starbucks Cake Pops Recipe
How To Put Together Starbucks Cake Pops Recipe
Create a delectable cake base using your favorite recipe or boxed mix. Bake in a standard pan and allow it to cool completely, letting the aroma fill your kitchen.
Gently break the cooled cake into fine, delicate crumbs. The texture should resemble soft, fluffy breadcrumbs that will form the heart of your delightful treat.
Mix cake crumbs with creamy frosting until the mixture holds together perfectly. The consistency should be just right – moist enough to shape but not too wet.
Roll the mixture into smooth, uniform spheres using your palms. Place these delicate orbs on a lined tray and chill briefly to help them set.
Melt chocolate or candy melts carefully, creating a smooth, glossy liquid. A touch of oil can help achieve the perfect dipping consistency.
Insert lollipop sticks into the chilled cake balls, ensuring they’re secure. A quick dip of the stick’s tip in melted coating helps create a strong connection.
Submerge each cake ball into the molten coating, twirling gently to ensure complete coverage. Adorn with colorful sprinkles or decorative elements while the coating is still soft.
Allow the cake pops to set completely, creating a stunning treat that’s both visually appealing and deliciously irresistible.
Fun Tips For Starbucks Cake Pops Recipe
Cute Ways To Serve Starbucks Cake Pops Recipe
Store Starbucks Cake Pops Recipe The Right Way
Print
Heavenly Starbucks Cake Pops Recipe
- Total Time: 1 hour 20 minutes
- Yield: 23 1x
Description
Starbucks cake pops deliver a delightful blend of sweet nostalgia and bakery charm. Chocolate-coated spheres of crumbled cake provide a perfect handheld treat for coffee shop enthusiasts looking to recreate their favorite indulgence at home.
Ingredients
- 1 cake mix (vanilla or chocolate)
- Eggs (as per box instructions)
- Water (as per box instructions)
- Oil (as per box instructions)
- ⅓ cup (75 g) frosting (vanilla or chocolate)
- 2 cups (340 g) candy melts (white, pink, or chocolate)
- 1 tbsp (15 ml) vegetable or coconut oil (optional, for thinning)
- Sprinkles or nonpareils
- Cake pop sticks
- 1 homemade cake recipe (alternative option)
Instructions
- Cake Preparation: Craft batter following package instructions or preferred recipe. Pour into rectangular baking dish, ensuring even distribution. Bake according to guidelines and cool thoroughly at room temperature.
- Cake Transformation: Pulverize cooled cake into fine, delicate crumbs using a fork or food processor. Transfer crumbs to a spacious mixing bowl.
- Binding Process: Integrate frosting into cake crumbs, blending meticulously until the mixture reaches a cohesive, moldable consistency that holds shape when gently pressed.
- Shaping Technique: Scoop and roll uniform spherical cake balls, ensuring smooth surfaces. Arrange on a parchment-lined tray and briefly freeze to enhance structural stability.
- Coating Preparation: Melt confectionery wafers in a microwave-safe container, stirring periodically to prevent burning. Incorporate a small amount of oil to achieve a silky, smooth coating.
- Stick Insertion: Dip stick ends into melted coating, then carefully insert midway through each cake ball. Return to freezer for brief stabilization.
- Dipping and Decorating: Submerge each pop fully in glossy coating, rotating to ensure complete coverage. Tap gently to remove excess. Quickly embellish with sprinkles or desired toppings before coating sets.
- Final Setting: Position cake pops upright in a specialized stand or foam block. Allow coating to harden completely before serving and enjoying.
Notes
- Prevent Crumbly Texture: Ensure cake crumbs are moist enough by gradually adding frosting, checking consistency by gently squeezing – mixture should hold shape without falling apart.
- Optimize Coating Technique: Melt chocolate at low temperature, adding vegetable oil helps create smoother, more even coating and prevents cracking during dipping process.
- Master Ball Formation: Use small cookie scoop for consistent size, roll gently between palms with light pressure to create smooth, compact cake balls without dense compression.
- Temperature Control Matters: Briefly chill cake balls before coating to maintain structural integrity, keep coating around 90°F for ideal dipping consistency – too hot causes sliding, too cool creates thick layers.
- Prep Time: 30 minutes
- Cook Time: 20 minutes
- Category: Desserts, Snacks
- Method: Baking
- Cuisine: American
Nutrition
- Serving Size: 23
- Calories: 160
- Sugar: 18 g
- Sodium: 120 mg
- Fat: 7 g
- Saturated Fat: 3 g
- Unsaturated Fat: 4 g
- Trans Fat: 0 g
- Carbohydrates: 24 g
- Fiber: 0 g
- Protein: 2 g
- Cholesterol: 20 mg
Liam O’Sullivan
Founder & Culinary Content Creator
Expertise
Recipe Development, Traditional Irish and European Cuisines, Food Styling and Photography, Culinary Education
Education
Dublin Institute of Technology (DIT) – School of Culinary Arts and Food Technology
Ballymaloe Cookery School
Isabella brings a global spark to the Craft Meats table. Born in Florence and trained at the Apicius International School of Hospitality, she blends classic Italian flavor with modern writing that’s easy to follow and hard to forget.
Her additional training at the Italian Chef Academy fueled her love for well-crafted dishes, especially ones that spotlight beautiful cuts of meat.
She’s a food writer with heart, and a deep love for storytelling through single recipes. Her goal? To help you cook with more confidence and a little more joy, no matter where you start.