Sweet Moose Farts Recipe: Giggly Treats Everyone Loves
Dessert lovers can’t resist this quirky moose farts recipe that brings unexpected giggles to the dinner table.
Sweet toffee-like treats dance with playful charm and delightful simplicity.
These Canadian-inspired no-bake confections melt quickly in your mouth with rich caramel notes.
Chocolate lovers and adventurous bakers will adore how easy these delectable bites come together.
Each bite packs a sugary punch that transforms an ordinary moment into something memorable.
The recipe takes less than 15 minutes to prepare, making it perfect for spontaneous cravings.
Dive into this whimsical dessert and let the deliciousness surprise you.
Quick Recipe Overview
What You Need For Moose Farts Recipe
For Base Ingredients:For Coating Options:For Finishing Touch:Tools To Make Moose Farts Recipe Work
How To Mix Moose Farts Recipe
Blend coconut, graham cracker crumbs, sweetened milk, and vanilla into a soft, clumpy mixture that sticks together perfectly.
Roll the sticky mixture into adorable little round bites using gentle hands or a tiny scoop. Arrange these delightful treats on a lined baking sheet.
Pop the coconut balls into the refrigerator for a quick 30-minute cool-down, allowing them to firm up and become deliciously solid.
Transform your treats with two magical coating options: Either dunk them in melted chocolate, letting excess drip away, or dust them with a soft blanket of powdered sugar for a classic touch.
Keep these delectable coconut bombs tucked away in a sealed container inside the refrigerator. They’ll stay fresh and ready to enjoy for about a week, perfect for surprise snack attacks or sharing with friends.
Simple Tips For Moose Farts Recipe
Cute Ways To Serve Moose Farts Recipe
How To Store Moose Farts Recipe For Later
Print
Hilarious Moose Farts Recipe
- Total Time: 45 minutes
- Yield: 11 1x
Description
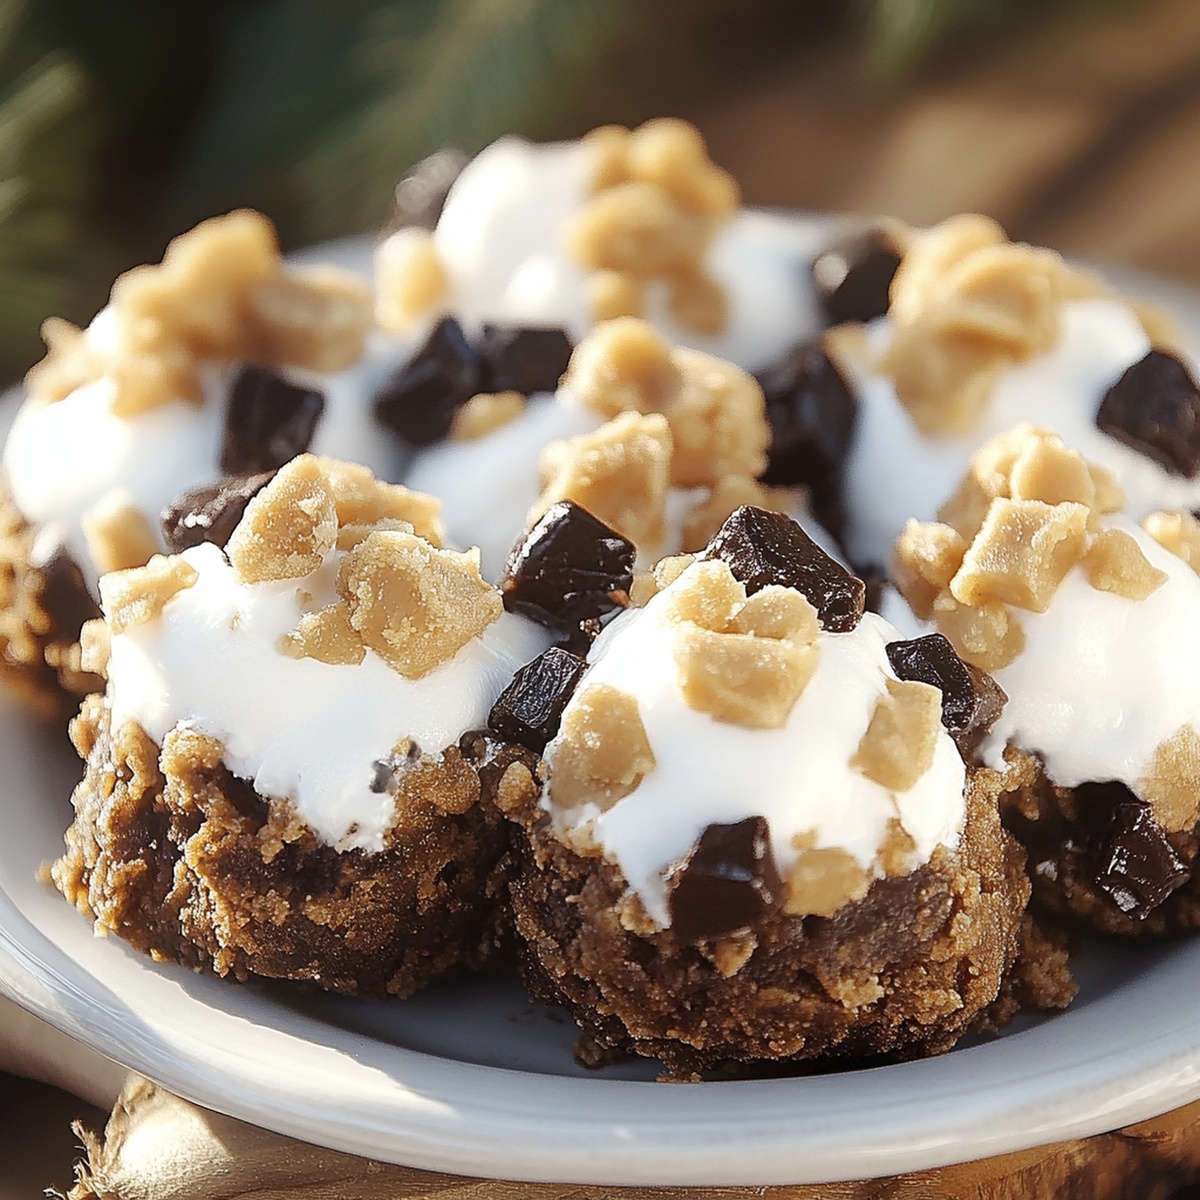
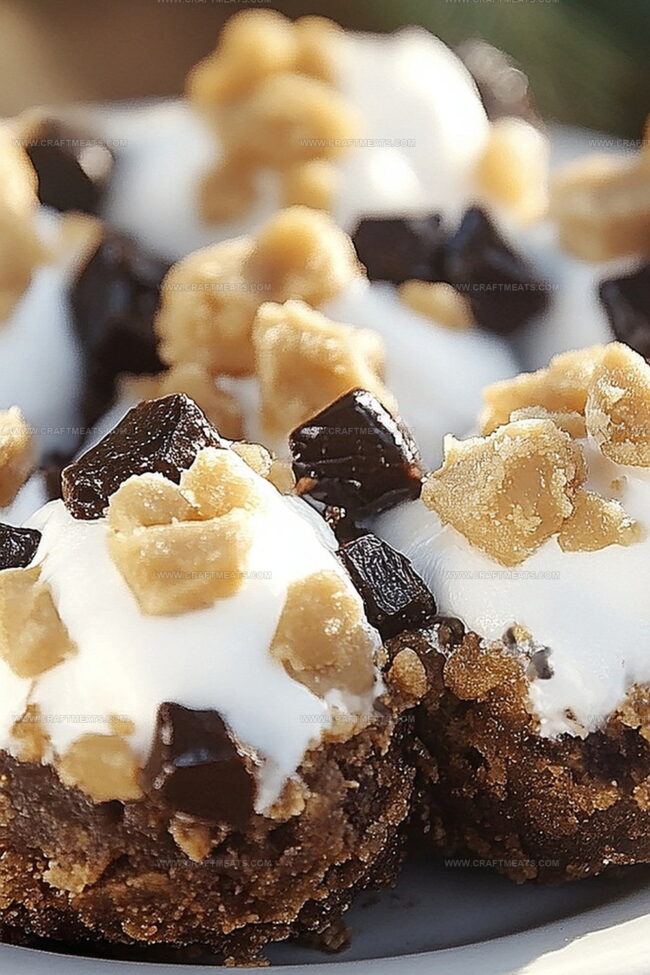
Quirky Canadian Moose Farts dessert blends chocolate, coconut, and graham cracker crumbs into playful no-bake treats. Canadians adore these quick, simple sweets that you can whip up in minutes for giggles and satisfaction.
Ingredients
- ½ cup (120 mL / 4 fl oz) sweetened condensed milk
- 1 cup (100 g / 3.5 oz) graham cracker crumbs
- 2 cups (150 g / 5.3 oz) shredded sweetened coconut
- ½ tsp (2.5 mL) vanilla extract
- 1 cup (175 g / 6.2 oz) semi-sweet chocolate chips
- powdered sugar
Instructions
- Mixing: Combine shredded coconut, graham cracker crumbs, sweetened condensed milk, and vanilla extract in a large mixing bowl. Blend thoroughly until the mixture becomes cohesive and slightly sticky.
- Shaping: Mold the mixture into uniform spherical treats using clean hands or a cookie scoop, creating bite-sized orbs approximately one inch in diameter. Arrange these delicacies on a parchment-lined baking sheet.
- Chilling: Refrigerate the shaped treats for at least 30 minutes to help them maintain their structural integrity and develop a firmer consistency.
- Finishing: Choose your preferred coating method – either delicately dip each chilled sphere into melted chocolate chips, ensuring smooth coverage by allowing excess chocolate to drip back into the bowl, or generously dust the orbs with powdered sugar for a classic, understated look.
- Setting: Place the coated treats on parchment paper, allowing the chocolate to solidify completely or the powdered sugar to adhere seamlessly. This process ensures a perfect, elegant finish.
- Storage: Transfer the completed confections to an airtight container and refrigerate. These delectable morsels will preserve their exceptional flavor and texture for up to one week. For optimal enjoyment, serve slightly chilled or allow to rest at room temperature for a softer, more luxurious experience.
Notes
- Maintain Precise Mixture Consistency: Blend ingredients thoroughly until the mixture becomes slightly tacky but not too wet, ensuring the spheres hold together perfectly without crumbling.
- Control Portion Size: Use a cookie scoop or consistent hand-rolling technique to create uniform one-inch spheres for even texture and professional presentation.
- Master Chocolate Coating Technique: Melt chocolate gradually using short microwave intervals, stirring consistently to prevent burning and achieve a smooth, glossy finish for elegant dipping.
- Optimize Storage and Serving: Refrigerate treats in an airtight container for maximum freshness, allowing them to chill for best texture or letting them sit briefly at room temperature for a softer, more decadent bite.
- Prep Time: 25 minutes
- Cook Time: 20 minutes
- Category: Desserts, Drinks, Cocktails
- Method: Mixing
- Cuisine: Canadian
Nutrition
- Serving Size: 11
- Calories: 150
- Sugar: 13 g
- Sodium: 30 mg
- Fat: 6 g
- Saturated Fat: 4 g
- Unsaturated Fat: 2 g
- Trans Fat: 0 g
- Carbohydrates: 22 g
- Fiber: 1 g
- Protein: 2 g
- Cholesterol: 5 mg
Liam O’Sullivan
Founder & Culinary Content Creator
Expertise
Recipe Development, Traditional Irish and European Cuisines, Food Styling and Photography, Culinary Education
Education
Dublin Institute of Technology (DIT) – School of Culinary Arts and Food Technology
Ballymaloe Cookery School
Isabella brings a global spark to the Craft Meats table. Born in Florence and trained at the Apicius International School of Hospitality, she blends classic Italian flavor with modern writing that’s easy to follow and hard to forget.
Her additional training at the Italian Chef Academy fueled her love for well-crafted dishes, especially ones that spotlight beautiful cuts of meat.
She’s a food writer with heart, and a deep love for storytelling through single recipes. Her goal? To help you cook with more confidence and a little more joy, no matter where you start.