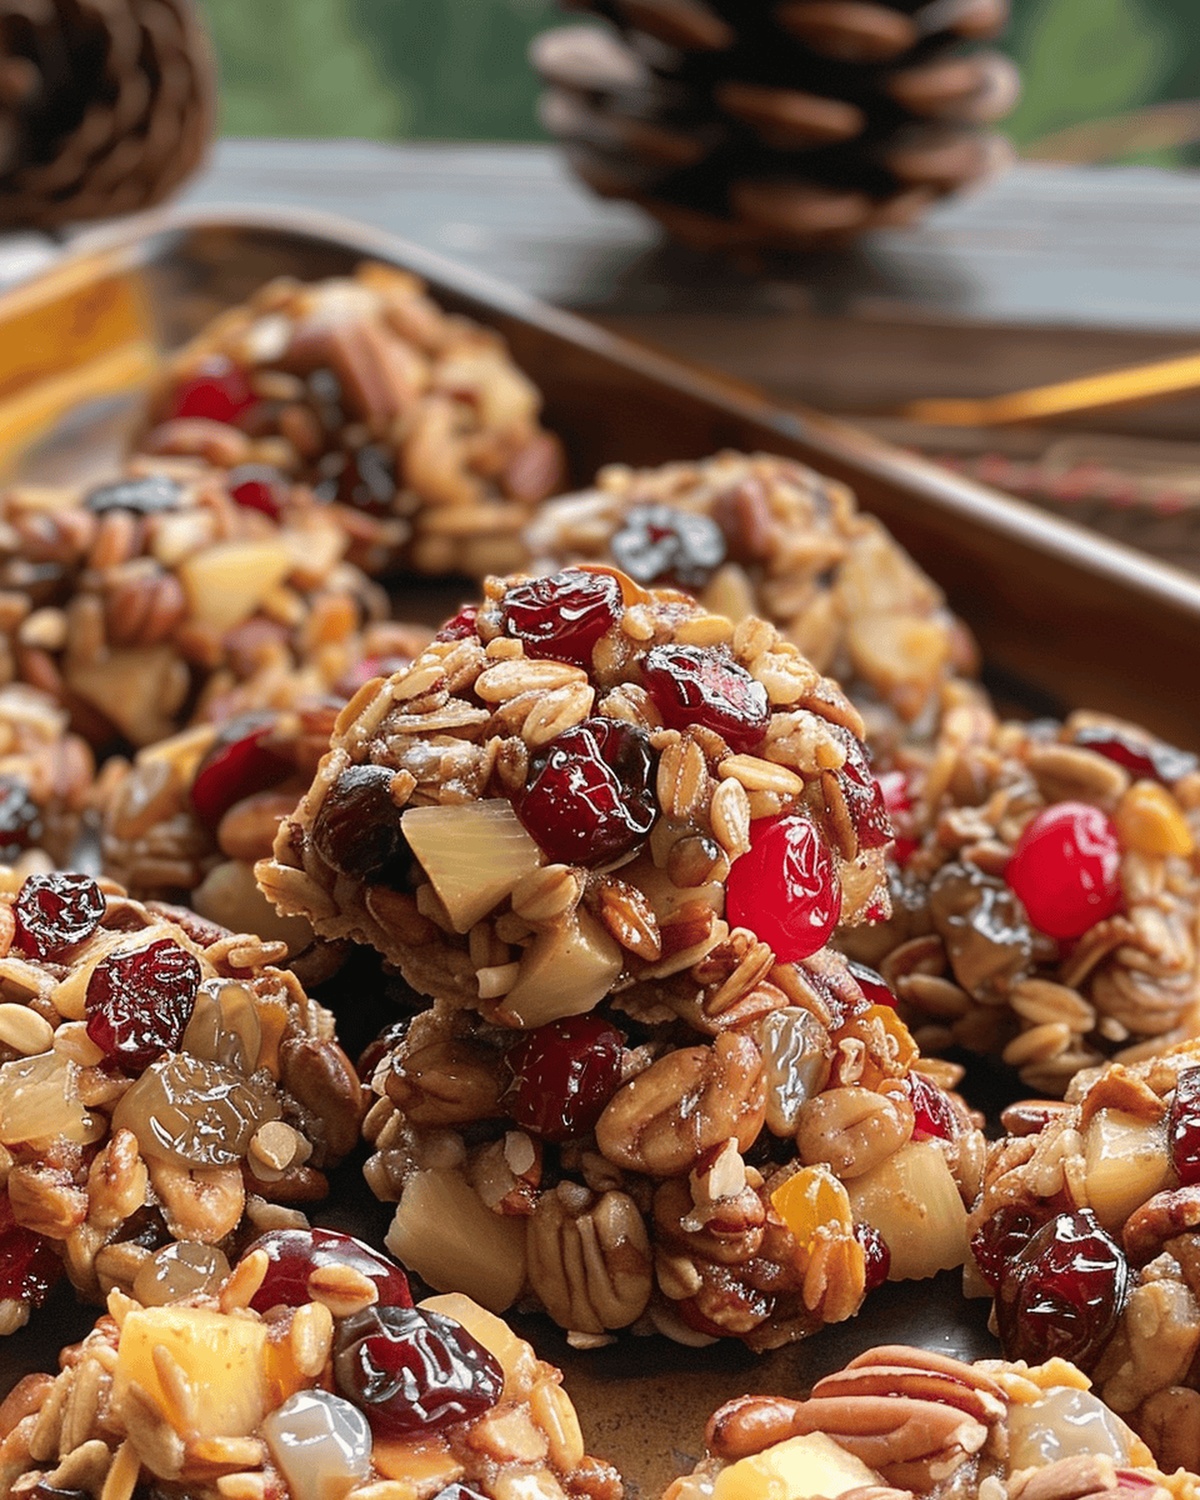
Holiday Treat Bites Recipe for Sharing Joy in Every Bite
Sweet holiday bliss bites capture the essence of seasonal joy in every delectable morsel.
Imagine tiny morsels packed with festive flavors that dance across your taste buds.
These irresistible treats blend rich ingredients into compact, elegant nibbles perfect for celebrations.
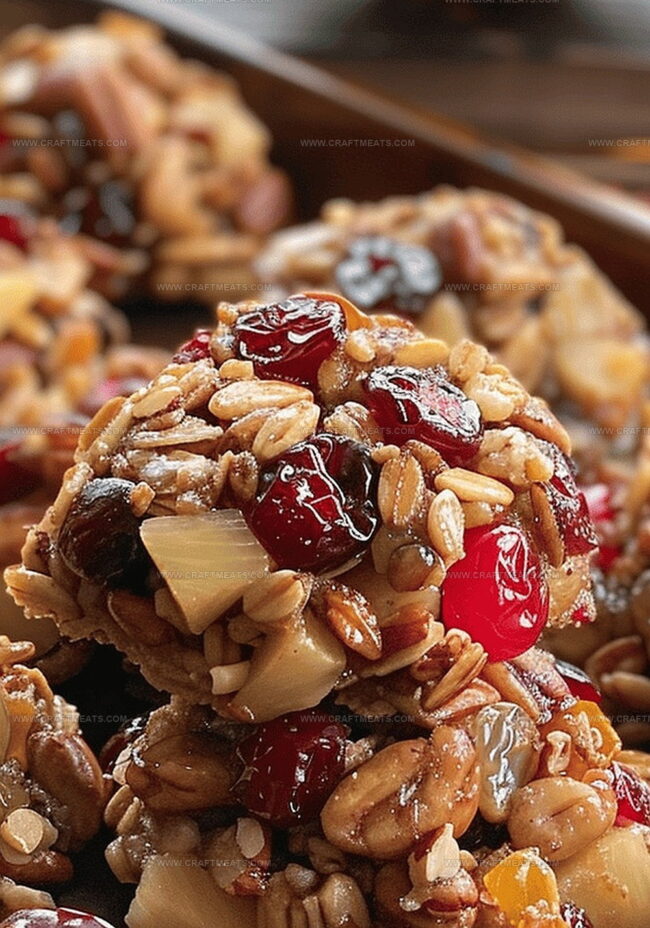
Delightful combinations create miniature culinary experiences that spark warmth and connection.
Compact yet complex, these bliss bites promise delicious memories with minimal preparation effort.
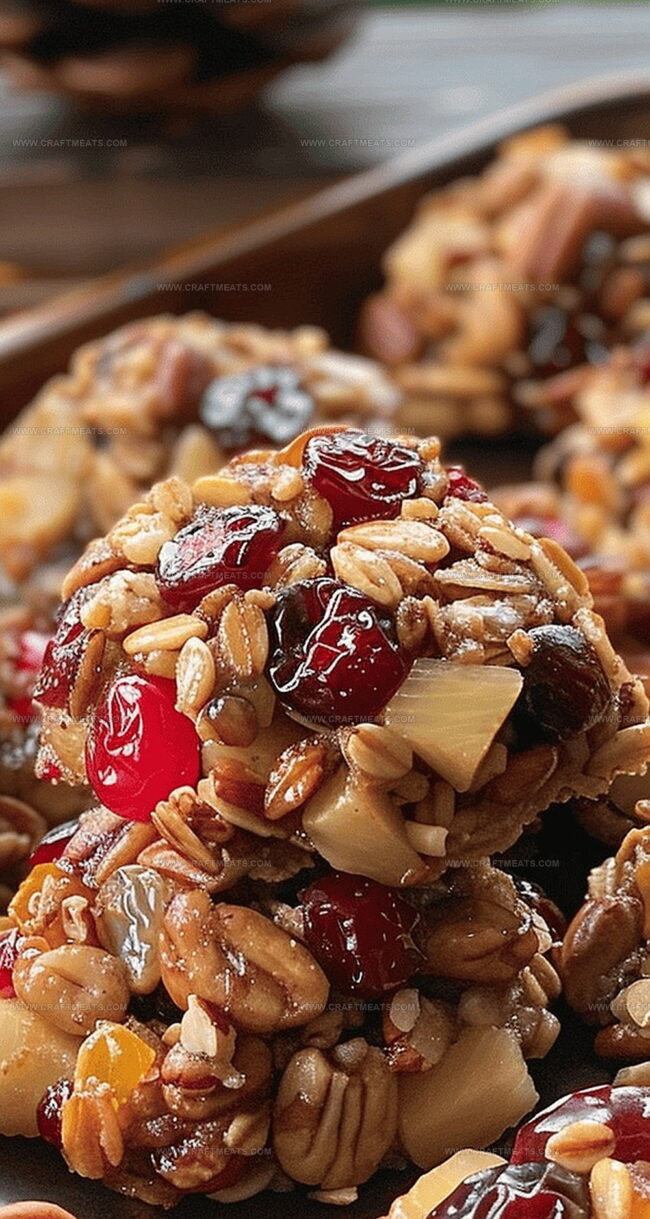
Playful textures and unexpected flavor profiles make each bite a delightful surprise.
We promise these irresistible morsels will become an instant favorite at your next gathering.
Holiday Bliss Bites You Can’t Stop Eating
What You’ll Need for Blissful Bites
Nut Group:Dried Fruit Group:Baking Base Group:Flavor and Binding Enhancers:Preparation Extras:Quick Steps to Make Holiday Treats
Step 1: Prepare Baking Station
Warm up the oven to 350 Fahrenheit. Position the rack in the upper third of the oven. Cover four cookie sheets with parchment paper and lightly spray with non-stick cooking spray.
Step 2: Crush Nutty Goodness
Use a food processor to chop each type of nut separately until they reach a small, pebble-like texture:Transfer the processed nuts into a large mixing bowl.
Step 3: Chop Fruity Delights
Pulse the following fruits in the food processor to match the nut size:Mix the chopped fruits into the nut bowl.
Step 4: Dust with Flour
Sprinkle flour into the fruit and nut mixture. Gently toss until everything is evenly coated. Set the bowl aside.
Step 5: Create Creamy Base
In a separate bowl, whip softened butter and brown sugar together until smooth and fluffy. You can use a stand mixer or mix by hand.
Step 6: Build Flavor Foundation
Add an egg to the butter mixture. Blend thoroughly. Stir in remaining ingredients:Step 7: Merge Mixtures
Pour the wet mixture over the fruit and nut blend. Mix everything by hand until well combined.
Step 8: Shape Delightful Bites
Use a small scoop to create 48 one-ounce drops. Place 12 drops on each prepared cookie sheet.
Step 9: Bake to Perfection
Slide two sheets into the oven at a time. Bake for 20 minutes. Rotate sheets halfway through cooking to ensure even browning.
Step 10: Cool and Enjoy
Transfer cookies to a cooling rack. Allow them to cool completely before serving.
Tips for Balanced Sweetness and Texture
Keeping Holiday Bites Fresh Longer
Snacks and Drinks That Match the Mood
Ideas to Personalize Your Bites
All the FAQs You’re Thinking About
Yes, you can replace walnuts, almonds, and pecans with similar nuts like cashews or macadamia nuts. Just ensure they’re processed to a similar pea-sized consistency.
Store the cooled bites in an airtight container at room temperature for up to 5 days. For longer storage, refrigerate for up to a week or freeze for up to a month.
No, this recipe contains flour. To make them gluten-free, you’ll need to substitute the regular flour with a gluten-free alternative like almond or coconut flour.
While the recipe suggests one-ounce drops, you can adjust the size. Just remember to modify baking time accordingly – smaller bites will need less time, larger ones more time in the oven.
Print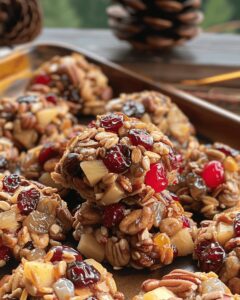
Holiday Bliss Bites Recipe
- Total Time: 35 minutes
- Yield: 24 1x
Description
Festive holiday bliss bites deliver pure Christmas magic in one delectable morsel. Sweet chocolate and peppermint combine with smooth cream cheese to create irresistible seasonal joy you cannot resist.
Ingredients
Nuts:
- 1 cup walnuts
- 1 cup almonds
- 1 cup pecans
Dried Fruits:
- 1 cup pitted dates
- 1 cup candied cherries
- 2 cups candied pineapple
- 1 cup dried cranberries
Baking Ingredients:
- 1 cup all-purpose flour
- 1 cup butter, softened
- ⅓ cup brown sugar
- 1 whole egg
- 1 teaspoon ground cinnamon
- 1 teaspoon baking soda
- 1 teaspoon vanilla extract
- Non-stick pan spray
Instructions
- Meticulously chop walnuts, almonds, and pecans in a food processor until they resemble coarse pebbles, ensuring uniform texture.
- Process dates, cherries, pineapple, and cranberries to match the nut consistency, creating a vibrant, textured mixture.
- Gently fold one cup of flour into the fruit and nut medley, ensuring even distribution without compressing the delicate blend.
- Whip softened butter and brown sugar in a separate vessel until the mixture transforms into a creamy, pale landscape.
- Introduce the egg into the butter mixture, whisking until fully integrated and smooth.
- Incorporate remaining flour, ground cinnamon, baking soda, and vanilla extract, stirring until a harmonious batter emerges.
- Pour the aromatic wet ingredients over the fruit and nut base, carefully folding to create a cohesive mixture.
- Preheat the oven to 350F, positioning the rack in the upper third of the oven.
- Line four cookie sheets with parchment paper and lightly mist with non-stick spray.
- Utilize a small scoop to portion the mixture into 48 uniform droplets, arranging 12 on each prepared sheet.
- Slide two sheets into the oven simultaneously, baking for approximately 20 minutes and rotating midway to ensure even browning.
- Transfer the golden bites to a cooling rack, allowing them to reach room temperature and develop their full flavor profile.
Notes
- Nutty Texture Matters: Pulse nuts and fruits to pea-sized consistency for even distribution and consistent bite texture.
- Precise Portioning Tip: Use a small scoop to create uniform one-ounce drops, ensuring consistent baking and appearance.
- Rotation is Key: Halfway through baking, rotate cookie sheets to promote even browning and prevent uneven cooking.
- Storage Secret: Once completely cooled, store in an airtight container to maintain freshness and soft texture.
- Ingredient Flexibility: Feel free to swap dried fruits or nuts based on personal preference or seasonal availability.
- Make-Ahead Magic: Dough can be prepared in advance and refrigerated for up to 2 days before baking, perfect for holiday prep.
- Prep Time: 15 minutes
- Cook Time: 20 minutes (per batch)
- Category: Snacks, Desserts
- Method: Baking
- Cuisine: American
Nutrition
- Serving Size: 24
- Calories: 118
- Sugar: 9 g
- Sodium: 60 mg
- Fat: 8 g
- Saturated Fat: 3 g
- Unsaturated Fat: 5 g
- Trans Fat: 0 g
- Carbohydrates: 11 g
- Fiber: 1 g
- Protein: 2 g
- Cholesterol: 10 mg
Isabella Rossi
Founder & Culinary Content Creator
Expertise
Recipe Development, Traditional Irish and European Cuisines, Food Styling and Photography, Culinary Education
Education
Dublin Institute of Technology (DIT) – School of Culinary Arts and Food Technology
Ballymaloe Cookery School
Liam is the voice behind many of Craft Meats’ most flavorful features. With roots in Dublin’s smoky barbecue scene and a culinary degree from the Dublin Institute of Technology, he brings time-tested cooking techniques to life.
His training at Ballymaloe Cookery School sharpened his farm-to-table approach, giving him a deep respect for every ingredient he writes about.
He’s not about overcomplicating the process, just helping you cook meat that’s worth talking about. When he’s not writing or grilling, he’s out foraging or nerding out on regional spice blends to add to his next recipe.