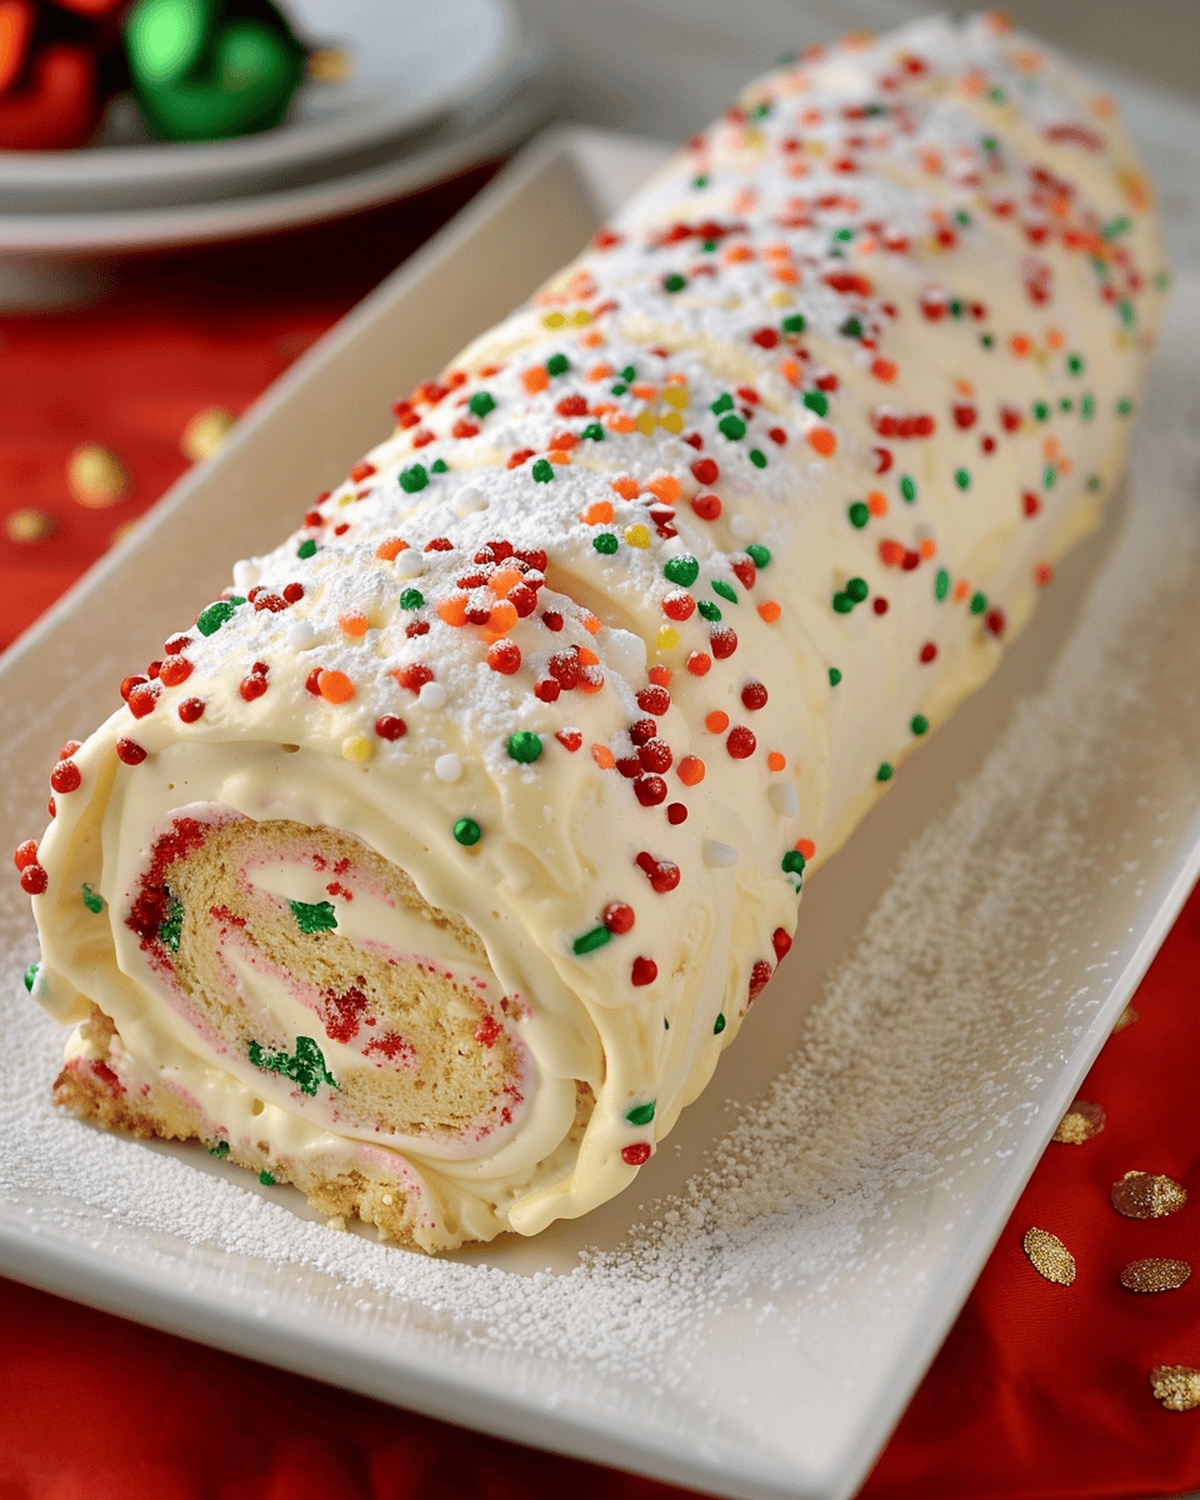
Festive Holiday Celebration Cake Roll Recipe: Sweet Spirals of Joy
Sweet memories unfold with this holiday celebration cake roll, a delightful dessert that captures the spirit of joyful gatherings.
Soft, elegant layers promise a magical culinary experience that dances between tradition and innovation.
Delicate textures and rich flavors intertwine, creating a sensational treat that sparks warm conversations.
Imagine a dessert so inviting that every slice tells a story of love and connection.
Intricate swirls and smooth fillings blend seamlessly, promising a moment of pure indulgence.
Festive and charming, this dessert brings people together with its irresistible appeal.
You will find yourself enchanted by its whimsical presentation and comforting taste.
Explore this delectable journey that celebrates happiness in every single bite.
Why This Cake Roll Is a Holiday Must-Have
Festive Ingredients That Make It Shine
Cake Base Ingredients:Meringue Ingredients:Filling and Decoration Ingredients:How to Roll It Without Breaking
Step 1: Whip Up Festive Batter
Crack eggs and egg yolks into a mixing bowl. Add sugar and beat with an electric mixer on medium-high speed for 3-5 minutes until the mixture becomes pale and fluffy. Stir in vanilla extract. Gently sift flour and cornstarch over the egg mixture, folding carefully to maintain airiness. Create colorful swirls by adding red and green food coloring.
Step 2: Create Airy Meringue
In a separate clean bowl, whip egg whites with a sprinkle of sugar until stiff peaks form. Delicately fold the meringue into the batter, preserving the light, cloudlike texture.
Step 3: Prepare Baking Canvas
Preheat oven to 450°F (230°C). Line a 17×12 inch jelly roll pan with parchment paper. Spread the batter evenly, creating a smooth surface.
Step 4: Bake to Golden Perfection
Bake for 6-7 minutes until the cake turns golden and springs back when touched. Work quickly for the next steps!
Step 5: Shape the Rolled Masterpiece
Immediately flip the cake onto a sugar-dusted kitchen towel. Carefully peel off parchment paper. Dust with more powdered sugar and gently roll the cake with the towel. Allow to cool completely on a wire rack.
Step 6: Craft Creamy Filling
Whip butter until smooth and creamy. Gradually blend in powdered sugar and vanilla extract. Thin with cream if needed. Fold in sprinkles gently to prevent color bleeding.
Step 7: Assemble the Celebration Roll
Unroll the cooled cake carefully. Spread the buttercream filling evenly across the surface. Roll the cake back up, creating a beautiful spiral of color and flavor.
Step 8: Chill and Set
Refrigerate the cake roll for several hours to help it firm up and set perfectly.
Step 9: Add Spectacular Finishing Touches
Melt white chocolate and drizzle artfully over the chilled cake. Sprinkle additional decorative sprinkles for extra festive flair. Let the chocolate set before slicing and serving.
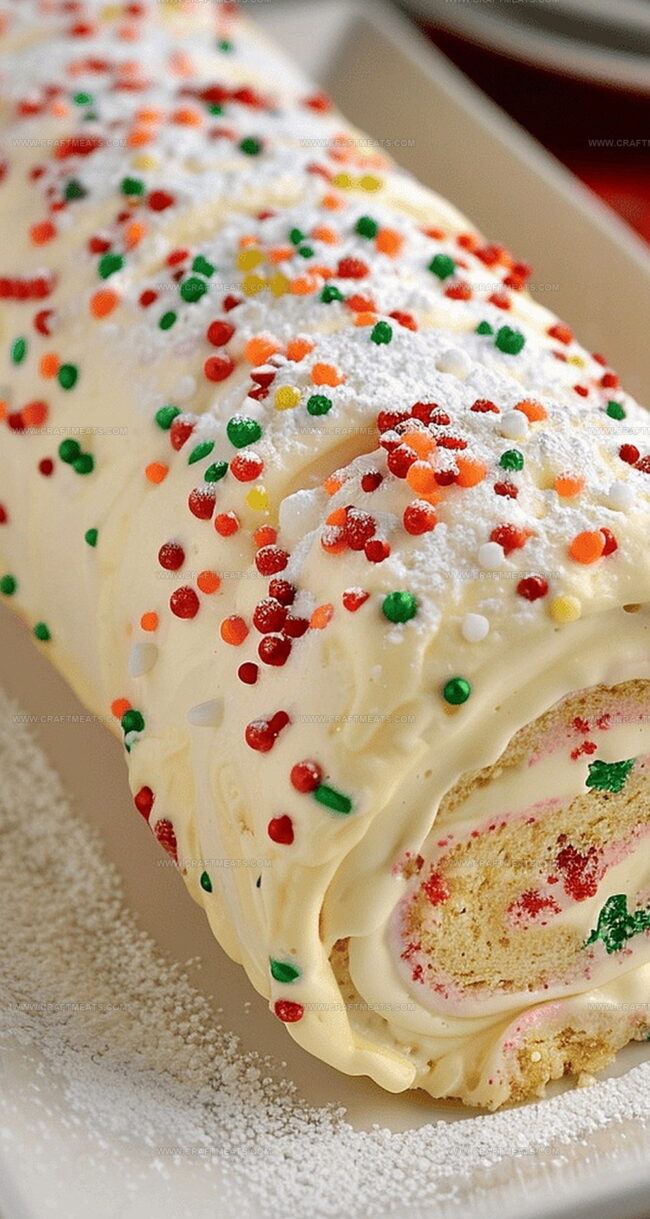
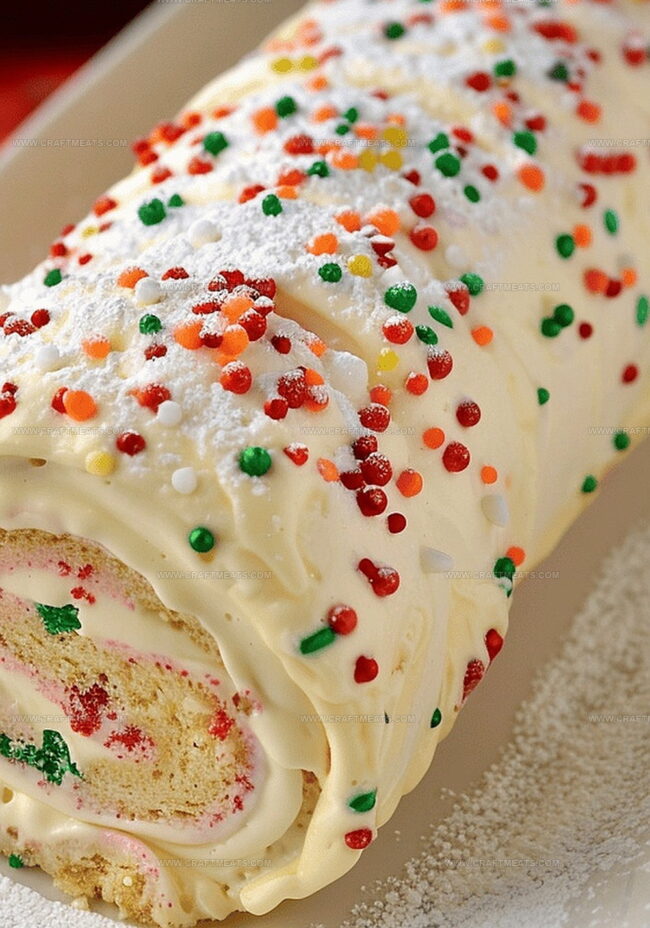
Serving Tip: Slice the cake roll with a sharp knife for clean, beautiful pieces that showcase the colorful interior and creamy filling.
Tips for Fluffy Cake and Smooth Filling
How to Store Without Crushing That Roll
Pairing This Cake With Drinks or Sweets
Flavor Options to Try Next Time
Holiday Cake Roll FAQ Guide
Yes! You can prepare the cake roll 1-2 days in advance and store it covered in the refrigerator. Just add the white chocolate drizzle and sprinkles right before serving.
A similar sized baking sheet will work fine. The key is having a large, flat pan with low sides that allows the thin cake batter to spread evenly.
Roll the warm cake in the sugared towel immediately after baking while it’s still flexible. This helps the cake maintain its shape and prevents cracking when you add the filling later.
Absolutely! Wrap the cake roll tightly in plastic wrap and then aluminum foil. It can be frozen for up to 3 weeks. Thaw in the refrigerator overnight before serving.
Print
Holiday Celebration Cake Roll Recipe
- Total Time: 32 minutes
- Yield: 12 1x
Description
Festive Swiss roll combines classic holiday cheer with delicate sponge and creamy filling. Winter’s sweet embrace delivers a perfect dessert that delights family gatherings with elegant simplicity.
Ingredients
Main Ingredients:
- 2 eggs
- 3 egg yolks
- 2 egg whites
- 1 cup butter, room temperature
- 4 oz white chocolate
Flour and Sweeteners:
- ½ cup sugar
- 1 tablespoon sugar
- 3 cups powdered sugar
- ⅓ cup sifted cake flour
- 3 tablespoons cornstarch
Flavoring and Decorative Ingredients:
- 1 teaspoon vanilla extract
- ¼ cup red and green wilton batter bits
- 3–4 tablespoons red and green sprinkles
- 1–3 tablespoons heavy cream
Instructions
- Energize the oven to a scorching 450 degrees fahrenheit, preparing a 17×12 baking surface with parchment paper to ensure smooth cake release.
- Whip eggs and egg yolks with sugar using an electric mixer, transforming the mixture into a pale, voluminous cream through vigorous blending for 3-5 minutes.
- Gently incorporate vanilla extract into the whipped egg mixture, maintaining its delicate airiness.
- Softly sift flour and cornstarch over the egg base, folding with a light touch to preserve the mixture’s ethereal texture.
- Delicately integrate red and green festive batter bits throughout the mixture.
- Separately whisk egg whites with sugar, creating a glossy meringue with firm, sturdy peaks that will provide lift and airiness to the cake.
- Tenderly fold the meringue into the primary batter, preserving its delicate structure and ensuring a light, pillowy consistency.
- Transfer the batter to the prepared pan, spreading it evenly to create a uniform cake layer.
- Bake for 6-7 minutes until the surface turns a golden hue and springs back when gently pressed.
- Immediately transfer the hot cake onto a sugar-dusted dishtowel, carefully peeling away the parchment paper.
- Gently roll the cake with the towel, allowing it to cool completely and maintain its curved shape.
- Cream butter until smooth, gradually blending powdered sugar and vanilla extract to create a luscious filling.
- Adjust the filling’s consistency with cream if needed, ensuring a spreadable texture.
- Fold sprinkles into the buttercream, being careful to prevent color bleeding.
- Unroll the cooled cake and spread the buttercream evenly across its surface.
- Carefully roll the cake back into its original cylindrical shape.
- Refrigerate the rolled cake for several hours to set the filling and stabilize the structure.
- Melt white chocolate and artfully drizzle over the chilled cake.
- Embellish with additional festive sprinkles for a decorative finish.
- Allow the chocolate drizzle to set completely before slicing and serving.
Notes
- Master festive baking skills with this colorful holiday cake roll that combines playful colors and delightful texture.
- Precise temperature and timing are crucial, so preheat the oven exactly to 450 degrees and bake for only 6-7 minutes to prevent overbaking.
- Gentle folding techniques preserve the meringue’s airiness, ensuring a light, tender cake that rolls smoothly without cracking.
- Create a perfectly smooth filling by gradually incorporating powdered sugar and adjusting consistency with cream for spreadable buttercream.
- Refrigeration helps set the cake roll’s shape and allows flavors to meld, making it an ideal make-ahead dessert for holiday gatherings.
- White chocolate drizzle and sprinkles transform this classic roll into a festive showstopper that will impress family and friends.
- Prep Time: 25 minutes
- Cook Time: 7 minutes
- Category: Desserts
- Method: Baking
- Cuisine: American
Nutrition
- Serving Size: 12
- Calories: 320
- Sugar: 24 g
- Sodium: 85 mg
- Fat: 18 g
- Saturated Fat: 11 g
- Unsaturated Fat: 7 g
- Trans Fat: 0 g
- Carbohydrates: 36 g
- Fiber: 0 g
- Protein: 3 g
- Cholesterol: 90 mg
Isabella Rossi
Founder & Culinary Content Creator
Expertise
Recipe Development, Traditional Irish and European Cuisines, Food Styling and Photography, Culinary Education
Education
Dublin Institute of Technology (DIT) – School of Culinary Arts and Food Technology
Ballymaloe Cookery School
Liam is the voice behind many of Craft Meats’ most flavorful features. With roots in Dublin’s smoky barbecue scene and a culinary degree from the Dublin Institute of Technology, he brings time-tested cooking techniques to life.
His training at Ballymaloe Cookery School sharpened his farm-to-table approach, giving him a deep respect for every ingredient he writes about.
He’s not about overcomplicating the process, just helping you cook meat that’s worth talking about. When he’s not writing or grilling, he’s out foraging or nerding out on regional spice blends to add to his next recipe.