
Homemade Cream Cheese Recipe with a Smooth, Spreadable Texture
Crafting homemade cream cheese revamps ordinary kitchen ingredients into a luscious, velvety spread that elevates countless culinary creations.
This creamy delight starts with simple, fresh components that blend seamlessly into a rich, tangy masterpiece.
Professional chefs and home cooks alike appreciate the magic of creating smooth, spreadable goodness from scratch.
The process feels surprisingly straightforward, inviting you to experiment with textures and flavors that commercial products can’t match.
Soft, luxurious, and infinitely customizable, cream cheese becomes a canvas for your culinary creativity.
Some techniques require minimal equipment and basic skills, making this recipe accessible to passionate food enthusiasts.
Learn to craft a delectable spread that surpasses store-bought alternatives with these foolproof techniques.
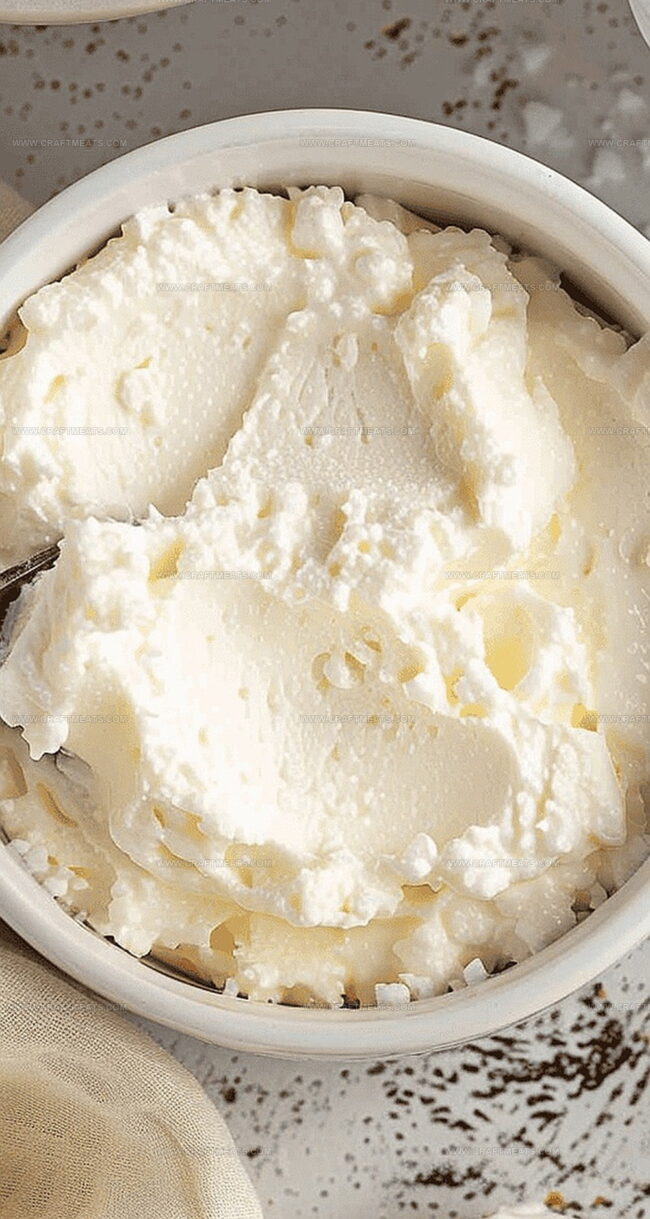
Homemade Cream Cheese Is Rich, Smooth, and Easy to Make
Everything You Need to Make Homemade Cream Cheese
Dairy Base:Acidic Ingredient:How to Whip Up Creamy Cheese from Scratch
Step 1: Warm the Milk Gently
Pour whole milk into the saucepan and heat over medium flame. Watch for soft bubbles forming around the edges, indicating the milk is reaching its perfect temperature. Stir occasionally to prevent bottom scorching.
Step 2: Introduce Lemon Magic
When milk starts dancing with tiny bubbles, slowly drizzle lemon juice while stirring with a slotted spoon. The liquid will dramatically transform, separating into fluffy white curds and clear whey.
Step 3: Strain the Creamy Treasure
Remove pan from heat and set up your cheesecloth-lined strainer. Carefully pour the mixture, allowing whey to drain completely. Use gentle pressing motions to help liquid escape.
Step 4: Blend Into Silky Smoothness
Transfer curds to food processor. Sprinkle in salt and blend until:Step 5: Chill and Savor
Transfer cream cheese to clean storage container. Refrigerate for minimum 30 minutes to enhance flavor and firmness. Serve with bagels, crackers, or enjoy straight from the spoon!
Tips for Fresh, Spreadable Homemade Cream Cheese
Best Ways to Store and Serve Homemade Cream Cheese
Delicious Pairings for Homemade Cream Cheese
Flavored Cream Cheese Ideas You Can Try
Print
Homemade Cream Cheese Recipe
- Total Time: 25 minutes
- Yield: 2 1x
Description
Smooth, creamy homemade cream cheese brings gourmet flavors right to home kitchens. Crafted with simple ingredients and minimal effort, this recipe offers a delicious alternative to store-bought spreads that will elevate your breakfast and baking experiences.
Ingredients
Main Ingredients:
- 4 cups (960 milliliters) whole milk
- 3–4 tablespoons (45–60 milliliters) fresh lemon juice
Seasoning:
- 0.5 teaspoon (2.5 grams) salt
Instructions
- Heat whole milk in a heavy-bottomed saucepan over medium flame, monitoring carefully to achieve a gentle, bubbling surface without scorching.
- When milk reaches a soft boil, introduce lemon juice gradually while stirring delicately with a slotted spoon, observing immediate curd separation from whey.
- Immediately remove saucepan from heat source and prepare a fine-meshed cheesecloth-lined strainer to capture curds.
- Gently pour the milk mixture into the strainer, allowing whey to drain completely, which typically takes 10-15 minutes.
- Collect the curds and squeeze out remaining liquid using clean hands or by pressing gently with a spatula.
- Transfer curds to a food processor, incorporating salt for enhanced flavor profile.
- Pulse and blend the mixture for approximately 3-4 minutes, periodically scraping down sides to ensure a uniform, silky-smooth consistency.
- Scoop the freshly processed cream cheese into a sealed container, pressing down to remove air pockets.
- Refrigerate for a minimum of 30 minutes to allow flavors to meld and texture to firm up before serving.
- Consume within 5-7 days for optimal freshness and taste.
Notes
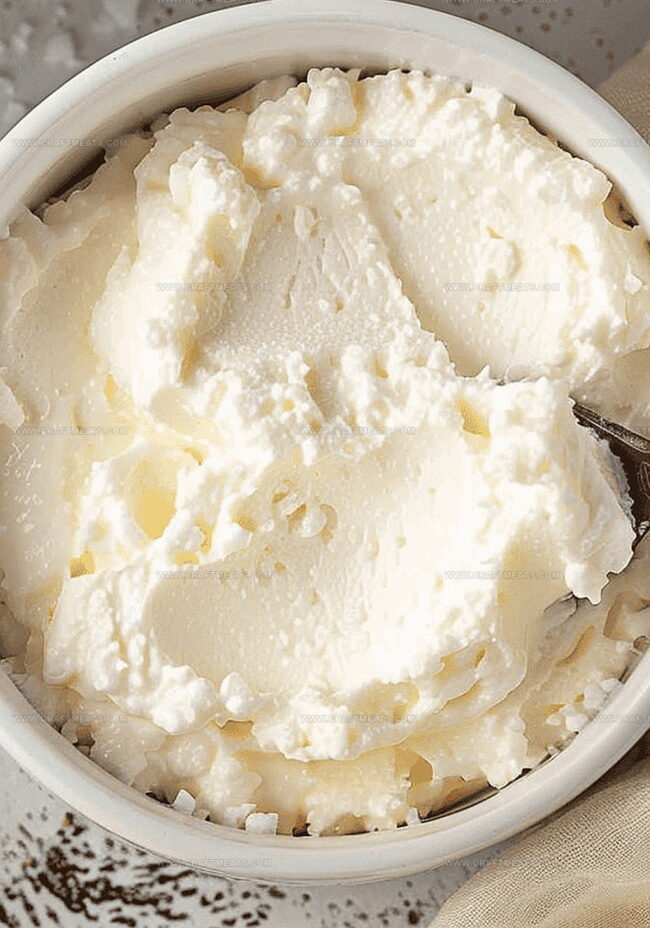
- A tangy, velvety spread waiting to elevate your breakfast toast or bagel.
- Crafting this creamy delight requires patience and simple kitchen magic with just a few ingredients.
- Homemade cream cheese delivers a fresher, more vibrant flavor than store-bought versions, letting you control every delicious bite.
- Prep Time: 10 minutes
- Cook Time: 15 minutes
- Category: Snacks, Breakfast
- Method: Boiling
- Cuisine: American
Nutrition
- Serving Size: 2
- Calories: 200
- Sugar: 2 g
- Sodium: 115 mg
- Fat: 11 g
- Saturated Fat: 7 g
- Unsaturated Fat: 4 g
- Trans Fat: 0 g
- Carbohydrates: 6 g
- Fiber: 0 g
- Protein: 10 g
- Cholesterol: 35 mg
Isabella Rossi
Founder & Culinary Content Creator
Expertise
Recipe Development, Traditional Irish and European Cuisines, Food Styling and Photography, Culinary Education
Education
Dublin Institute of Technology (DIT) – School of Culinary Arts and Food Technology
Ballymaloe Cookery School
Liam is the voice behind many of Craft Meats’ most flavorful features. With roots in Dublin’s smoky barbecue scene and a culinary degree from the Dublin Institute of Technology, he brings time-tested cooking techniques to life.
His training at Ballymaloe Cookery School sharpened his farm-to-table approach, giving him a deep respect for every ingredient he writes about.
He’s not about overcomplicating the process, just helping you cook meat that’s worth talking about. When he’s not writing or grilling, he’s out foraging or nerding out on regional spice blends to add to his next recipe.