
Homemade Krispy Kremes Recipe for Soft Sweet Perfection
Krispy Kremes capture the essence of sweet, cloud-like pastry perfection that melts in your mouth.
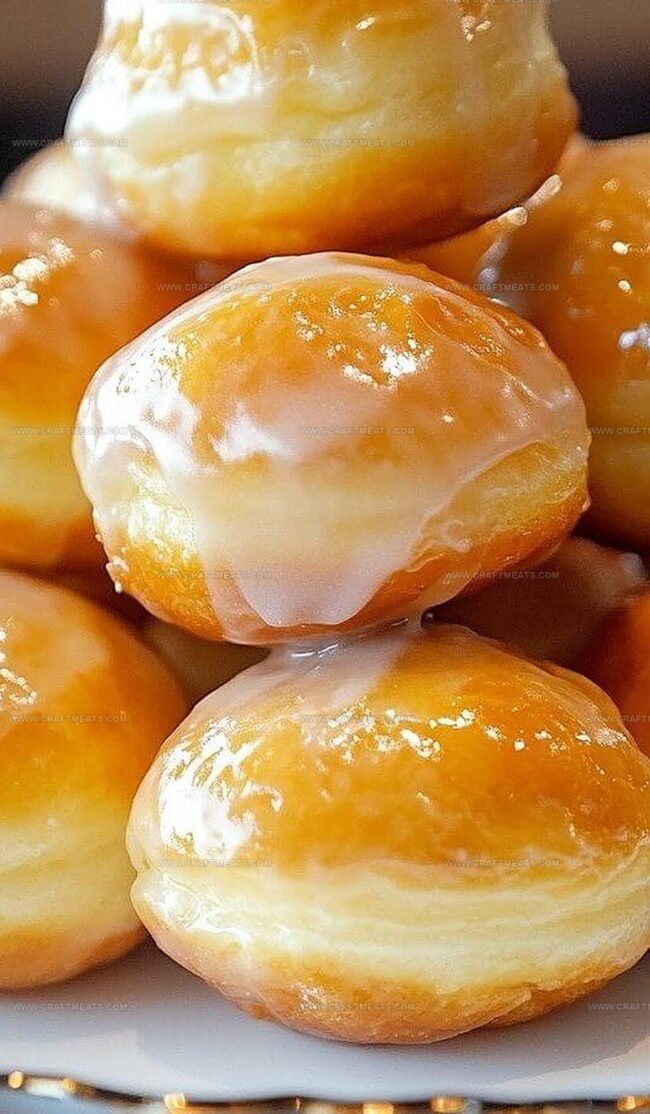
Imagine biting into a pillowy donut with a delicate, golden exterior and an impossibly light interior.
Culinary magic happens when simple ingredients combine to create something extraordinary.
Professional bakers and home cooks alike understand the art of crafting these delectable treats requires patience and precision.
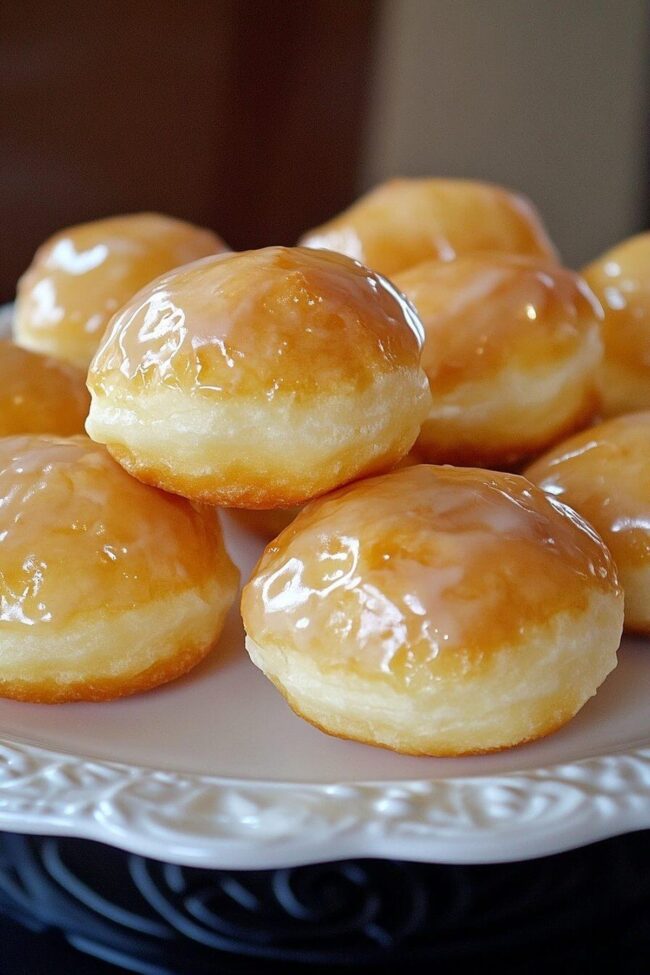
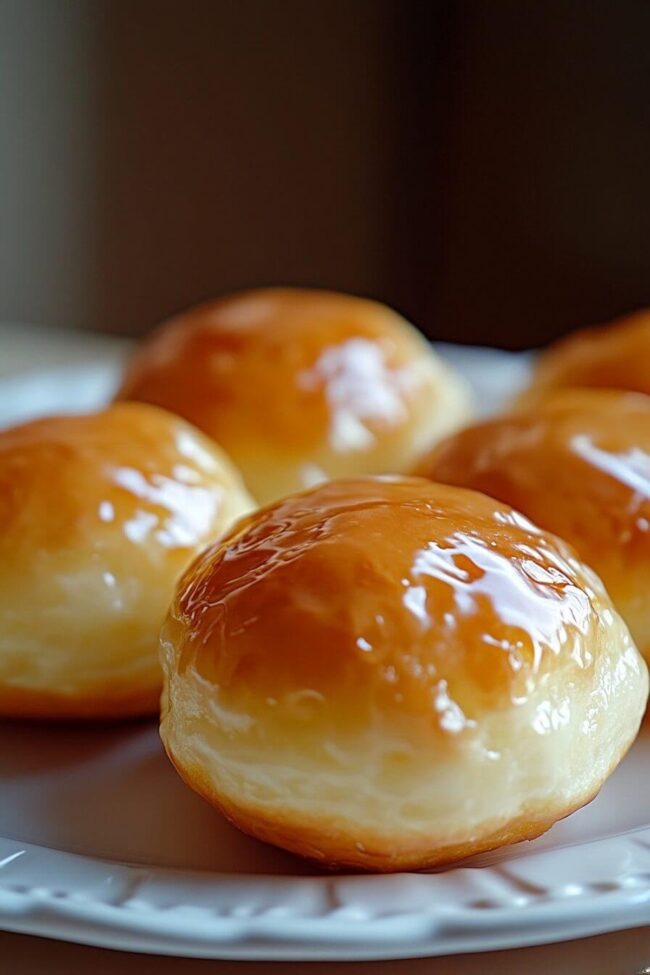
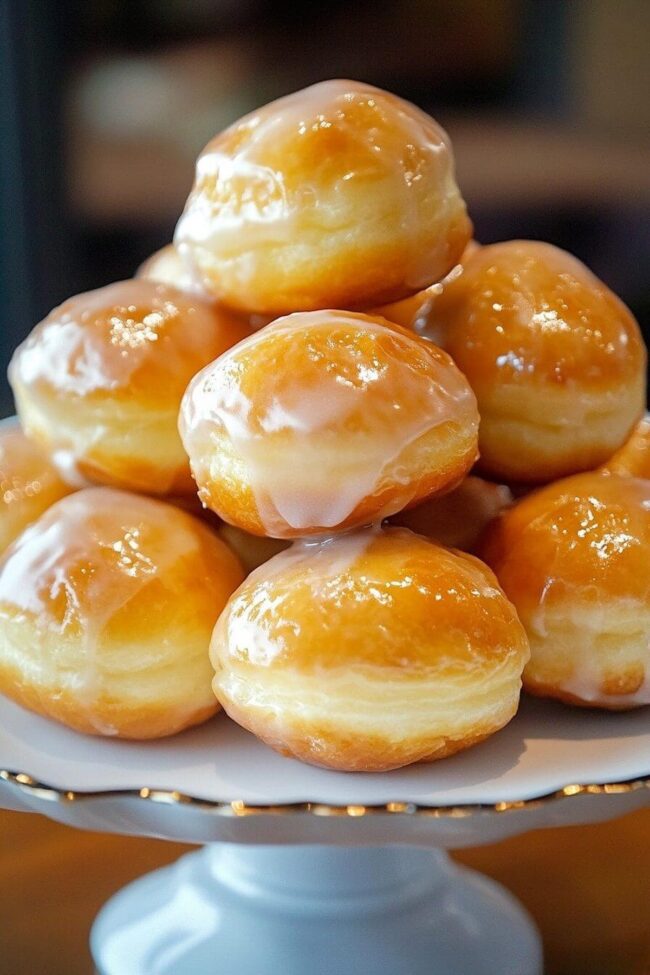
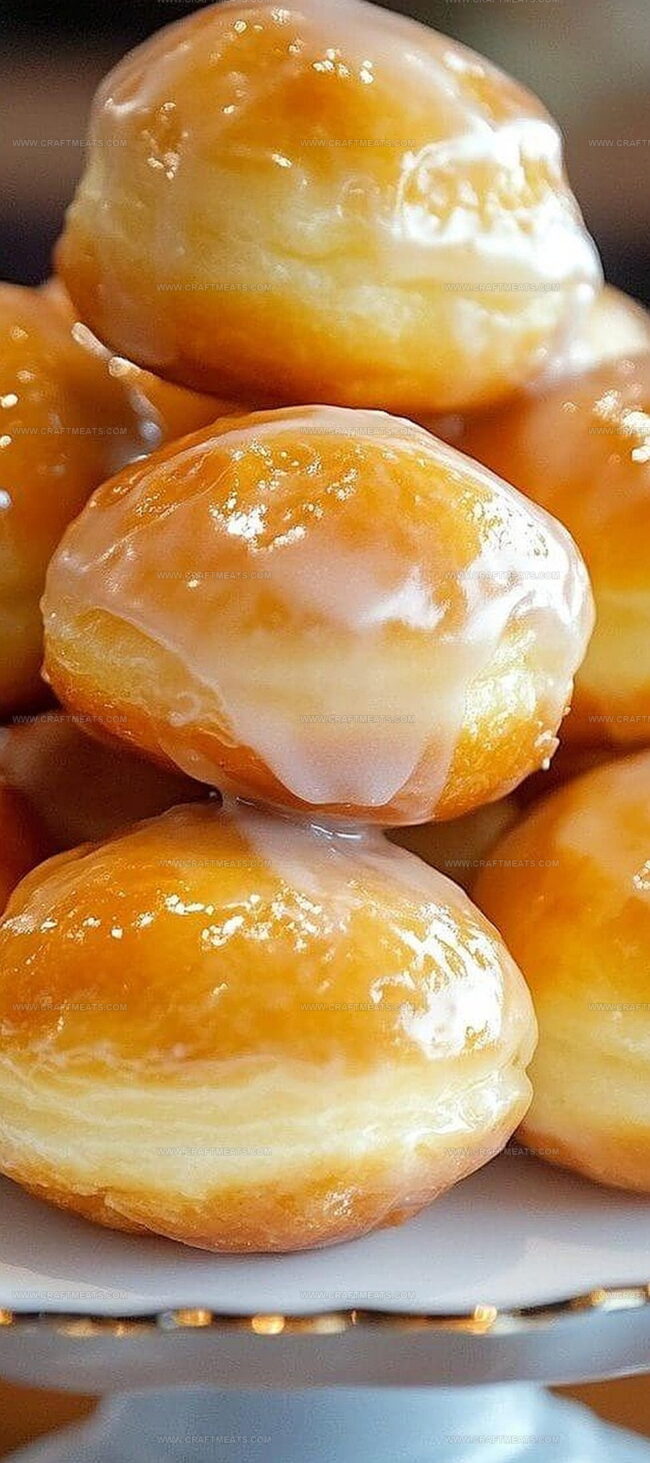
Soft, airy donuts with a glossy, sugary coating represent comfort and indulgence in every delightful bite.
Warmth and nostalgia flow through each carefully crafted morsel, promising a sensory experience that transports you to moments of pure joy.
Explore this recipe and unlock the secrets of creating donuts that rival any bakery’s finest offering.
Homemade Krispy Kremes That Rival the Original
What You’ll Need for Homemade Krispy Kremes
Yeast and Liquid Base:Dry Ingredients:Fat and Moisture Components:Coating and Glaze Ingredients:Steps for Making Light and Fluffy Krispy Kremes
Step 1: Activate Yeast Mixture
In a measuring jug, blend milk and boiling water. Add sugar and stir until dissolved. Sprinkle yeast over the liquid and gently mix. Let the mixture sit in a cozy spot for 5-10 minutes until it becomes bubbly and frothy.
Step 2: Create Dough Base
In a spacious mixing bowl, combine flour, sugar, and a pinch of salt. Break cold butter into tiny pieces and work into the flour until it looks like sandy crumbs. Create a small crater in the center of the mixture.
Step 3: Combine Wet and Dry Ingredients
Pour the activated yeast liquid and beaten egg into the flour crater. Gently fold and mix until a soft, pliable dough forms. If the dough feels too sticky, sprinkle additional flour. If it seems dry, add a splash of milk.
Step 4: Knead and Rise the Dough
Transfer the dough onto a flour-dusted surface. Knead thoroughly for 8-10 minutes until smooth and stretchy. Place the dough in a greased bowl, cover with a kitchen towel, and let it rise in a warm location for 60-75 minutes.
Step 5: Shape Doughnut Balls
Punch down the risen dough and roll it out on a floured surface. Slice the dough into four equal sections. Roll each section into a long rope and cut into bite-sized pieces. Gently roll each piece into a small ball.
Step 6: Prepare Frying Station
Heat vegetable or canola oil in a deep pan or fryer. Use a cooking thermometer to ensure the oil reaches 375°F. Maintain a consistent temperature for perfect golden-brown doughnuts.
Step 7: Fry Doughnut Balls
Carefully drop dough balls into hot oil in small batches. Fry each side for approximately 60-90 seconds until they turn a beautiful golden color. Remove with a slotted spoon and place on paper towels to drain excess oil.
Step 8: Create Glaze Coating
Glaze Ingredients:Melt butter in a saucepan over low heat. Whisk in powdered sugar and vanilla. Slowly add hot water while stirring until the glaze reaches a smooth, silky consistency. Dip warm doughnuts into the glaze and let them rest on a wire rack.
Expert Tips to Nail Homemade Krispy Kreme Texture
Reheating and Storing Homemade Krispy Kremes the Right Way
Perfect Pairings for Enjoying Krispy Kremes
Flavorful Variations to Try with Homemade Krispy Kremes
FAQs About Homemade Krispy Kremes, Answered
Yes! You can prepare the dough and let it rise in the refrigerator overnight. Just bring it to room temperature before shaping and frying.
Ensure your yeast is fresh and your rising area is warm and draft-free. The ideal temperature is around 80-90°F. If the room is too cold, the dough won’t rise well.
Use a cooking thermometer to check that the oil is exactly 375°F. If you don’t have one, drop a small piece of dough in – it should sizzle and turn golden brown within 1 minute.
Print
Homemade Krispy Kremes Recipe
- Total Time: 35 minutes
- Yield: 12 1x
Description
Krispy Kreme donuts deliver nostalgic sweetness straight from your kitchen, promising melt-in-mouth perfection. Rich dough crafted with care brings bakery-style magic home, letting you savor warm, glazed goodness without leaving comfort.
Ingredients
Main Ingredients:
- 8 ounces (about 2 cups) all-purpose flour
- 1 egg (beaten)
- 1 ounce (2 tablespoons) butter
- 1 ½ ounces (3 tablespoons) sugar
Liquid and Activating Ingredients:
- 3 tablespoons milk
- 3 tablespoons boiling water
- 1 teaspoon dry active yeast
- 1 dash of salt
Glaze Ingredients:
- ⅓ cup butter
- 2 cups confectioners’ sugar
- 1 ½ teaspoons vanilla extract
- 4 tablespoons hot water (or as needed)
- Enough oil (to cover bottom few inches of wok or deep fryer)
Instructions
- Hydrate the yeast by blending warm milk and boiling water in a measuring jug. Incorporate sugar and sprinkle yeast over the liquid. Allow the mixture to rest in a warm environment until it becomes frothy and activated.
- Create a foundational dry mixture by combining flour, sugar, and a pinch of salt in a large mixing bowl. Incorporate cold butter into the dry ingredients using fingertips, creating a crumbly texture reminiscent of coarse sand.
- Form a central depression in the flour blend. Introduce the activated yeast liquid and beaten egg into the well. Gently fold and integrate ingredients until a cohesive, soft dough emerges. Adjust consistency by adding minimal flour or milk as needed.
- Transfer the dough onto a lightly dusted work surface. Knead methodically for several minutes, developing elasticity and smoothness. Relocate the dough to a greased container, shield with a clean cloth, and permit rising in a draft-free location until volume doubles.
- Deflate the risen dough and segment into quarters. Roll each portion into elongated ropes, then slice into uniform segments. Gently shape each piece into round spheres and allow secondary proofing for short duration.
- Prepare a deep cooking vessel with oil, heating to precise temperature. Maintain consistent thermal conditions for uniform frying.
- Carefully lower dough spheres into hot oil, working in measured batches. Fry each side until achieving a rich, golden-brown coloration. Extract using a perforated utensil and deposit onto absorbent paper to eliminate excess oil.
- Craft a luxurious glaze by melting butter over gentle heat. Whisk in powdered sugar and vanilla extract. Gradually introduce hot water, stirring until achieving a silky, smooth consistency. Submerge warm pastries into glaze, positioning on a wire rack for elegant finishing.
Notes
- Yeast Activation Matters: Ensure the yeast becomes foamy and active before mixing into the dough for perfect rise and texture.
- Temperature Control is Crucial: Maintain oil at exactly 375°F to achieve golden-brown, crispy exterior without burning.
- Dough Consistency is Key: Adjust flour or milk to create a soft, elastic dough that’s not too sticky or dry.
- Rest and Rise Technique: Allow sufficient rising time for dough to double in size, ensuring light and fluffy donuts.
- Gentle Handling Wins: Use a light touch when shaping dough balls and transferring to hot oil to preserve air pockets.
- Glaze While Warm: Dip donuts into glaze immediately after frying for maximum absorption and glossy finish.
- Prep Time: 20 minutes
- Cook Time: 15 minutes
- Category: Breakfast, Snacks, Desserts
- Method: Frying
- Cuisine: American
Nutrition
- Serving Size: 12
- Calories: 250
- Sugar: 15 g
- Sodium: 100 mg
- Fat: 12 g
- Saturated Fat: 7 g
- Unsaturated Fat: 4 g
- Trans Fat: 0 g
- Carbohydrates: 32 g
- Fiber: 1 g
- Protein: 3 g
- Cholesterol: 30 mg
Isabella Rossi
Founder & Culinary Content Creator
Expertise
Recipe Development, Traditional Irish and European Cuisines, Food Styling and Photography, Culinary Education
Education
Dublin Institute of Technology (DIT) – School of Culinary Arts and Food Technology
Ballymaloe Cookery School
Liam is the voice behind many of Craft Meats’ most flavorful features. With roots in Dublin’s smoky barbecue scene and a culinary degree from the Dublin Institute of Technology, he brings time-tested cooking techniques to life.
His training at Ballymaloe Cookery School sharpened his farm-to-table approach, giving him a deep respect for every ingredient he writes about.
He’s not about overcomplicating the process, just helping you cook meat that’s worth talking about. When he’s not writing or grilling, he’s out foraging or nerding out on regional spice blends to add to his next recipe.