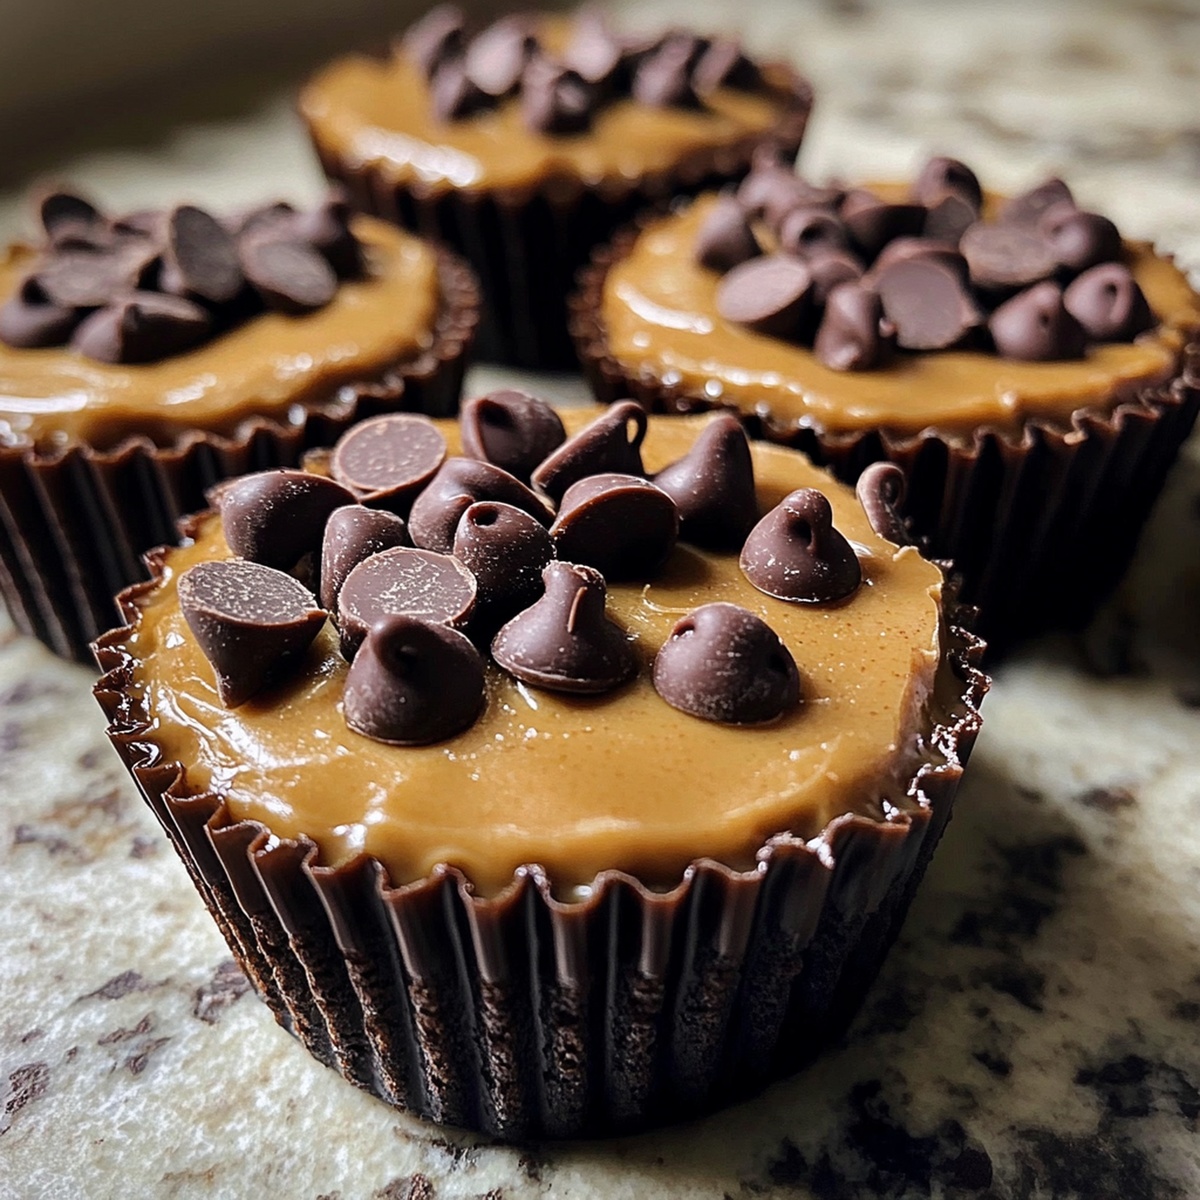
Chocolate Chip Peanut Butter Cups Recipe to Share Anytime
Indulgent chocolate chip peanut butter cups blend two beloved flavors into a delightful treat that melts hearts.
Sweet meets salty in this irresistible dessert that promises pure bliss.
Chocolate lovers will swoon over the rich, creamy texture and perfect balance of ingredients.
Homemade treats always taste better than store-bought versions, especially when you control the quality.
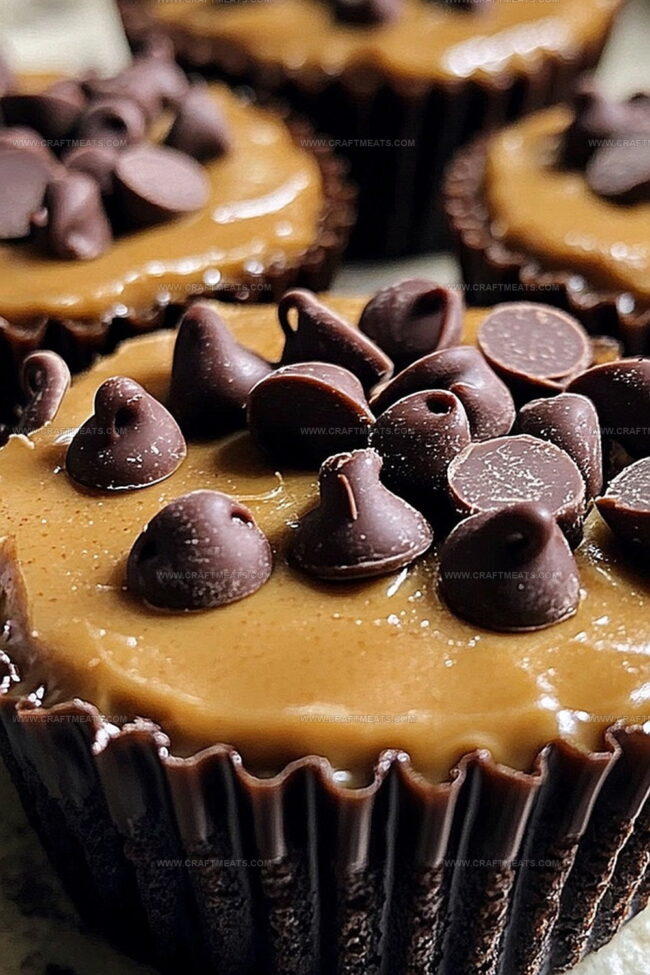
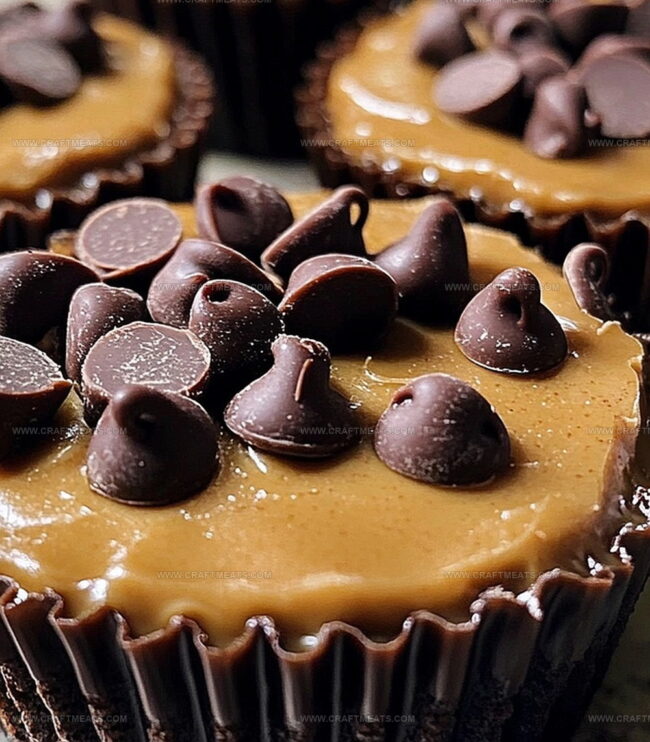
Each bite delivers a luxurious combination of smooth peanut butter and decadent chocolate chips.
These cups are surprisingly simple to prepare with minimal ingredients and effort.
Dive into this delectable recipe and transform your snack time into a gourmet experience.
Quick Recipe Overview
Chocolate Chip Peanut Butter Cups Ingredient Rundown
For Base and Binding:For Flavor Enhancement:For Texture and Crunch:Helpful Tools For Chocolate Chip Peanut Butter Cups
Making Chocolate Chip Peanut Butter Cups From Scratch
Grab your mixing bowl and combine peanut butter with softened butter, adding a touch of powdered sugar and a splash of vanilla. Whip everything together until the mixture looks silky and feels totally dreamy.
Sprinkle those adorable mini chocolate chips into your peanut butter mixture, gently folding them throughout. Pop the bowl into the refrigerator for a quick 10-minute chill to help everything set up perfectly.
Use your hands to roll the chilled mixture into tiny bite-sized balls. Place each one on a parchment-lined tray, creating a tempting lineup of soon-to-be treats.
Melt chocolate in a double boiler or microwave, stirring until smooth and glossy. Carefully dip each peanut butter ball into the melted chocolate, ensuring a complete and even coverage.
Transfer your chocolate-covered treasures back to the parchment-lined tray. Slide them into the refrigerator and let them hang out until the chocolate sets completely, turning them into irresistible, cool treats ready to devour.
Flavor Adjustments For Chocolate Chip Peanut Butter Cups
Plating Chocolate Chip Peanut Butter Cups Neatly
Storage Tips For Chocolate Chip Peanut Butter Cups
Print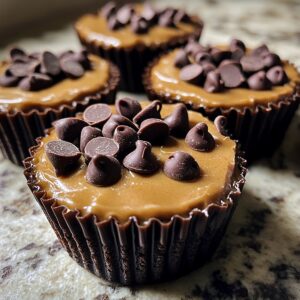
Incredible Chocolate Chip Peanut Butter Cups Recipe
- Total Time: 50 minutes
- Yield: 11 1x
Description
Rich chocolate chip peanut butter cups merge classic American dessert flavors into one irresistible treat. Sweet and salty notes combine perfectly, promising a delightful experience for chocolate and peanut butter enthusiasts.
Ingredients
- 1 ½ cups (260 g) semi-sweet chocolate chips
- ½ cup (120 g) creamy peanut butter
- ¼ cup (60 g) unsalted butter, softened
- ¼ cup (30 g) powdered sugar, sifted
- ½ tsp vanilla extract
- ¼ cup (45 g) mini chocolate chips
- 1 tbsp coconut oil or vegetable oil (for a smoother finish)
Instructions
- Mixing Base: Whisk peanut butter, softened butter, powdered sugar, and vanilla extract in a medium bowl until achieving a luxurious, smooth texture that’s free of lumps and completely integrated.
- Chocolate Infusion: Gently fold mini chocolate chips throughout the creamy mixture, ensuring they are evenly distributed and suspended within the peanut butter foundation.
- Initial Chilling: Refrigerate the mixture for 10-15 minutes to firm up the consistency, making it easier to handle and shape into precise portions without becoming too soft or sticky.
- Forming Cups: Craft uniform peanut butter spheres or cups using clean hands or a small cookie scoop, applying gentle, consistent pressure to create compact, well-defined shapes that maintain structural integrity.
- Placement and Setting: Arrange the formed peanut butter cups on a parchment-lined tray, ensuring slight separation between each piece, then return to the refrigerator for a thorough 30-minute chilling period to solidify completely.
- Final Embellishment: Optional decorative touches include drizzling melted chocolate over the chilled cups or rolling them in additional mini chocolate chips to elevate visual appeal and introduce textural complexity.
Notes
- Chill Before Shaping: Refrigerate the mixture for 10-15 minutes to firm up the consistency, making it easier to handle and shape without sticking to your hands.
- Control Portion Size: Use a small cookie scoop or tablespoon to create uniform peanut butter cups, ensuring consistent size and professional-looking results.
- Prevent Sticking: Line the tray with parchment paper or use a silicone mat to prevent the peanut butter cups from sticking and to make removal effortless.
- Enhance Flavor Variations: Experiment with different mix-ins like crushed pretzels, sea salt, or alternative nut butters to customize the recipe and create unique flavor profiles.
- Prep Time: 20 minutes
- Cook Time: 30 minutes
- Category: Desserts, Snacks
- Method: Mixing
- Cuisine: American
Nutrition
- Serving Size: 11
- Calories: 210
- Sugar: 12 g
- Sodium: 80 mg
- Fat: 14 g
- Saturated Fat: 6 g
- Unsaturated Fat: 8 g
- Trans Fat: 0 g
- Carbohydrates: 22 g
- Fiber: 1 g
- Protein: 3 g
- Cholesterol: 10 mg
Liam O’Sullivan
Founder & Culinary Content Creator
Expertise
Recipe Development, Traditional Irish and European Cuisines, Food Styling and Photography, Culinary Education
Education
Dublin Institute of Technology (DIT) – School of Culinary Arts and Food Technology
Ballymaloe Cookery School
Isabella brings a global spark to the Craft Meats table. Born in Florence and trained at the Apicius International School of Hospitality, she blends classic Italian flavor with modern writing that’s easy to follow and hard to forget.
Her additional training at the Italian Chef Academy fueled her love for well-crafted dishes, especially ones that spotlight beautiful cuts of meat.
She’s a food writer with heart, and a deep love for storytelling through single recipes. Her goal? To help you cook with more confidence and a little more joy, no matter where you start.