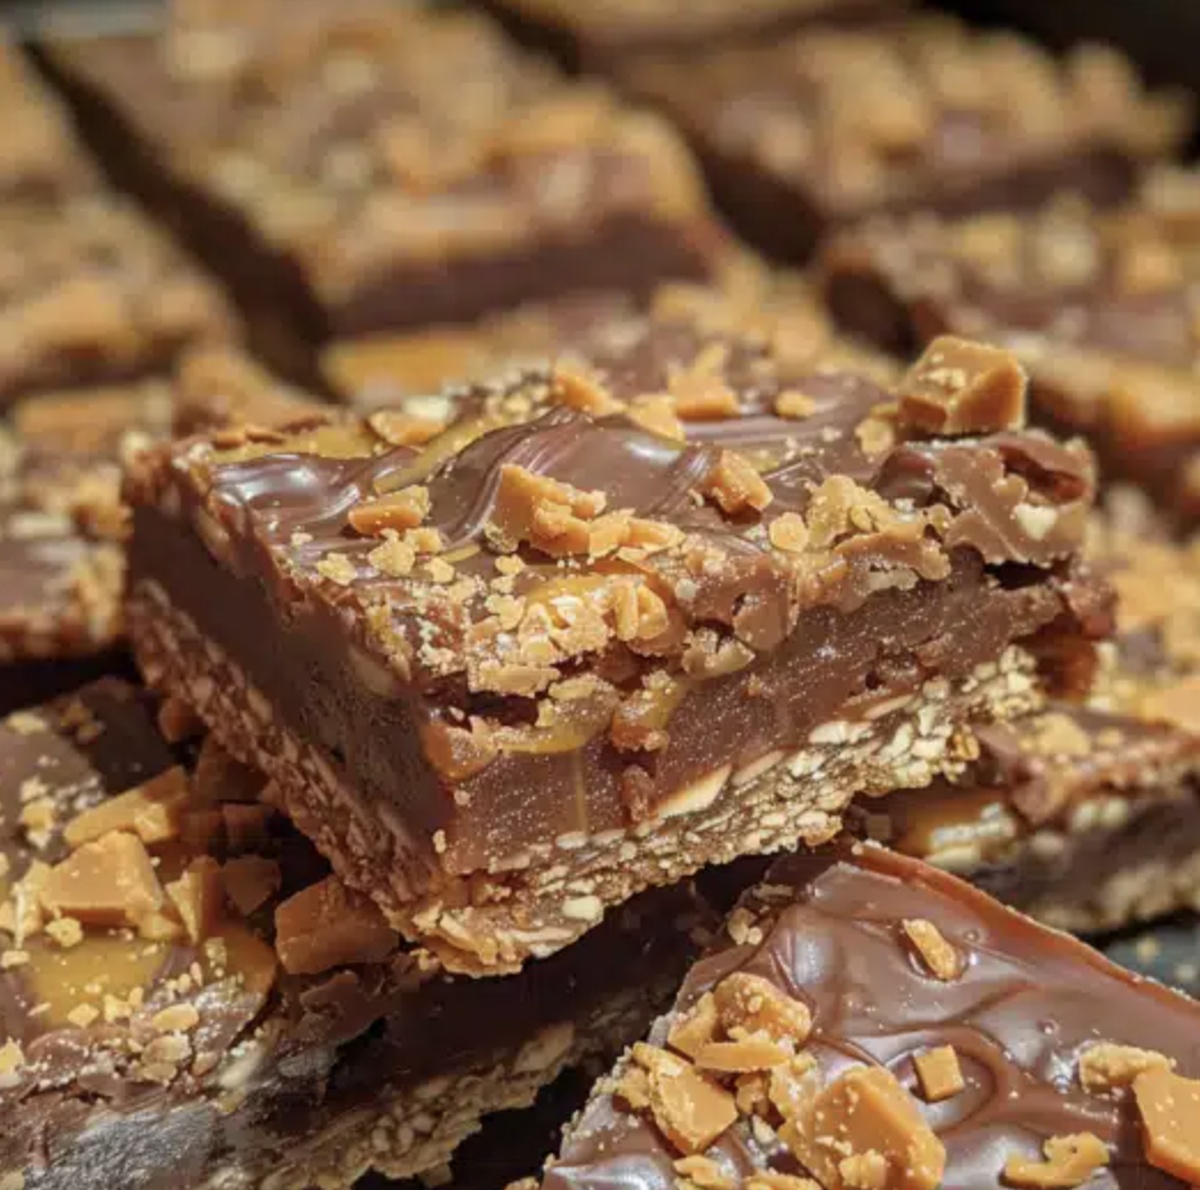
Crispy Butterfinger Caramel Crunch Bars Recipe For Sweet Tooths
Sweet tooth cravings meet their match with these irresistible butterfinger caramel crunch bars that blend decadent chocolate and crunchy candy textures.
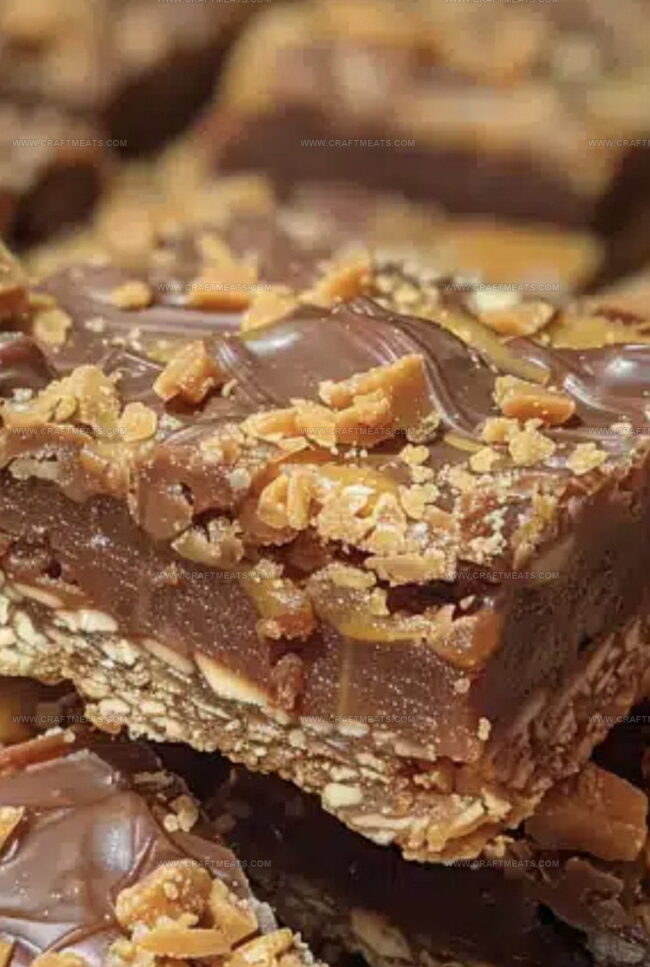
Layers of rich caramel meld perfectly with crushed butterfinger pieces, creating a dessert that sings with indulgence.
Chocolate lovers will appreciate the delicate balance of sweet and salty notes dancing across each bite.
This no-bake treat comes together quickly, requiring minimal effort for maximum satisfaction.
Every square promises a symphony of crunch and smooth caramel that melts effortlessly on your tongue.
The combination of classic candy bar flavors makes these bars an instant crowd-pleaser at any gathering.
Dive into this delightful recipe and experience a dessert that transforms ordinary moments into extraordinary memories.
Quick Recipe Overview
What You’ll Mix For Butterfinger Caramel Crunch Bars
For Base Layer:For Caramel Layer:For Chocolate Topping:Supplies Needed For Butterfinger Caramel Crunch Bars
Steps To Create Butterfinger Caramel Crunch Bars
Mix graham cracker crumbs with melted butter and sugar until perfectly blended. Press the mixture firmly into a baking dish, creating a smooth, compact base. Slide the dish into the refrigerator to chill while preparing the next layer.
In a saucepan, combine sweetened condensed milk, butter, corn syrup, and brown sugar. Stir continuously over medium heat until the mixture transforms into a rich, golden caramel. Pour the luscious caramel over the chilled base, spreading it evenly. Sprinkle a generous handful of crushed Butterfinger candies across the surface. Return to the refrigerator to set.
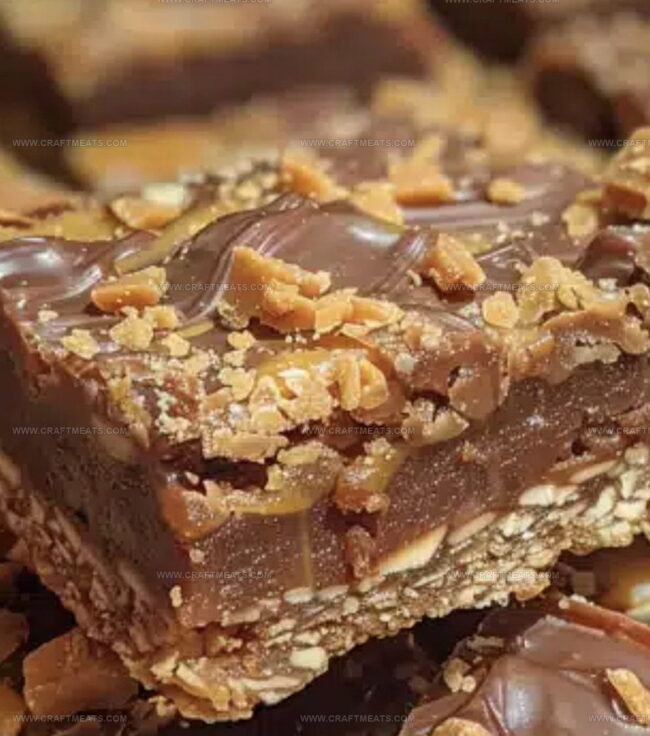
Gently melt chocolate chips with a touch of oil, creating a silky smooth coating. Drizzle the molten chocolate over the caramel layer, ensuring complete coverage. Shower the remaining Butterfinger pieces across the top for an extra crunch.
Let the bars rest in the refrigerator until completely firm. Carefully lift the set creation from the pan and slice into delectable squares. Serve chilled and enjoy the symphony of textures and flavors.
Smart Tips For Butterfinger Caramel Crunch Bars
Serving Butterfinger Caramel Crunch Bars
Store Butterfinger Caramel Crunch Bars The Easy Way
Print
Indulgent Butterfinger Caramel Crunch Bars Recipe
- Total Time: 2 hours 25 minutes
- Yield: 11 1x
Description
Indulgent butterfinger caramel crunch bars blend chocolate, caramel, and crushed candy bars into a sinful dessert. Layers of sweet complexity will delight chocolate enthusiasts seeking a rich, memorable treat.
Ingredients
- 1 ½ cups Butterfinger candy bars (crushed)
- 1 cup milk chocolate chips
- 1 cup graham cracker crumbs
- ½ cup unsalted butter (melted)
- ½ cup unsalted butter
- ¼ cup granulated sugar
- ¼ cup light corn syrup
- ½ cup brown sugar (packed)
- 1 (14 oz / 396 g) can sweetened condensed milk
- 1 tbsp vegetable oil or coconut oil (optional, for a smoother chocolate layer)
Instructions
- Crust Preparation: Pulverize graham crackers and blend with melted butter and sugar, creating a cohesive mixture that forms a sturdy base for the dessert.
- Base Formation: Firmly press the crumb blend into a parchment-lined baking dish, ensuring an even, compact foundation that will anchor subsequent layers.
- Caramel Crafting: In a saucepan, merge sweetened condensed milk, butter, corn syrup, and brown sugar over medium heat, stirring continuously until the mixture transforms into a rich, golden caramel with a luxurious, thick consistency.
- Layering Caramel: Drizzle the molten caramel evenly across the chilled graham cracker base, then sprinkle a portion of crushed Butterfinger pieces to introduce a delightful textural element.
- Chocolate Coating: Gently melt chocolate chips with oil using microwave intervals, stirring until achieving a silky, glossy texture, then pour and spread meticulously over the caramel layer.
- Final Embellishment: Garnish the chocolate surface with remaining Butterfinger fragments, creating a visually appealing and crunchy topping.
- Chilling and Serving: Refrigerate the assembled dessert for at least 2 hours until completely set, then extract using parchment paper edges and slice into precise, tantalizing portions with a sharp knife.
Notes
- Prevent Caramel Burning: Stir consistently and maintain medium heat to achieve golden caramel without scorching, which can create bitter flavors.
- Chocolate Melting Technique: Use 50% power in microwave and stir every 15-30 seconds to prevent chocolate from seizing or becoming grainy.
- Crumb Base Compression: Press graham cracker mixture firmly and evenly to create a stable, compact foundation that won’t crumble when cutting.
- Temperature Control: Refrigerate between layers to ensure proper setting and prevent ingredients from blending unintentionally, maintaining distinct layer textures.
- Prep Time: 15 minutes
- Cook Time: 10 minutes
- Category: Desserts, Snacks
- Method: Mixing
- Cuisine: American
Nutrition
- Serving Size: 11
- Calories: 285
- Sugar: 24 g
- Sodium: 116 mg
- Fat: 15 g
- Saturated Fat: 9 g
- Unsaturated Fat: 6 g
- Trans Fat: 0 g
- Carbohydrates: 36 g
- Fiber: 1 g
- Protein: 3 g
- Cholesterol: 30 mg
Liam O’Sullivan
Founder & Culinary Content Creator
Expertise
Recipe Development, Traditional Irish and European Cuisines, Food Styling and Photography, Culinary Education
Education
Dublin Institute of Technology (DIT) – School of Culinary Arts and Food Technology
Ballymaloe Cookery School
Isabella brings a global spark to the Craft Meats table. Born in Florence and trained at the Apicius International School of Hospitality, she blends classic Italian flavor with modern writing that’s easy to follow and hard to forget.
Her additional training at the Italian Chef Academy fueled her love for well-crafted dishes, especially ones that spotlight beautiful cuts of meat.
She’s a food writer with heart, and a deep love for storytelling through single recipes. Her goal? To help you cook with more confidence and a little more joy, no matter where you start.