Turtle Bars Recipe with Chocolate and Caramel Crunch
Indulgent chocolate and caramel turtle bars will make your taste buds dance with pure delight.
Sweet layers of decadence stack up in this irresistible dessert.
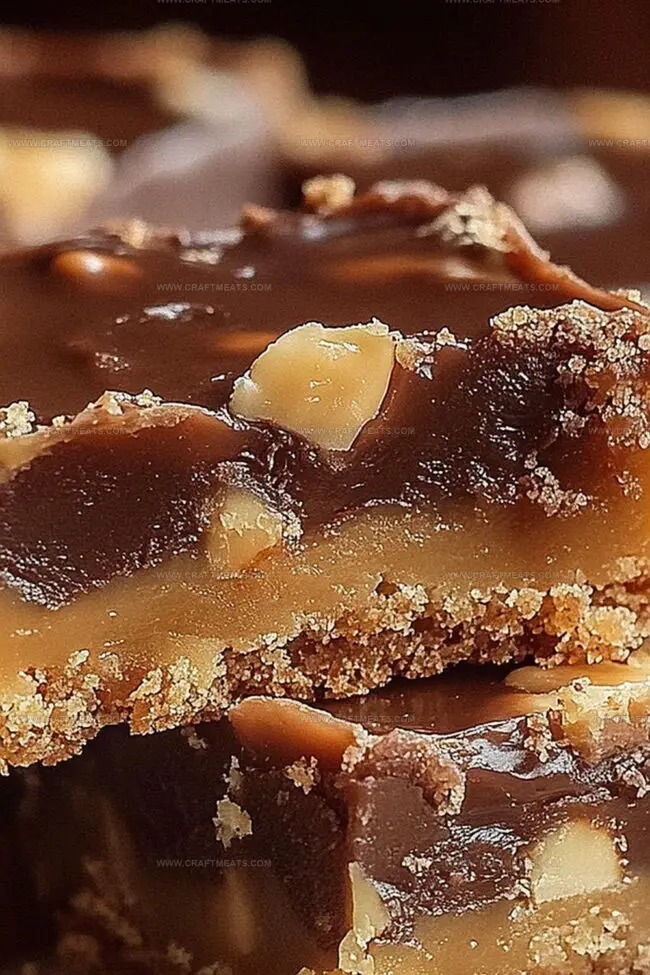
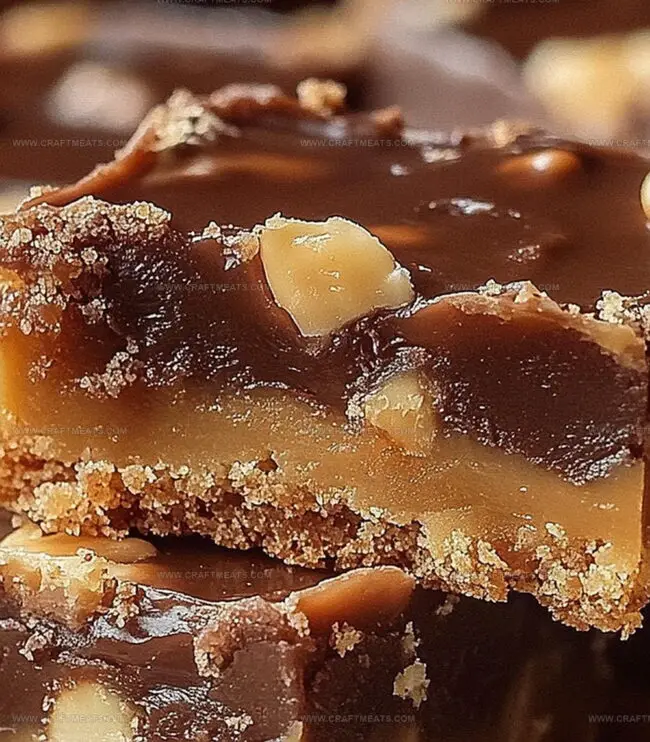
Chewy caramel mingles with rich chocolate and crunchy pecans for an unforgettable treat.
Each bite promises a symphony of textures and flavors that melt perfectly together.
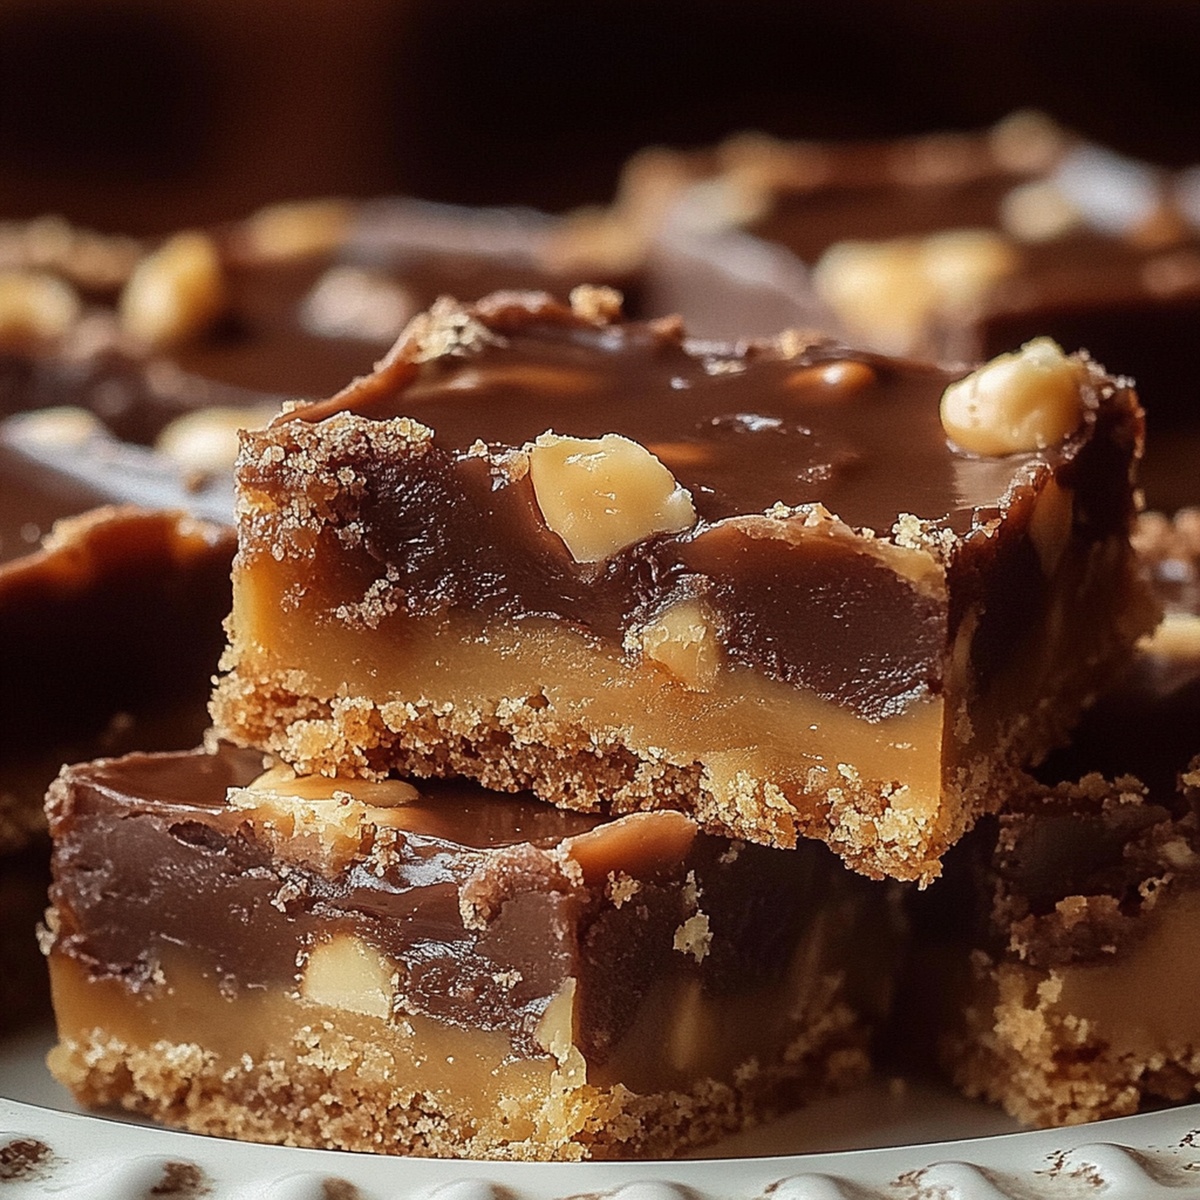
The combination of buttery shortbread, gooey caramel, and smooth chocolate creates a dessert that feels like pure luxury.
Pecan pieces add a delightful crunch that elevates this classic bar to new heights of deliciousness.
Dive into this heavenly recipe and treat yourself to a moment of pure bliss.
Quick Recipe Overview
What Goes Into Turtle Bars
For The Crust:For The Caramel and Nuts:For The Chocolate Topping:Kitchen Gear You’ll Need For Turtle Bars
Simple How-To Guide For Turtle Bars
Create a golden, crumbly base by mixing flour, butter, and sugar. Press the mixture firmly into a baking pan, ensuring an even layer. Bake until the edges turn a soft, light golden color, creating a perfect platform for the upcoming layers of deliciousness.
Craft a rich caramel sauce by gently heating brown sugar, butter, and cream. Watch as the mixture transforms into a glossy, bubbling concoction. Fold in crunchy pecans, allowing their nutty essence to mingle with the sweet caramel.
Generously pour the pecan-studded caramel over the baked crust. Return to the oven, letting the caramel become gloriously bubbly and slightly set. The kitchen will fill with an irresistible aroma of toasted nuts and caramel.
Melt chocolate until silky smooth, creating a luxurious drizzle. Artfully cascade the chocolate across the caramel surface, creating an elegant zigzag pattern that promises pure indulgence.
Allow the bars to cool completely, letting each layer settle and meld together. Slice into perfect squares, revealing the beautiful layers of crust, caramel, nuts, and chocolate. Serve and watch faces light up with pure joy.
Tasty Tips And Flavor Swaps For Turtle Bars
Fun Ways To Serve Turtle Bars
Storage Tips And Make-Ahead Notes For Turtle Bars
Keep turtle bars in an airtight container at room temperature for 3-4 days, ensuring maximum freshness and deliciousness.
Print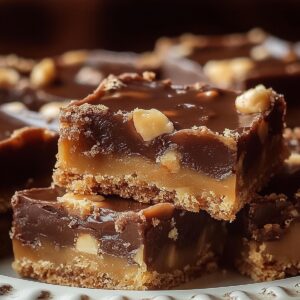
Irresistible Turtle Bars Recipe
- Total Time: 1 hour 50 minutes
- Yield: 24 1x
Description
Indulgent turtle bars blend rich chocolate, caramel, and pecans in a classic dessert that celebrates Southern comfort. Chocolate lovers will savor each delectable layer of this irresistible treat you won’t want to miss.
Ingredients
- 2 cups (250 g / 8.8 oz) all-purpose flour
- 2 cups (450 g / 16 oz) unsalted butter, softened
- 1 cup (200 g / 7 oz) packed light brown sugar
- ½ cup (100 g / 3.5 oz) granulated sugar
- 1 ½ cups (150 g / 5.3 oz) chopped pecans
- 1 cup (180 g / 6.3 oz) semi-sweet or dark chocolate chips
- 2 tbsps heavy cream
- 1 tsp vegetable oil (optional, for easier drizzling)
Instructions
- Crust Preparation: Combine flour, sugar, and softened butter into a crumbly mixture. Press evenly into a parchment-lined baking pan, creating a uniform base. Bake at 350°F for 15 minutes until achieving a golden-blonde appearance.
- Caramel Transformation: In a saucepan, merge brown sugar, butter, and cream. Heat while stirring constantly until reaching a vigorous boil. Incorporate chopped pecans, ensuring complete coating with the glossy caramel mixture.
- Layer Assembly: Pour the pecan-infused caramel over the pre-baked crust, spreading meticulously to guarantee full coverage. Return to the oven, allowing the caramel to bubble and develop a rich, lustrous finish.
- Chocolate Embellishment: Melt chocolate chips with a hint of vegetable oil to create a smooth, flowing consistency. Artfully drizzle the chocolate across the caramel surface in elegant zigzag patterns.
- Finishing Touch: Allow the bars to cool and stabilize at room temperature, permitting layers to set and integrate. Once firm, slice into precise, uniform squares, revealing the harmonious blend of buttery crust, nutty caramel, and chocolate decadence.
Notes
- Choose Quality Ingredients: Select premium butter, fresh pecans, and high-quality chocolate for a rich, decadent flavor profile that elevates the entire dessert.
- Prevent Burning Caramel: Monitor the caramel sauce closely while cooking, stirring constantly and removing from heat immediately when it reaches a golden-brown consistency to avoid bitter, burnt notes.
- Achieve Perfect Crust Texture: Press the base mixture firmly and evenly into the pan, ensuring a compact, uniform layer that bakes to a crisp, golden foundation without crumbling.
- Control Chocolate Drizzle: Melt chocolate slowly using low heat or a double boiler, adding a small amount of oil to create a smooth, glossy finish that doesn’t become grainy or seize up.
- Prep Time: 30 minutes
- Cook Time: 1 hour
- Category: Desserts, Snacks
- Method: Baking
- Cuisine: American
Nutrition
- Serving Size: 24
- Calories: 235
- Sugar: 19 g
- Sodium: 75 mg
- Fat: 14 g
- Saturated Fat: 6 g
- Unsaturated Fat: 7 g
- Trans Fat: 0 g
- Carbohydrates: 26 g
- Fiber: 1 g
- Protein: 2 g
- Cholesterol: 25 mg
Liam O’Sullivan
Founder & Culinary Content Creator
Expertise
Recipe Development, Traditional Irish and European Cuisines, Food Styling and Photography, Culinary Education
Education
Dublin Institute of Technology (DIT) – School of Culinary Arts and Food Technology
Ballymaloe Cookery School
Isabella brings a global spark to the Craft Meats table. Born in Florence and trained at the Apicius International School of Hospitality, she blends classic Italian flavor with modern writing that’s easy to follow and hard to forget.
Her additional training at the Italian Chef Academy fueled her love for well-crafted dishes, especially ones that spotlight beautiful cuts of meat.
She’s a food writer with heart, and a deep love for storytelling through single recipes. Her goal? To help you cook with more confidence and a little more joy, no matter where you start.