
Playful Kid-Friendly No-Bake Clusters Recipe for Little Chefs
Crafting delightful no-bake clusters brings pure joy to kitchen adventures.
These tempting treats guarantee smiles from every eager mouth.
Sweet ingredients dance together without requiring an oven’s heat.
Kids absolutely adore helping mix and shape these delectable morsels.
Simple pantry staples become magical snacks with minimal effort.
Minimal mess means maximum fun when creating these chocolatey delights.
Your little culinary companions will beg to make these again and again.
What Makes Kid-Friendly No-Bake Clusters A Favorite
Kid-Friendly No-Bake Clusters Ingredient List
Sweet Base Ingredients:Crunchy Mix-In Ingredients:Optional Binding Ingredients:How To Make Kid-Friendly No-Bake Clusters
Step 1: Melt Chocolate And Peanut Butter
Grab a microwave-safe bowl and start melting chocolate chips. Zap them in quick 30-second bursts, stirring between each round until they turn into a silky smooth river. Swirl in peanut butter and mix until they become best friends.
Step 2: Create Crunchy Base
Grab a big mixing bowl and toss in:Pour the warm chocolate-peanut butter mixture over these buddies and gently fold everything together. Make sure each piece gets a loving chocolate hug.
Step 3: Shape Tasty Clusters
Line a baking sheet with parchment paper. Use a cookie scoop or spoon to drop little mounds of your chocolatey mixture. Each cluster should look like a delicious mountain of yumminess.
Step 4: Chill And Solidify
Slide the baking sheet into the refrigerator. Let these clusters hang out and cool down for about 20-30 minutes. They’ll transform from gooey to perfectly firm.
Step 5: Devour And Store
Pull out your amazing clusters and start munching! Keep leftovers in an airtight container. They’ll be happy at room temperature or in the fridge for extra firmness.
Top Tips For Kid-Friendly No-Bake Clusters

How To Store Kid-Friendly No-Bake Clusters
Best Pairings With Kid-Friendly No-Bake Clusters
Kid-Friendly No-Bake Clusters With A Twist
FAQs About Kid-Friendly No-Bake Clusters
The recipe contains peanut butter, so it’s not suitable for children with nut allergies. You can substitute peanut butter with sunflower seed butter or another nut-free alternative for a safe option.
Absolutely! Feel free to swap the cereal with your favorite crispy variety like Rice Krispies, Chex, or even Corn Flakes. Just make sure the cereal is crunchy to maintain the cluster’s texture.
Try adding some healthy mix-ins like chia seeds, chopped nuts (if no allergy concerns), or dried fruit to boost the nutritional value. You can also use dark chocolate for added antioxidants.
Yes! These are perfect for lunch boxes. Just make sure to keep them in a cool container, especially during warmer months, to prevent melting. They’re a fun, no-mess snack that kids will love.
Print
Kid-Friendly No-Bake Clusters Recipe
- Total Time: 40 minutes
- Yield: 12 1x
Description
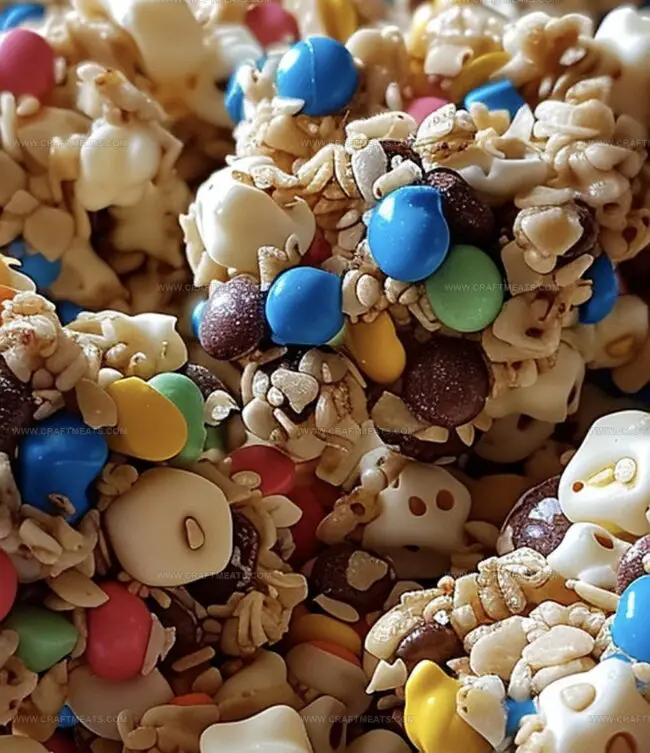
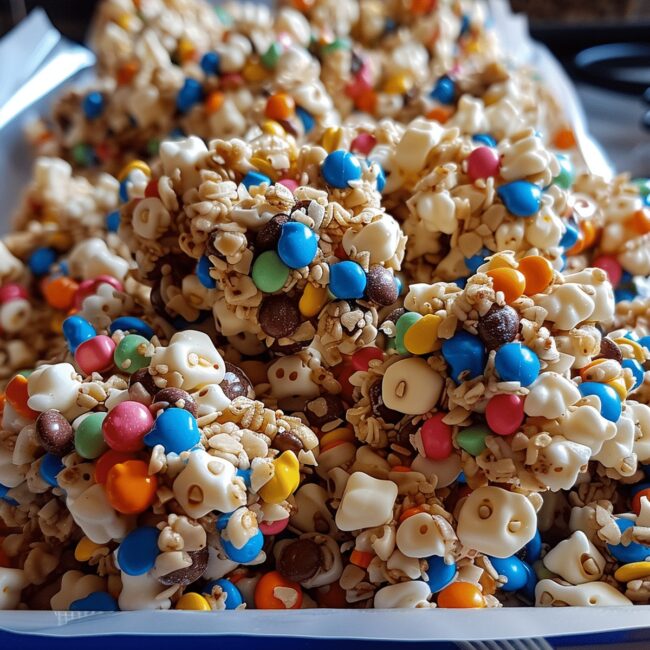
Sweet chocolate clusters blend creamy peanut butter with crispy rice cereal for an irresistible treat. Kids and adults alike will savor these quick, delightful morsels perfect for snacking or sharing with friends.
Ingredients
Main Chocolate Ingredients:
- 2 cups (473 ml) semi-sweet chocolate chips or milk chocolate chips
Binding Ingredients:
- ½ cup (120 ml) creamy peanut butter (optional for nut-free, can substitute with sunflower butter)
- 1 cup (237 ml) mini marshmallows
Crunchy Ingredients:
- 2 cups (473 ml) crispy rice cereal or cornflake cereal
- ½ cup (120 ml) chopped pretzels or nuts (optional)
Instructions
- Prepare a parchment-lined baking sheet to capture the delightful chocolate treats that will soon take shape.
- Create a velvety base by gently melting chocolate chips in the microwave, stirring frequently to achieve a glossy, smooth consistency.
- Introduce creamy peanut butter into the molten chocolate, whisking until the two ingredients form a harmonious blend.
- In a spacious mixing bowl, combine crisp cereal, fluffy marshmallows, and crunchy pretzel pieces, creating a textural foundation for the clusters.
- Pour the luxurious chocolate-peanut butter mixture over the dry ingredients, carefully folding to ensure every morsel receives an even chocolate coating.
- Using a cookie scoop or spoon, sculpt uniform mounds of the mixture onto the prepared parchment paper, allowing each cluster to take its unique form.
- Transfer the baking sheet to the refrigerator, letting the clusters solidify and develop their perfect texture for approximately 20-30 minutes.
- Once firm and glossy, liberate the clusters from the cold confines of the refrigerator, ready to delight eager taste buds.
- For optimal enjoyment, store the clusters in an airtight container, either at room temperature for a softer treat or in the refrigerator for a more crisp experience.
Notes
- Swap chocolate chips for dairy-free alternatives like dark chocolate or carob chips to accommodate dairy-free diets.
- Reduce sugar content by using sugar-free chocolate and natural peanut butter without added sweeteners.
- For nut-free versions, replace peanut butter with sunflower seed butter or coconut butter to make the recipe allergy-friendly.
- Create texture variations by experimenting with different cereals like rice crispy treats, graham crackers, or granola for unique flavor profiles.
- Prep Time: 10 minutes
- Cook Time: 30 minutes
- Category: Snacks, Desserts
- Method: Mixing
- Cuisine: American
Nutrition
- Serving Size: 12
- Calories: 170
- Sugar: 10g
- Sodium: 50mg
- Fat: 7g
- Saturated Fat: 3.5g
- Unsaturated Fat: 2.5g
- Trans Fat: 0g
- Carbohydrates: 23g
- Fiber: 1g
- Protein: 2g
- Cholesterol: 0mg
Isabella Rossi
Founder & Culinary Content Creator
Expertise
Recipe Development, Traditional Irish and European Cuisines, Food Styling and Photography, Culinary Education
Education
Dublin Institute of Technology (DIT) – School of Culinary Arts and Food Technology
Ballymaloe Cookery School
Liam is the voice behind many of Craft Meats’ most flavorful features. With roots in Dublin’s smoky barbecue scene and a culinary degree from the Dublin Institute of Technology, he brings time-tested cooking techniques to life.
His training at Ballymaloe Cookery School sharpened his farm-to-table approach, giving him a deep respect for every ingredient he writes about.
He’s not about overcomplicating the process, just helping you cook meat that’s worth talking about. When he’s not writing or grilling, he’s out foraging or nerding out on regional spice blends to add to his next recipe.