
Christmas Hot Cocoa Bombs Recipe That’s Gift-Ready
Indulge in a winter wonderland of flavor with these decadent christmas hot cocoa bombs that melt into pure magic.
Chocolate shells crafted with precision hide a delightful surprise of marshmallows and rich cocoa mix.
Each carefully constructed sphere promises a moment of pure bliss when hot milk cascades over its delicate surface.
Watching the chocolate crack open reveals a swirl of sweetness that warms hearts and sparks joy.
Nostalgic and festive, these treats capture the essence of holiday cheer in every sip.
Friends and family will be enchanted by this playful and delicious seasonal delight.
Let the cocoa bomb experience transform your winter evenings into something truly extraordinary.
Quick Recipe Overview
What You’ll Use For Christmas Hot Cocoa Bombs
For Chocolate Shell and Coating:For Filling and Flavor:For Decoration and Garnish:Tools To Make Christmas Hot Cocoa Bombs At Home
How To Assemble Christmas Hot Cocoa Bombs
A cozy kitchen adventure begins with gently transforming chocolate into smooth, silky goodness. Use a microwave-safe bowl and heat carefully, stirring between short bursts until the chocolate transforms into a glossy liquid.
Carefully paint the inside of a silicone mold with delicate chocolate layers. Each shell requires patience and a gentle touch. Chill between layers to create sturdy, beautiful chocolate spheres that will hold your delightful surprise.
Nestle hot cocoa mix, fluffy marshmallows, and playful holiday sprinkles into half of your beautiful chocolate shells. Each bomb becomes a magical winter wonderland waiting to be discovered.
Warm a plate slightly and create a smooth chocolate seal by gently joining shell halves. The edges should melt just enough to create a perfect connection, trapping the festive goodies inside.
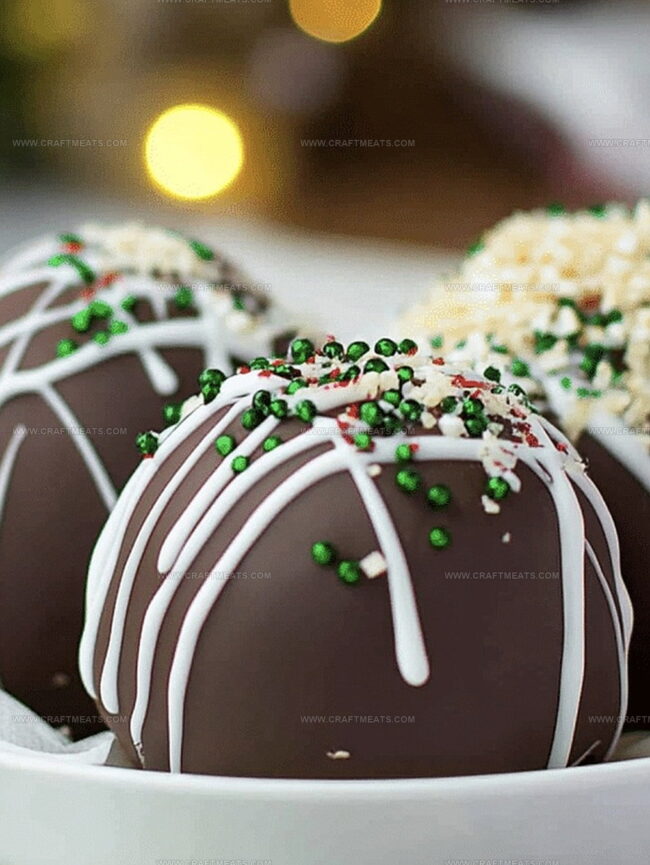
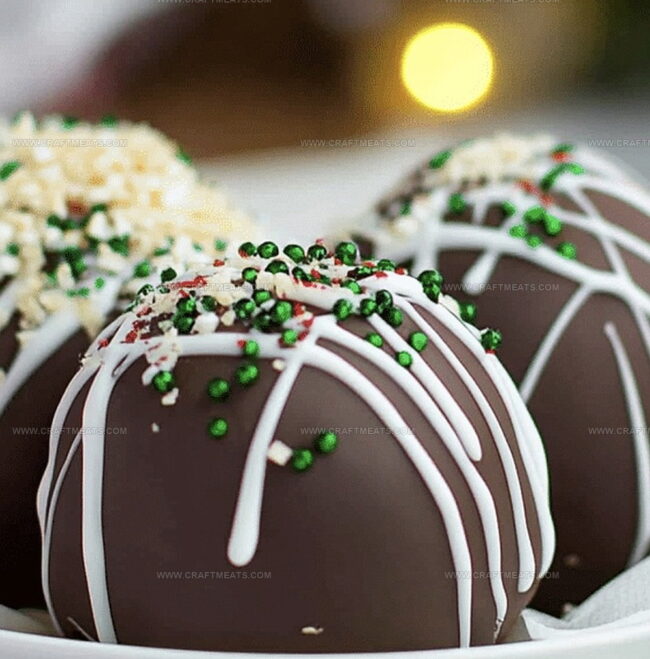
Unleash your creativity with white chocolate drizzles and sparkling holiday decorations. Crushed candy canes and shimmering edible glitter transform these cocoa bombs into edible art.
Drop a cocoa bomb into a warm mug and watch the magic unfold. Pour steaming milk over the chocolate sphere and witness a delightful explosion of chocolatey, marshmallow happiness.
Fun Flavor Tips For Christmas Hot Cocoa Bombs
Ways To Serve Christmas Hot Cocoa Bombs Creatively
How To Store Christmas Hot Cocoa Bombs Easily
Stash your chocolate bombs in an airtight container, keeping them cool and dry to maintain their perfect texture.
Print
Magical Christmas Hot Cocoa Bombs Recipe
- Total Time: 1 hour
- Yield: 5 1x
Description
Delightful Christmas hot cocoa bombs deliver festive cheer with rich chocolate shells filled with cocoa mix and marshmallows. Swiss chocolate and holiday spirits combine for a magical drinking experience you’ll savor with pure joy.
Ingredients
- 12 oz (340 g) semi-sweet or milk chocolate, finely chopped (or chocolate wafers)
- 1 cup (120 g) hot cocoa mix
- ½ cup (50 g) mini marshmallows
- ½ cup (85 g) white chocolate, melted
- ¼ cup (40 g) holiday sprinkles (optional)
- Extra sprinkles
- Crushed candy canes
- Edible glitter
Instructions
- Chocolate Preparation: Finely chop chocolate into uniform pieces, melting in microwave-safe bowl through brief 20-second intervals with thorough stirring until achieving a glossy, liquid consistency.
- Mold Coating: Using silicone mold, brush first layer of melted chocolate generously into each cavity, creating an even interior shell. Refrigerate 10-15 minutes until completely solidified, then apply a second protective layer for enhanced durability.
- Shell Extraction: Carefully remove chocolate shells from mold, maintaining delicate handling to prevent unexpected cracking.
- Filling Assembly: Position hot cocoa mix, miniature marshmallows, and holiday sprinkles into half of the prepared chocolate shells.
- Shell Sealing: Warm a plate, then briefly touch empty shell rim to create an adhesive surface. Swiftly join filled and empty shells, pressing gently to form a seamless bond and smoothing any visible gaps with additional melted chocolate.
- Decorative Finishing: Adorn cocoa bombs with white chocolate drizzle and festive embellishments like crushed candy canes or edible glitter, allowing decorations to set completely.
- Serving Technique: Place prepared cocoa bomb in mug, slowly pour hot milk over, watching the magical melting process and stirring until thoroughly combined.
Notes
- Choose High-Quality Chocolate: Select premium dark or milk chocolate with at least 55% cocoa content for rich, smooth texture and superior flavor melting.
- Prevent Chocolate Seizing: Keep moisture absolutely away during melting; even a single water droplet can cause chocolate to clump and become grainy.
- Control Temperature Precisely: Use low, consistent heat when melting chocolate to maintain silky consistency and prevent burning or separation.
- Master Shell Technique: Create thin, even chocolate shells by rotating silicone mold and allowing excess chocolate to drip out for uniform thickness.
- Customize Dietary Options: Swap ingredients for gluten-free, dairy-free, or vegan versions by using alternative chocolate and plant-based marshmallows.
- Store Strategically: Keep completed cocoa bombs in airtight container at cool room temperature for up to two weeks, preventing chocolate bloom and maintaining crispness.
- Handle With Care: Use food-safe gloves when assembling to prevent fingerprint marks and maintain professional, clean appearance of chocolate shells.
- Prep Time: 30 minutes
- Cook Time: 30 minutes
- Category: Drinks, Snacks, Desserts
- Method: Mixing
- Cuisine: American
Nutrition
- Serving Size: 5
- Calories: 320
- Sugar: 38 g
- Sodium: 150 mg
- Fat: 15 g
- Saturated Fat: 9 g
- Unsaturated Fat: 4 g
- Trans Fat: 0 g
- Carbohydrates: 44 g
- Fiber: 1 g
- Protein: 3 g
- Cholesterol: 5 mg
Liam O’Sullivan
Founder & Culinary Content Creator
Expertise
Recipe Development, Traditional Irish and European Cuisines, Food Styling and Photography, Culinary Education
Education
Dublin Institute of Technology (DIT) – School of Culinary Arts and Food Technology
Ballymaloe Cookery School
Isabella brings a global spark to the Craft Meats table. Born in Florence and trained at the Apicius International School of Hospitality, she blends classic Italian flavor with modern writing that’s easy to follow and hard to forget.
Her additional training at the Italian Chef Academy fueled her love for well-crafted dishes, especially ones that spotlight beautiful cuts of meat.
She’s a food writer with heart, and a deep love for storytelling through single recipes. Her goal? To help you cook with more confidence and a little more joy, no matter where you start.