Jolly Mickey Mouse Christmas Cupcakes Recipe for Holiday Fun
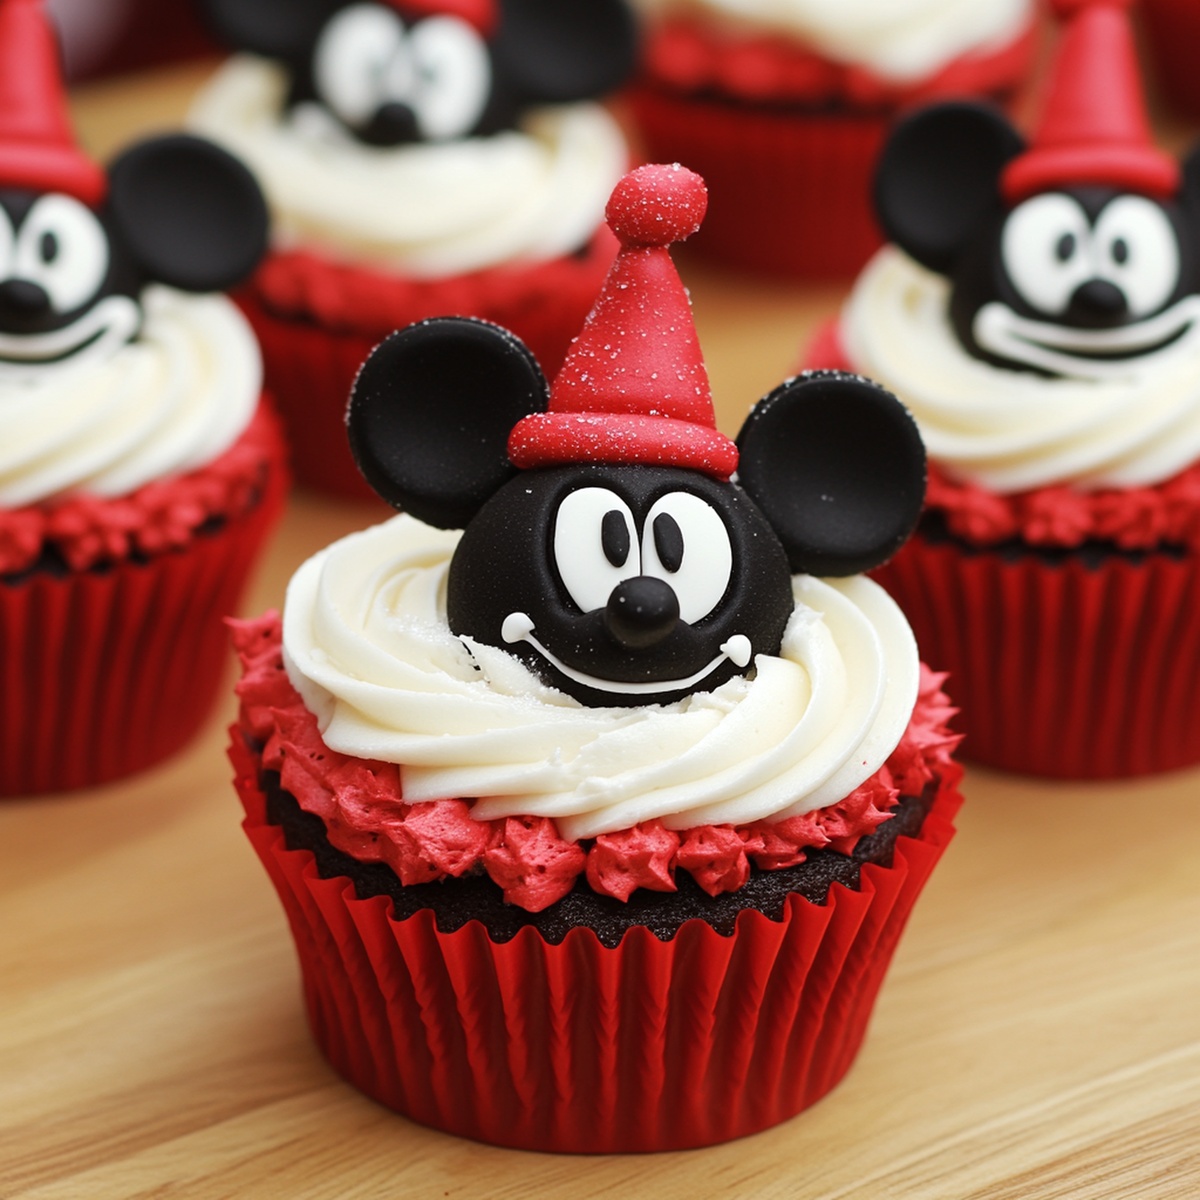
Sweet holiday magic comes alive with whimsical mickey mouse christmas cupcakes that bring Disney charm straight to your dessert table.
These adorable treats capture the festive spirit with playful design and delightful flavors.
Kids and adults alike will fall in love with these cheerful cupcakes decorated to resemble everyone’s favorite mouse.
Each bite combines rich chocolate and classic Christmas cheer in one delectable package.
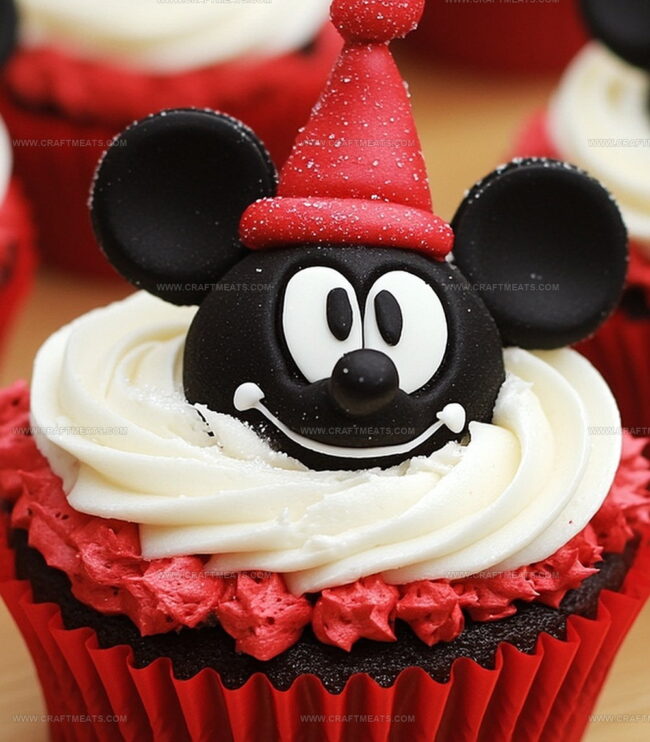
Soft, moist cake layers provide the perfect canvas for creative mickey mouse decorations.
Sprinkle some seasonal joy and watch smiles spread across faces when you serve these delightful cupcakes.
Let your baking creativity shine and make this holiday season extra special with these magical disney-inspired desserts.
Quick Recipe Overview
Mickey Mouse Christmas Cupcakes Ingredient List
For Cake Base:For Frosting:For Decoration:Tools To Decorate Mickey Mouse Christmas Cupcakes
Steps To Bake Mickey Mouse Christmas Cupcakes Perfectly
Create delightful Christmas cupcakes that bring Disney cheer to your holiday celebration. These adorable treats combine classic baking techniques with playful Mickey Mouse design.
Blend butter and sugar until creamy, then gently fold in eggs and vanilla. Carefully mix dry ingredients with milk, creating a smooth batter that will bake into tender, fluffy cupcakes. Pour mixture into festive liners and bake until golden and perfectly set.
Whip butter into silky smoothness, gradually incorporating powdered sugar. Transform the mixture into a velvety cream by adding vanilla and heavy cream. Separate frosting into two bowls, tinting one festive red and another cheerful green using gel coloring.
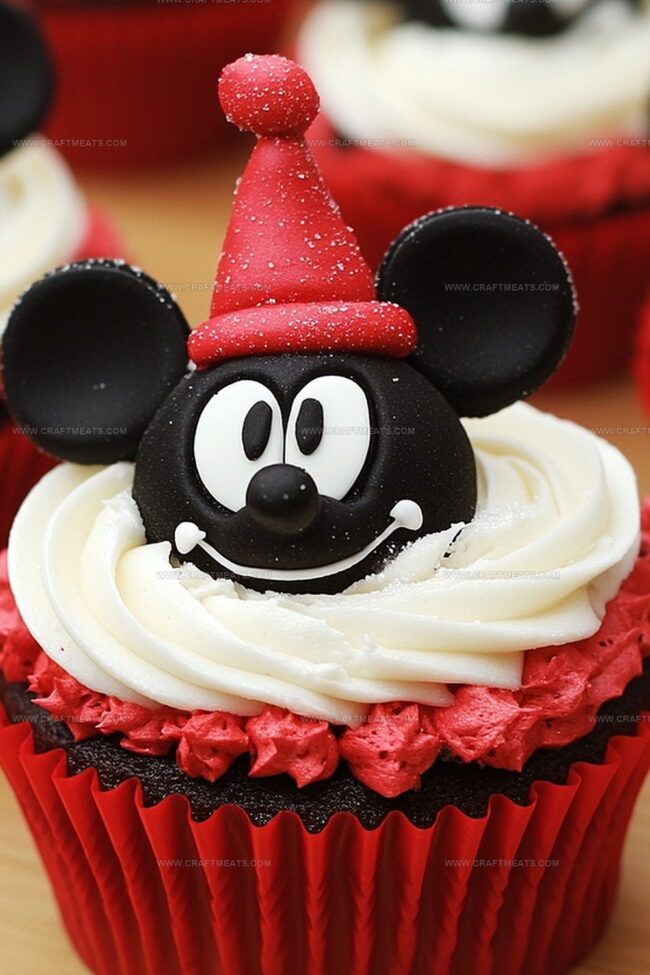
Transform plain cupcakes into Mickey Mouse masterpieces. Pipe colorful frosting using star-shaped tips, creating swirly textures. Place tiny Oreo cookies as adorable mouse ears. Sprinkle holiday glitter and festive decorations for extra sparkle.
Arrange cupcakes on a charming platter, showcasing your delightful Disney-inspired Christmas treats. Watch as friends and family marvel at your creative culinary magic.
Toppings For Mickey Mouse Christmas Cupcakes Kids Will Love
Serving Mickey Mouse Christmas Cupcakes At Holiday Parties
Storage Tips For Mickey Mouse Christmas Cupcakes
Print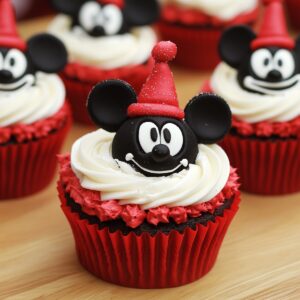
Magical Mickey Mouse Christmas Cupcakes Recipe
- Total Time: 40 minutes
- Yield: 23 1x
Description
Mickey mouse christmas cupcakes bring festive cheer to holiday dessert tables with whimsical Disney-inspired design. Delightful treats showcase cheerful mouse ears and holiday decorations, promising smiles for children and adults alike.
Ingredients
- 1 ½ cups (350 ml) all-purpose flour
- ¾ cup (150 g) granulated sugar
- ½ cup (113 g) unsalted butter, softened
- 2 large eggs
- ½ cup (120 ml) milk
- ¼ cup (60 ml) sour cream
- 1 cup (226 g) unsalted butter, softened for frosting
- 3 cups (360 g) powdered sugar
- 1 tsp baking powder
- ½ tsp baking soda
- ¼ tsp salt
- 1 tsp vanilla extract
- 2–3 tbsps heavy cream or milk
- Red and green gel food coloring
- Mini Oreo cookies (for Mickey ears)
- Holiday sprinkles
- Edible glitter (optional)
Instructions
- Batter Preparation: Whisk butter and sugar in a large bowl until creamy. Add eggs individually, blending thoroughly after each addition. Incorporate vanilla extract for depth of flavor. Gently fold dry ingredients into the mixture, alternating with milk and sour cream to maintain a light, airy consistency.
- Baking Process: Fill cupcake liners three-quarters full with batter. Transfer to a preheated oven at 350F (175C). Bake for 18-20 minutes until golden and a toothpick inserted comes out clean. Cool completely on a wire rack, allowing cupcakes to set and reach room temperature.
- Frosting Creation: Whip butter until smooth and glossy. Gradually add powdered sugar, mixing until uniform. Introduce vanilla extract and heavy cream, whisking until the frosting becomes light and pipeable. Divide frosting into separate bowls and tint with red and green gel food coloring.
- Decorative Assembly: Pipe colored frosting onto cooled cupcakes using a star or round tip. Position mini Oreos strategically to create Mickey Mouse ears on each cupcake. Finish with a sprinkle of holiday-themed decorative elements and edible glitter for a magical, festive appearance.
Notes
- Select Fresh Ingredients: Use room temperature butter, eggs, and milk for smoother batter and better blending, ensuring consistent texture and enhanced flavor development.
- Prevent Overmixing Batter: Gently fold dry ingredients into wet mixture, stopping just when combined to maintain cupcakes’ light, tender crumb and avoid dense, tough results.
- Color Frosting Carefully: Use gel food coloring for vibrant, concentrated colors without thinning frosting consistency; add color gradually to achieve desired Mickey Mouse holiday palette.
- Achieve Perfect Decoration: Pipe frosting using steady hand and consistent pressure, positioning mini Oreos precisely as Mickey ears for professional-looking, festive cupcake design.
- Prep Time: 20 minutes
- Cook Time: 20 minutes
- Category: Desserts
- Method: Baking
- Cuisine: American
Nutrition
- Serving Size: 23
- Calories: 280
- Sugar: 22 g
- Sodium: 180 mg
- Fat: 15 g
- Saturated Fat: 9 g
- Unsaturated Fat: 6 g
- Trans Fat: 0 g
- Carbohydrates: 36 g
- Fiber: 0 g
- Protein: 2 g
- Cholesterol: 50 mg
Liam O’Sullivan
Founder & Culinary Content Creator
Expertise
Recipe Development, Traditional Irish and European Cuisines, Food Styling and Photography, Culinary Education
Education
Dublin Institute of Technology (DIT) – School of Culinary Arts and Food Technology
Ballymaloe Cookery School
Isabella brings a global spark to the Craft Meats table. Born in Florence and trained at the Apicius International School of Hospitality, she blends classic Italian flavor with modern writing that’s easy to follow and hard to forget.
Her additional training at the Italian Chef Academy fueled her love for well-crafted dishes, especially ones that spotlight beautiful cuts of meat.
She’s a food writer with heart, and a deep love for storytelling through single recipes. Her goal? To help you cook with more confidence and a little more joy, no matter where you start.