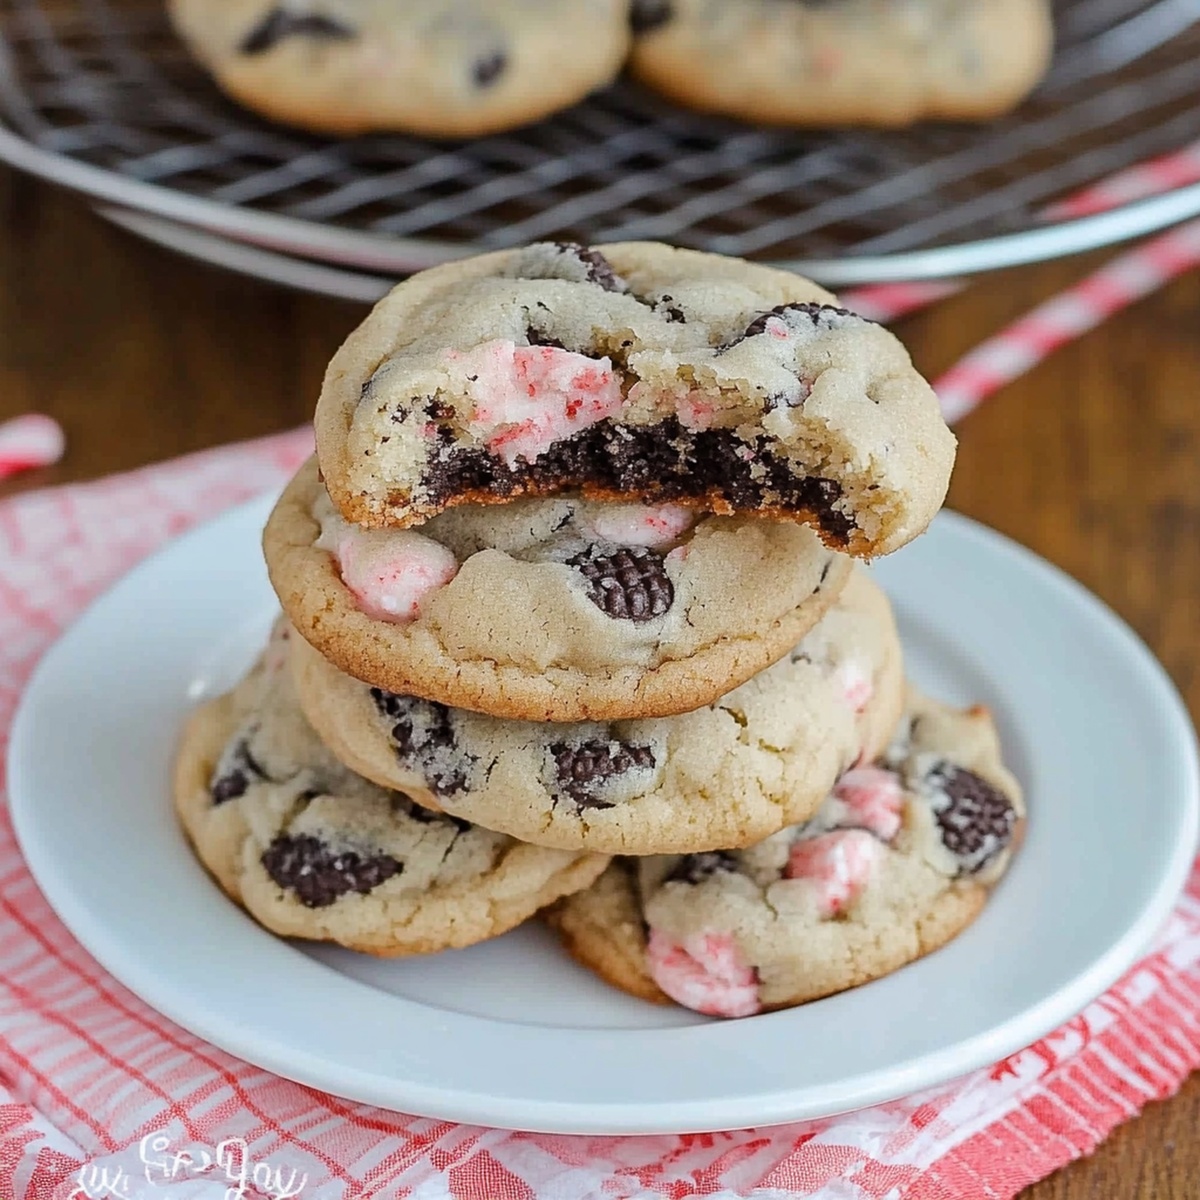
Jolly Peppermint Oreo Cookies Recipe: Frosty Sweet Treats
Cool breezes and winter memories dance through this delightful peppermint oreo cookies recipe that brings sweet magic to your kitchen.
Creamy chocolate meets zesty mint in a delectable dessert that melts hearts and sparks joy.
Crushing oreos creates a perfect crumbly base for these festive treats.
Each cookie bursts with refreshing peppermint flavor and rich chocolate undertones.
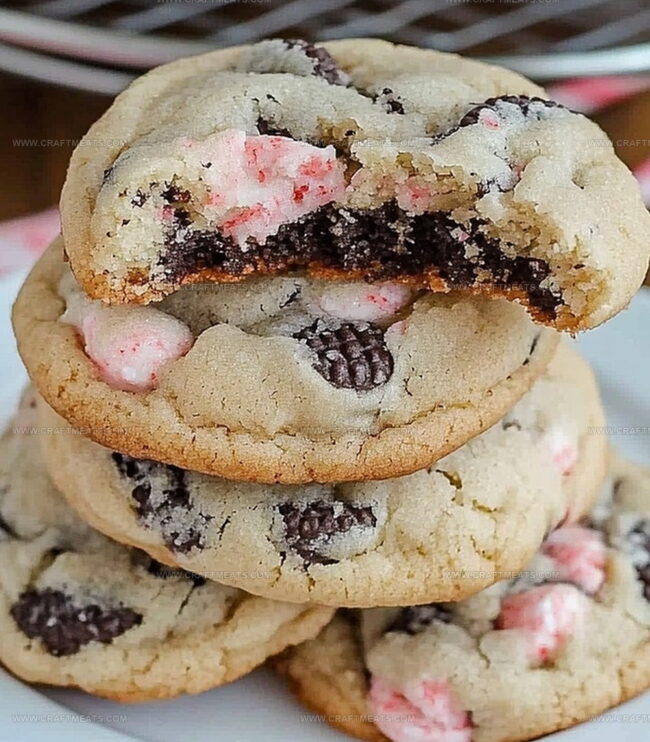
The combination of smooth oreo centers and crisp candy cane sprinkles delivers a sensational holiday experience.
Whipping up these cookies takes less than an hour and guarantees smiles around the table.
Dive into this simple yet stunning recipe and watch everyone’s faces light up with pure delight.
Quick Recipe Overview

What’s In Peppermint Oreo Cookies
For Wet Ingredients:For Dry Ingredients:For Mix-Ins:Tools To Make Peppermint Oreo Cookies
How To Prepare Peppermint Oreo Cookies
Cozy up your kitchen by firing up the oven to create a toasty baking environment. Prepare your baking sheets with a protective layer of parchment paper, creating a non-stick surface for your delightful cookies.
In a spacious mixing bowl, transform butter and sugars into a cloud-like mixture that’s light and dreamy. Introduce an egg and a whisper of peppermint extract, blending until smooth and fragrant. In a separate bowl, combine flour, baking soda, and salt, then gently marry these dry ingredients with your creamy base.
Carefully fold in crushed Oreos, white chocolate chips, and crumbled peppermint candies. These mix-ins will transform your ordinary cookie into a celebration of winter flavors.
Lovingly shape the dough into perfect little balls, placing them on your prepared baking sheets with plenty of breathing room between each cookie.
Slide your cookie-laden sheets into the warm oven. Watch as they transform into golden-edged treats with centers that promise a soft, delectable bite. After 8-10 minutes, rescue them from the heat and let them rest briefly before moving to a cooling rack.
Savor these cookies with a steaming mug of hot cocoa or coffee, embracing the cozy winter vibes they bring to your day.
Tips To Change Up Peppermint Oreo Cookies
Serving Peppermint Oreo Cookies Made Simple
Storage Advice For Peppermint Oreo Cookies
Print
Magical Peppermint Oreo Cookies Recipe
- Total Time: 25 minutes
- Yield: 23 1x
Description
Homemade peppermint oreo cookies blend classic chocolate sandwich cookies with festive holiday cheer. Mint lovers will adore this simple dessert that brings sweet memories of winter celebrations.
Ingredients
- 1.5 cups (190 g) all-purpose flour
- ½ cup (115 g) unsalted butter, softened
- 1 large egg
- ½ cup (100 g) granulated sugar
- ½ cup (100 g) brown sugar
- ½ cup (90 g) white chocolate chips
- ¼ cup crushed peppermint candies or candy canes
- 1 tsp peppermint extract
- ½ tsp baking soda
- ¼ tsp salt
- 10 Oreos, crushed
Instructions
- Oven Preparation: Preheat oven to 350°F and line baking sheets with parchment paper for optimal cookie performance.
- Dough Foundation: Cream butter, granulated and brown sugars until fluffy and aerated. Integrate egg and peppermint extract to infuse vibrant flavor dimensions.
- Dry Ingredient Integration: Sift together flour, baking soda, and salt. Gently fold into butter mixture, maintaining a light, tender dough consistency without aggressive mixing.
- Mix-In Incorporation: Delicately fold crushed Oreo cookies, white chocolate chips, and pulverized peppermint candies throughout the dough, ensuring even distribution of flavor elements.
- Cookie Shaping and Placement: Scoop uniform dough portions onto prepared baking sheets, spacing them generously to allow natural spreading during the baking process.
- Baking and Finishing: Bake for 10-12 minutes until edges turn golden brown and centers remain slightly soft. Allow cookies to rest on baking sheet for 2-3 minutes before transferring to cooling rack.
- Final Presentation: Cool completely at room temperature, allowing cookies to set and develop optimal texture before serving with a festive flourish.
Notes
- Manage Butter Temperature: Ensure butter is softened but not melted for optimal cookie texture and even mixing, creating a smooth, creamy base that prevents dense, tough cookies.
- Prevent Overmixing: Gently fold dry ingredients into wet mixture until just combined, stopping when no flour streaks remain to maintain a tender, light cookie crumb.
- Control Baking Precision: Watch cookies closely during final baking minutes, removing them when edges turn golden but centers appear slightly underbaked for a perfectly chewy texture.
- Customize Dietary Options: Swap traditional ingredients with gluten-free flour, vegan butter alternatives, and dairy-free white chocolate chips to accommodate different dietary needs without compromising flavor.
- Prep Time: 10 minutes
- Cook Time: 15 minutes
- Category: Desserts, Snacks
- Method: Baking
- Cuisine: American
Nutrition
- Serving Size: 23
- Calories: 180
- Sugar: 10 g
- Sodium: 120 mg
- Fat: 8 g
- Saturated Fat: 5 g
- Unsaturated Fat: 2 g
- Trans Fat: 0 g
- Carbohydrates: 25 g
- Fiber: 1 g
- Protein: 2 g
- Cholesterol: 20 mg
Liam O’Sullivan
Founder & Culinary Content Creator
Expertise
Recipe Development, Traditional Irish and European Cuisines, Food Styling and Photography, Culinary Education
Education
Dublin Institute of Technology (DIT) – School of Culinary Arts and Food Technology
Ballymaloe Cookery School
Isabella brings a global spark to the Craft Meats table. Born in Florence and trained at the Apicius International School of Hospitality, she blends classic Italian flavor with modern writing that’s easy to follow and hard to forget.
Her additional training at the Italian Chef Academy fueled her love for well-crafted dishes, especially ones that spotlight beautiful cuts of meat.
She’s a food writer with heart, and a deep love for storytelling through single recipes. Her goal? To help you cook with more confidence and a little more joy, no matter where you start.