Whimsical Snow Globe Cookies Recipe for Decorating Fun
Festive baking takes a whimsical turn with these delightful snow globe cookies that capture winter’s enchantment in every sweet bite.
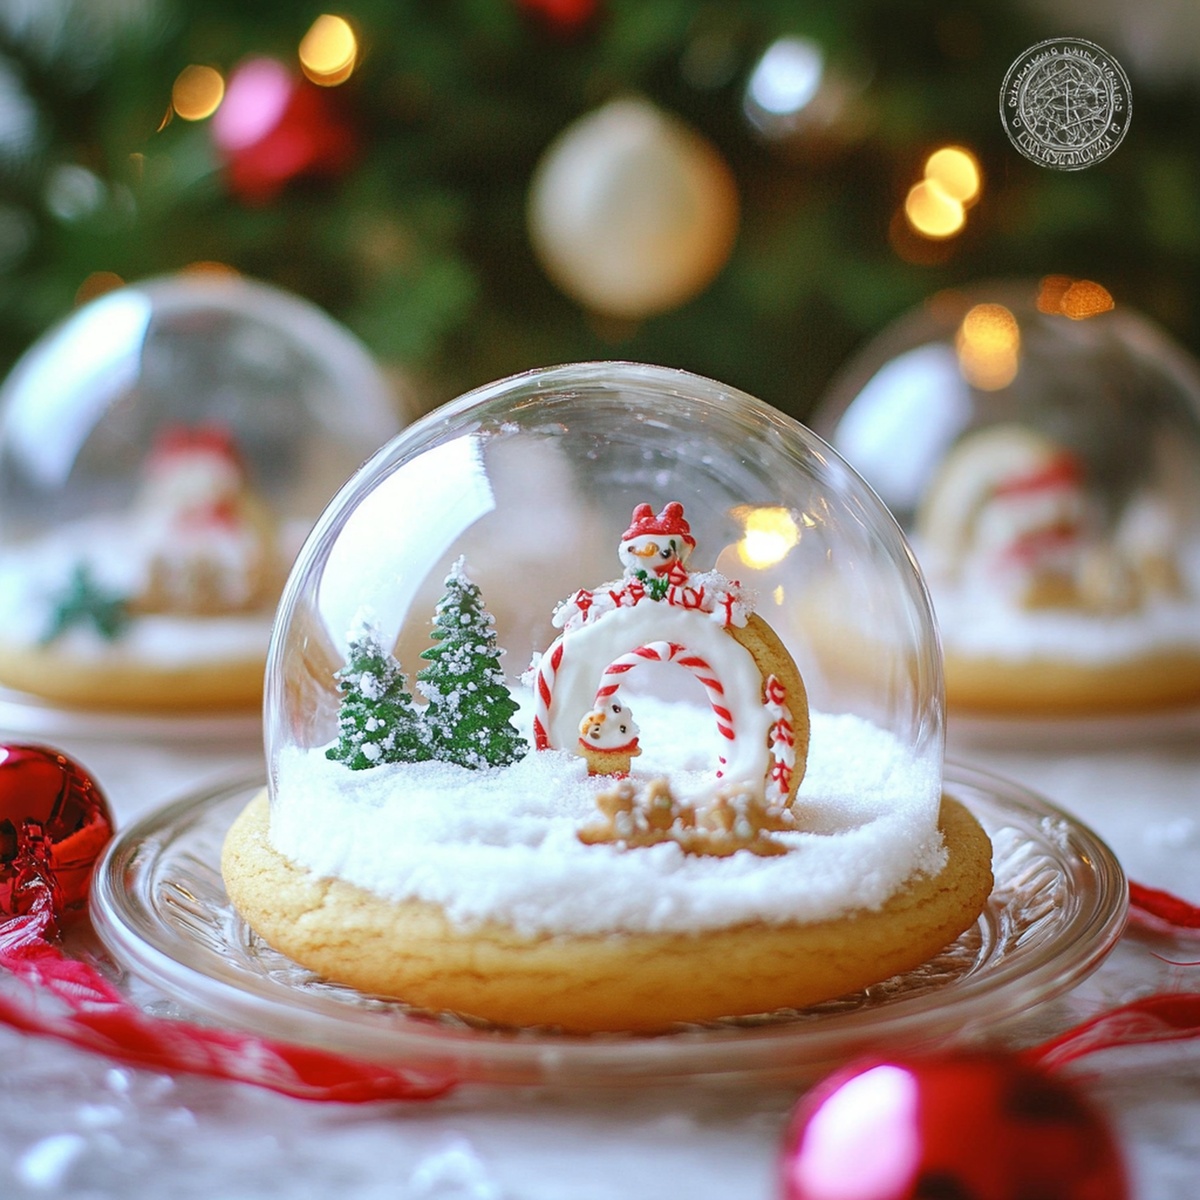
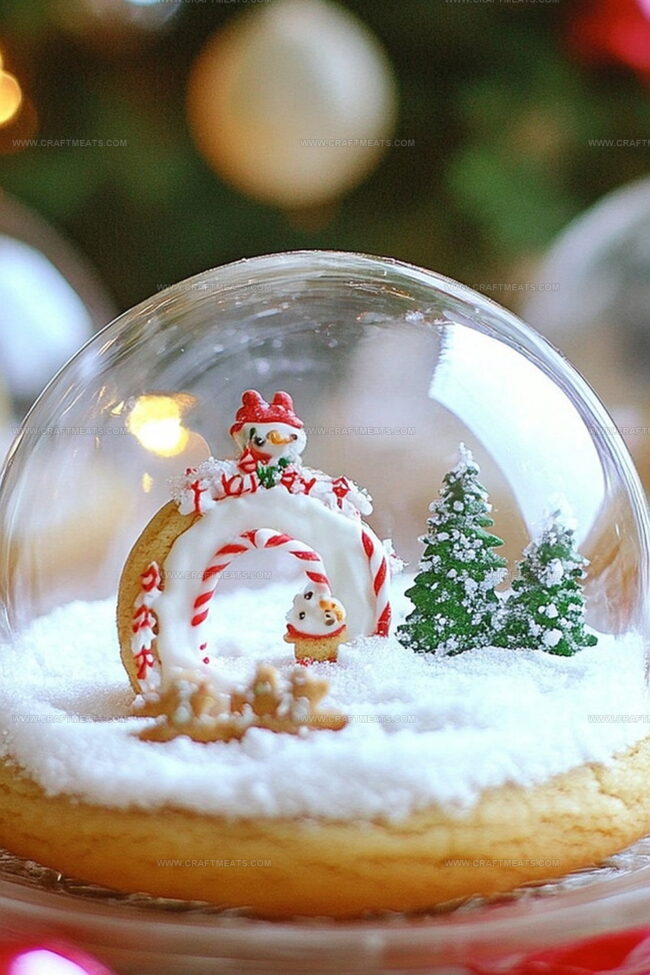
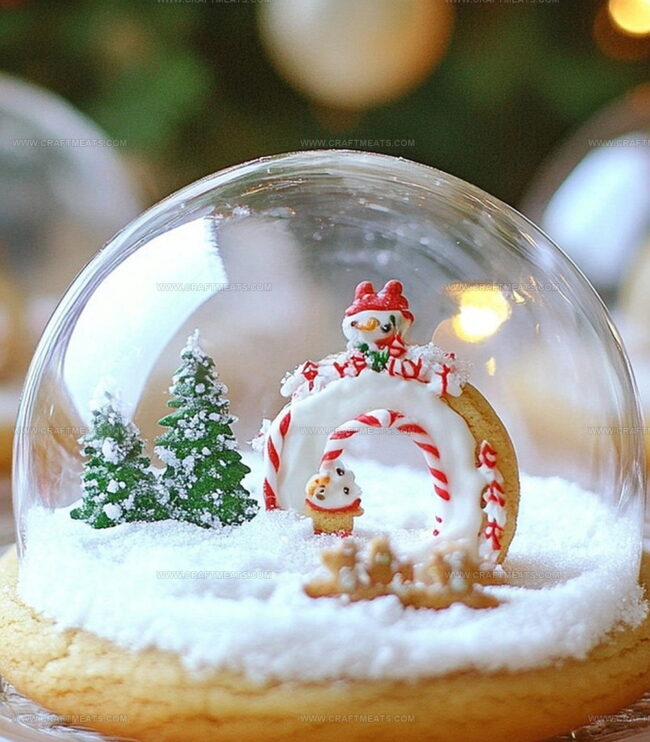
Delicate sugar cookies adorned with edible snow globes create a magical dessert that sparkles with charm.
Crafted with precision and creativity, these treats bring a touch of wonder to your holiday spread.
Powdered sugar and careful decorating techniques help you construct miniature winter landscapes that look almost too beautiful to eat.
The intricate design requires patience but rewards you with stunning results that will impress everyone at the gathering.
Each cookie becomes a tiny edible masterpiece, transforming a simple dessert into a conversation-starting work of art.
Dive into this delightful recipe and let your baking creativity shine like freshly fallen snow.
Quick Recipe Overview
What Goes Into Snow Globe Cookies
For Dry Base:For Creamy Binding:Tools To Shape And Design Snow Globe Cookies
Snow Globe Cookies Made Step-By-Step
Mix dry ingredients in a bowl, creating a smooth flour blend that will form the foundation of your snow globe treats. The key is gentle mixing to ensure a consistent texture.
Whip butter and sugar together until they transform into a pale, creamy mixture that looks almost cloud-like. This step builds the rich, tender heart of your cookies.
Introduce egg and vanilla, stirring carefully to marry all ingredients. Slowly fold in the dry mixture, blending until a soft dough emerges that’s ready for delightful winter-inspired baking.
Roll out the dough and cut into circular shapes that resemble miniature snow globes. Place carefully on a baking sheet, allowing space between each cookie.
Slide the cookies into a preheated oven, watching them turn golden and develop crisp edges. The kitchen will fill with a warm, sweet aroma that promises delicious results.
Allow cookies to rest on the baking sheet, letting them stabilize and develop their perfect texture before transferring to a cooling rack.
Switching Up Decorations On Snow Globe Cookies
How To Display Snow Globe Cookies Beautifully
Storage Advice For Snow Globe Cookies After Decorating
Print
Magical Snow Globe Cookies Recipe
- Total Time: 1 hour 40 minutes
- Yield: 23 1x
Description
Classic snow globe cookies blend whimsical winter charm with delicate sugar cookie artistry. Edible decorative scenes nestled within translucent glaze invite culinary adventure and festive celebration.
Ingredients
- 1 large egg
- 1 cup (225 g/8 oz) unsalted butter, softened
- 1 cup (200 g/7 oz) granulated sugar
- 2 ¾ cups (350 g/12.3 oz) all-purpose flour
- 1 ½ tsps vanilla extract
- 1 tsp baking powder
- ½ tsp salt
- ½ cup (100 g/3.5 oz) clear hard candies (Jolly Ranchers or clear mints)
- Royal icing (store-bought or homemade)
- Festive sprinkles, small edible decorations, or mini holiday candies
Instructions
- Preparation: Sift flour, baking powder, and salt together into a mixing bowl, ensuring a smooth, lump-free dry ingredient base.
- Creaming: Cream butter and sugar using an electric mixer until the mixture becomes light, fluffy, and pale in color, creating a smooth foundation for the cookie dough.
- Liquid Integration: Incorporate egg and vanilla extract into the butter mixture, blending thoroughly until a homogeneous, silky consistency is achieved.
- Dough Formation: Gently fold dry ingredients into the wet mixture, mixing just until a cohesive dough forms, taking care not to overwork the mixture.
- Chilling and Shaping: Compress the dough into a compact disc, wrap in plastic film, and refrigerate for 30 minutes. After chilling, roll out the dough on a lightly floured surface to an even thickness, preparing it for cutting and baking.
Notes
- Prevent Overworking Dough: Gently mix ingredients to avoid tough, dense cookies that lose their delicate texture and melt-in-mouth quality.
- Chill for Perfect Shape: Refrigeration helps butter solidify, preventing spread during baking and maintaining intricate snow globe cookie designs.
- Flour Surface Strategically: Use minimal flour when rolling to prevent dry, crumbly cookies and preserve the dough’s rich butter flavor.
- Temperature Matters: Keep butter slightly cool but not cold to achieve ideal creaming consistency that creates light, tender cookie texture.
- Prep Time: 30 minutes
- Cook Time: 10 minutes
- Category: Desserts
- Method: Mixing
- Cuisine: American
Nutrition
- Serving Size: 23
- Calories: 207
- Sugar: 10 g
- Sodium: 84 mg
- Fat: 10 g
- Saturated Fat: 6 g
- Unsaturated Fat: 4 g
- Trans Fat: 0 g
- Carbohydrates: 29 g
- Fiber: 1 g
- Protein: 2 g
- Cholesterol: 31 mg
Liam O’Sullivan
Founder & Culinary Content Creator
Expertise
Recipe Development, Traditional Irish and European Cuisines, Food Styling and Photography, Culinary Education
Education
Dublin Institute of Technology (DIT) – School of Culinary Arts and Food Technology
Ballymaloe Cookery School
Isabella brings a global spark to the Craft Meats table. Born in Florence and trained at the Apicius International School of Hospitality, she blends classic Italian flavor with modern writing that’s easy to follow and hard to forget.
Her additional training at the Italian Chef Academy fueled her love for well-crafted dishes, especially ones that spotlight beautiful cuts of meat.
She’s a food writer with heart, and a deep love for storytelling through single recipes. Her goal? To help you cook with more confidence and a little more joy, no matter where you start.