
Quick Dr. Pepper Cake Recipe for Soda Lovers
Dive into a delectable dessert that marries the rich, caramel-like notes of dr.
pepper cake with a decadent chocolate base.
This unique treat brings an unexpected twist to traditional baking techniques.
Sweet carbonation adds a surprising depth of flavor that will make your taste buds dance.
The cake emerges moist and tender, with a complex profile that sets it apart from ordinary chocolate desserts.
Each slice promises a delightful blend of sweetness and subtle complexity.
Chocolate lovers and soda enthusiasts will find this recipe irresistibly intriguing.
Prepare to indulge in a dessert that breaks all the conventional baking rules.
Quick Recipe Overview
All Ingredients For Dr. Pepper Cake
For Cake Base:For Liquid and Moisture:For Flavor Enhancers and Finishing:Tools You’ll Need For Dr. Pepper Cake
Baking Dr. Pepper Cake In Easy Steps
Warm up the kitchen companion to a cozy 350 degrees, creating the perfect environment for baking magic. Tenderly coat a rectangular baking vessel with a light butter embrace or line it with parchment paper, ensuring a smooth cake release.
In a spacious mixing bowl, blend soft butter with sugar until they dance together in a creamy swirl. Welcome eggs one by one, whisking them into a silky symphony. Sift in dry ingredients, transforming the mixture into a velvety canvas waiting to absorb the rich Dr. Pepper essence.
Pour the fizzy soda into the batter, watching it cascade and infuse the mixture with deep caramel undertones. Stir gently, allowing the liquid to weave its unique flavor through every delectable layer.
Gracefully transfer the luscious batter into the prepared pan, spreading it evenly with a loving touch. Smooth the surface until it looks like a perfect landscape of deliciousness.
Slide the pan into the waiting oven, letting warmth embrace the cake for 35-40 minutes. The kitchen will fill with an irresistible aroma, signaling the transformation from simple ingredients to a decadent dessert.
Once golden and springy, remove the cake and let it rest. Cool completely before adorning with a luxurious glaze or simple dusting of powdered sugar, ready to delight eager taste buds.
Tips To Make Dr. Pepper Cake Taste Better
Fun Ways To Serve Dr. Pepper Cake
How To Store Dr. Pepper Cake Without A Mess
Print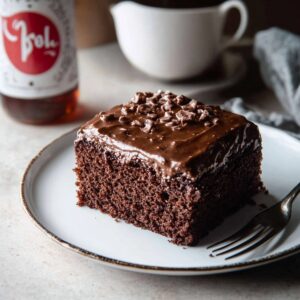
Mouthwatering Dr. Pepper Cake Recipe
- Total Time: 50 minutes
- Yield: 11 1x
Description
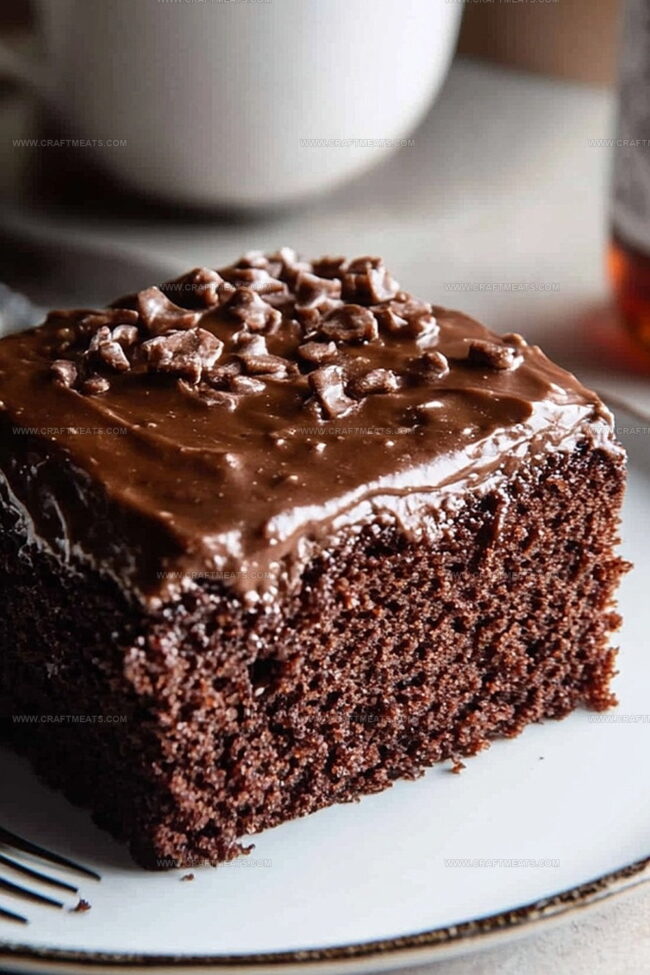
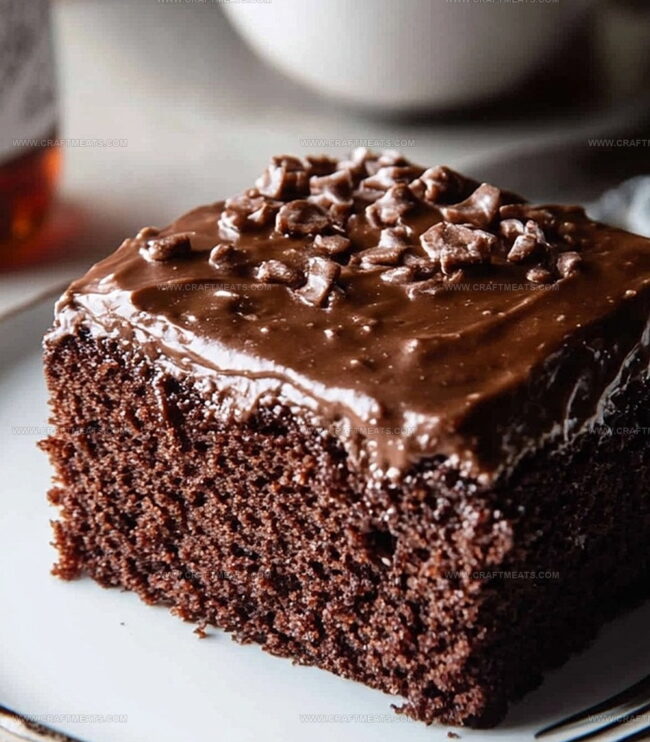
Dr. Pepper cake blends nostalgic Southern charm with rich chocolate flavors. Soda-infused batter creates a moist, deeply satisfying dessert that connects generations of home bakers.
Ingredients
- 2 cups (250 g) all-purpose flour
- 1 ½ cups (300 g) granulated sugar
- ½ cup (40 g) unsweetened cocoa powder
- 1 tsp baking soda
- ½ tsp salt
- 1 cup (240 ml) Dr. Pepper soda (not diet)
- ½ cup (115 g) unsalted butter, melted
- 2 large eggs
- ½ cup (120 ml) buttermilk
- 1 tsp vanilla extract
- ¼ cup (60 ml) Dr. Pepper soda
- ¼ cup (115 g) unsalted butter
- 2 tbsps (15 g) unsweetened cocoa powder
- 2 cups (240 g) powdered sugar
- ½ tsp vanilla extract
Instructions
- Preparation: Thoroughly coat a 9×13-inch pan with cooking spray or butter, ensuring complete surface coverage to prevent adhesion.
- Dry Ingredient Fusion: In a large mixing bowl, whisk together dry ingredients until uniformly blended and lump-free, creating a smooth base for the cake.
- Wet Ingredient Harmonization: In a separate bowl, cream wet ingredients, generating a silky, consistent mixture that will provide moisture and richness to the cake.
- Batter Integration: Gently fold dry ingredients into wet ingredients, maintaining a light texture and avoiding overmixing to preserve the cake’s delicate structure.
- Soda Infusion: Carefully incorporate Dr. Pepper into the batter, stirring to distribute the liquid evenly and create a unique flavor profile.
- Pan Transformation: Pour batter into the prepared pan, using a spatula to spread it uniformly and eliminate potential air pockets by gently tapping the pan.
- Thermal Transformation: Position the pan in the center of a preheated oven, allowing even heat distribution to ensure consistent baking.
- Doneness Assessment: Bake until a toothpick inserted into the cake’s center comes out clean, signaling perfect internal cooking and moisture balance.
- Cooling and Finishing: Allow the cake to cool completely within the pan before adorning with frosting or decorative elements, preserving its tender crumb and optimal texture.
Notes
- Select Soda Carefully: Choose full-flavor Dr. Pepper for authentic taste, avoiding diet versions which might alter cake’s richness and moisture profile.
- Prevent Overmixing: Stir batter gently and minimally to maintain cake’s light, fluffy texture and prevent developing tough, dense crumb structure.
- Control Moisture Balance: Watch baking time closely to ensure cake remains moist but not soggy, using toothpick test as precise doneness indicator.
- Enhance Flavor Depth: Consider adding complementary spices like cinnamon or vanilla extract to amplify Dr. Pepper’s complex caramel and spice undertones.
- Prep Time: 15 minutes
- Cook Time: 35 minutes
- Category: Desserts
- Method: Baking
- Cuisine: American
Nutrition
- Serving Size: 11
- Calories: 360
- Sugar: 34 g
- Sodium: 220 mg
- Fat: 16 g
- Saturated Fat: 10 g
- Unsaturated Fat: 6 g
- Trans Fat: 0 g
- Carbohydrates: 51 g
- Fiber: 1 g
- Protein: 3 g
- Cholesterol: 60 mg
Liam O’Sullivan
Founder & Culinary Content Creator
Expertise
Recipe Development, Traditional Irish and European Cuisines, Food Styling and Photography, Culinary Education
Education
Dublin Institute of Technology (DIT) – School of Culinary Arts and Food Technology
Ballymaloe Cookery School
Isabella brings a global spark to the Craft Meats table. Born in Florence and trained at the Apicius International School of Hospitality, she blends classic Italian flavor with modern writing that’s easy to follow and hard to forget.
Her additional training at the Italian Chef Academy fueled her love for well-crafted dishes, especially ones that spotlight beautiful cuts of meat.
She’s a food writer with heart, and a deep love for storytelling through single recipes. Her goal? To help you cook with more confidence and a little more joy, no matter where you start.