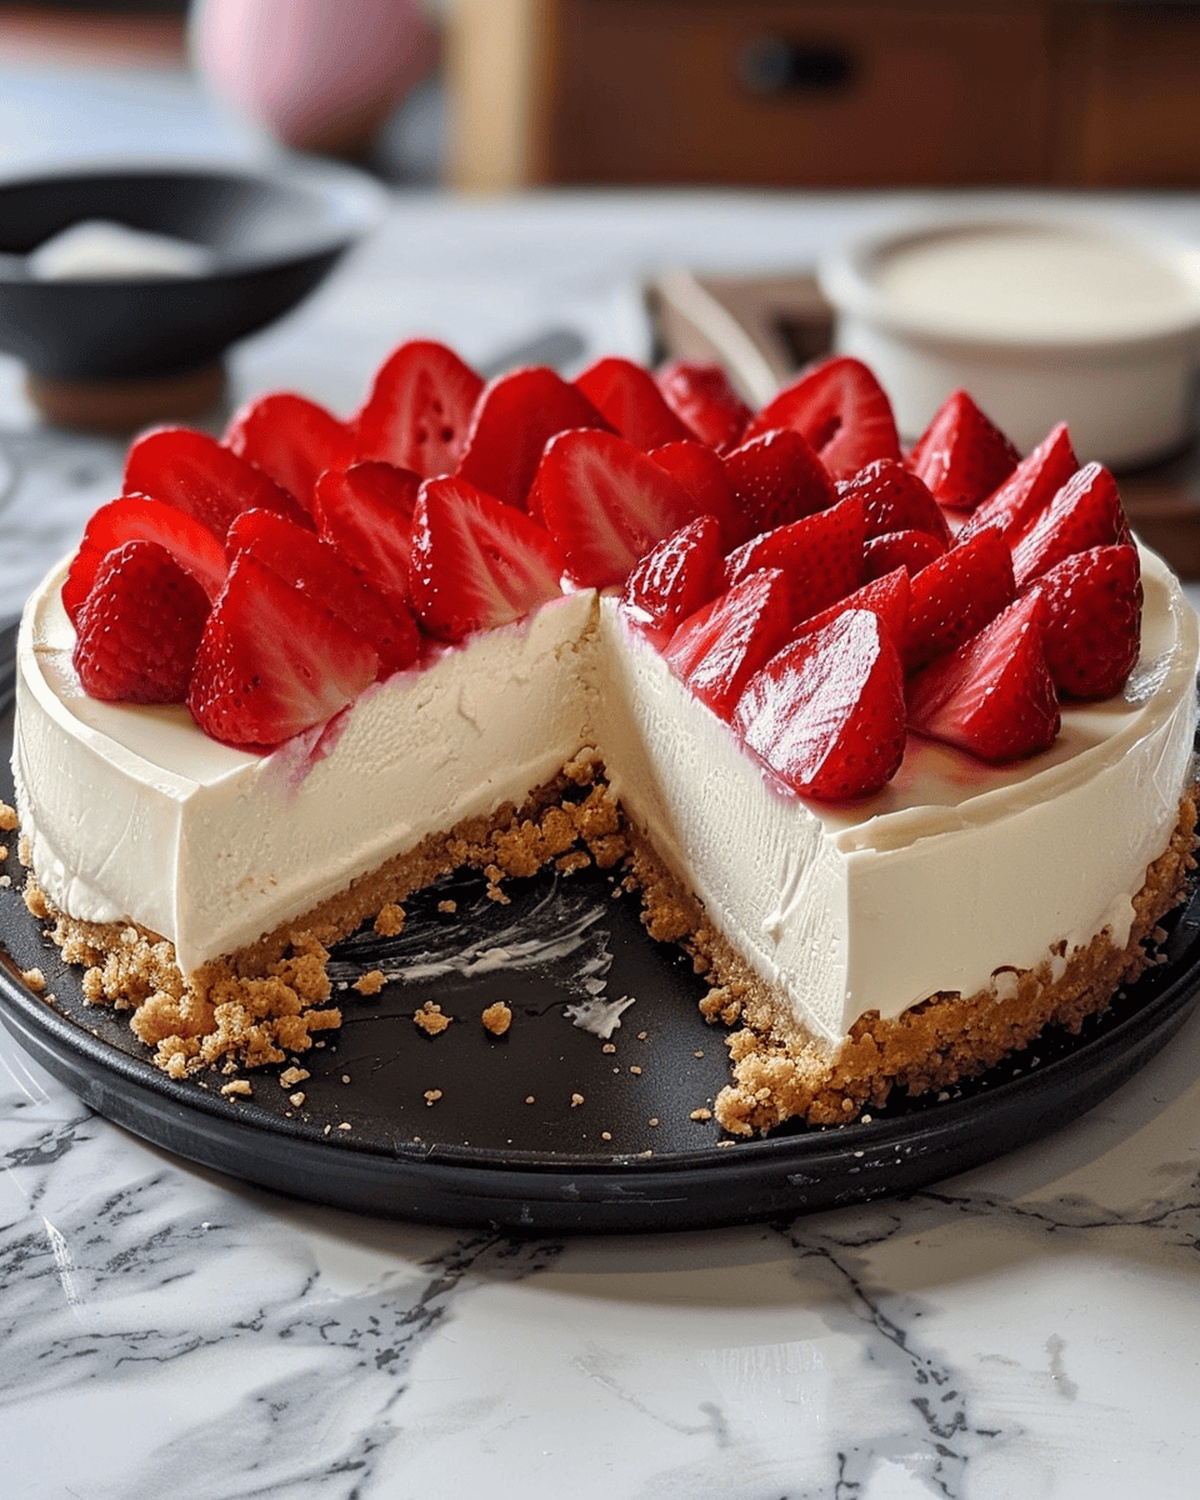
No-Bake Creamy Cheesecake Recipe in Minutes
A no-bake creamy delight cheesecake promises pure indulgence without turning on the oven.
Silky smooth textures melt effortlessly across your palate with minimal kitchen effort.
Cool and refreshing, this dessert combines simple ingredients into an elegant treat that looks professionally crafted.
Imagine creating a luxurious dessert that requires zero baking skills and minimal preparation time.
Rich and decadent, the recipe offers a foolproof approach for sweet enthusiasts wanting something spectacular yet uncomplicated.
Minimal equipment and straightforward techniques make this cheesecake accessible for novice and experienced cooks alike.
You can impress everyone with a dessert that appears complex but comes together with surprising ease.
Explore this creamy sensation and experience dessert magic in just a few simple steps.
What Makes No-Bake Creamy Delight Cheesecake a Winner
No-Bake Cheesecake Ingredients You’ll Need
Crust Ingredients:Filling Ingredients:Optional Garnish Ingredients:Steps to Make No-Bake Creamy Delight Cheesecake
Step 1: Prepare the Crunchy Base
Gather your ingredients:Mix the crumbs, sugar, and butter thoroughly in a mixing bowl. Transfer the mixture to a 9-inch or 10-inch springform pan. Use a measuring cup to press the base down firmly, creating an even layer. Pop the crust into the freezer for 10-20 minutes while you craft the filling.
Step 2: Whip the Cream Cloud
Grab your electric mixer and cold heavy cream. Whip the cream until it forms beautiful, firm peaks that stand tall and proud. This should take about 4-5 minutes. Set this fluffy cream aside for later.
Step 3: Create the Creamy Cheese Blend
In a separate bowl, grab your softened cream cheese and granulated sugar. Beat them together until they’re silky smooth and look like a dreamy mixture. Scrape down the bowl’s sides to ensure everything mixes perfectly. Now add:Beat these ingredients for 2-3 minutes until the mixture is velvety and consistent.
Step 4: Marry the Cream and Cheese
Gently fold the whipped cream into the cream cheese mixture. Use your mixer on low speed or a silicone spatula. Be delicate to keep the airiness of the whipped cream intact.
Step 5: Assemble and Chill
Pull out the crust from the freezer. Spread the filling evenly across the base, smoothing the top with an offset spatula. Cover the cheesecake with plastic wrap or aluminum foil. Refrigerate for a minimum of 6-8 hours, though overnight is ideal for the most incredible texture and flavor.
Enjoy your No-Bake Creamy Delight Cheesecake!
Helpful Tips for No-Bake Creamy Cheesecake
Storage Advice for No-Bake Creamy Cheesecake
Best Pairings for This No-Bake Cheesecake
Flavor Changes to No-Bake Cheesecake Delight
Common Questions for No-Bake Cheesecake
Absolutely! This no-bake cheesecake is perfect for preparing ahead. You can make it 1-2 days before serving and keep it refrigerated until ready to enjoy.
You can use a regular 9-inch cake pan, but it might be trickier to remove. Line the pan with parchment paper for easier serving, or use individual serving glasses for a fun alternative.
When stored properly in the refrigerator with plastic wrap or a tight lid, this cheesecake will stay delicious for 4-5 days. Just keep it chilled and avoid leaving it at room temperature for extended periods.
For the best results, stick to the recipe. However, you can swap sour cream with Greek yogurt and use bottled lemon juice if fresh isn’t available. Avoid major substitutions that might affect the texture.
Print
No-Bake Creamy Delight Cheesecake Recipe
- Total Time: 20 minutes
- Yield: 8 1x
Description
Indulgent “No-Bake Creamy Delight Cheesecake” whispers sweet promises of silky smoothness and effortless preparation. Chocolate graham cracker crust cradles luscious cream cheese filling, promising delectable moments without heating up kitchen ovens.
Ingredients
Main Ingredients:
- 24 ounces (678 grams) full-fat brick cream cheese, softened to room temperature
- 1 ¼ cups (300 milliliters) heavy cream or heavy whipping cream
- 2 cups (240 grams) graham cracker crumbs (approximately 16 full sheet graham crackers)
Sweeteners:
- ½ cup (100 grams) granulated sugar
- ⅓ cup (67 grams) packed light or dark brown sugar
- 2 tablespoons (15 grams) confectioners’ sugar
Additional Ingredients:
- ½ cup (8 tablespoons; 113 grams) unsalted butter, melted
- ¼ cup (60 grams) sour cream, at room temperature
- 2 teaspoons lemon juice
- 1 teaspoon pure vanilla extract
Instructions
- Create a foundational layer by combining graham cracker crumbs, brown sugar, and melted butter into a cohesive mixture.
- Transfer the crumb blend into a springform pan, pressing firmly and evenly using a measuring cup to create a compact base.
- Chill the crust in the freezer for approximately 15 minutes while preparing subsequent components.
- Utilize a mixer with a whisk attachment to transform cold heavy cream into a voluminous texture with distinctive stiff peaks, which typically requires 4-5 minutes of vigorous whipping.
- In a separate mixing vessel, transform softened cream cheese and granulated sugar into a velvety, uniform mixture by beating on medium speed.
- Enhance the cream cheese blend by incorporating confectioners’ sugar, sour cream, lemon juice, and vanilla extract, continuing to mix until achieving a silky consistency.
- Delicately integrate the whipped cream into the cream cheese foundation, employing gentle folding techniques to preserve the mixture’s airy structure.
- Extract the chilled crust from the freezer and distribute the prepared filling uniformly across the surface, smoothing with an offset spatula for a pristine finish.
- Encase the cheesecake with protective plastic wrap or aluminum foil, then refrigerate for a minimum of 6-8 hours, allowing flavors to meld and texture to set completely.
Notes
- Chilling is crucial for achieving the perfect texture, so patience pays off with this creamy dessert.
- Softened cream cheese ensures a smooth, lump-free filling that blends seamlessly.
- Use cold heavy cream for the most stable and voluminous whipped cream peaks.
- Room temperature ingredients help create a silky, well-incorporated cheesecake mixture.
- Gentle folding preserves the airy lightness of the whipped cream, creating a cloud-like texture.
- Refrigerating overnight allows flavors to meld and the cheesecake to set completely.
- Prep Time: 20 minutes
- Cook Time: 0 minutes
- Category: Desserts
- Method: Mixing
- Cuisine: American
Nutrition
- Serving Size: 8
- Calories: 402
- Sugar: 22g
- Sodium: 290mg
- Fat: 30g
- Saturated Fat: 18g
- Unsaturated Fat: 8g
- Trans Fat: 0g
- Carbohydrates: 32g
- Fiber: 1g
- Protein: 4g
- Cholesterol: 88mg
Isabella Rossi
Founder & Culinary Content Creator
Expertise
Recipe Development, Traditional Irish and European Cuisines, Food Styling and Photography, Culinary Education
Education
Dublin Institute of Technology (DIT) – School of Culinary Arts and Food Technology
Ballymaloe Cookery School
Liam is the voice behind many of Craft Meats’ most flavorful features. With roots in Dublin’s smoky barbecue scene and a culinary degree from the Dublin Institute of Technology, he brings time-tested cooking techniques to life.
His training at Ballymaloe Cookery School sharpened his farm-to-table approach, giving him a deep respect for every ingredient he writes about.
He’s not about overcomplicating the process, just helping you cook meat that’s worth talking about. When he’s not writing or grilling, he’s out foraging or nerding out on regional spice blends to add to his next recipe.