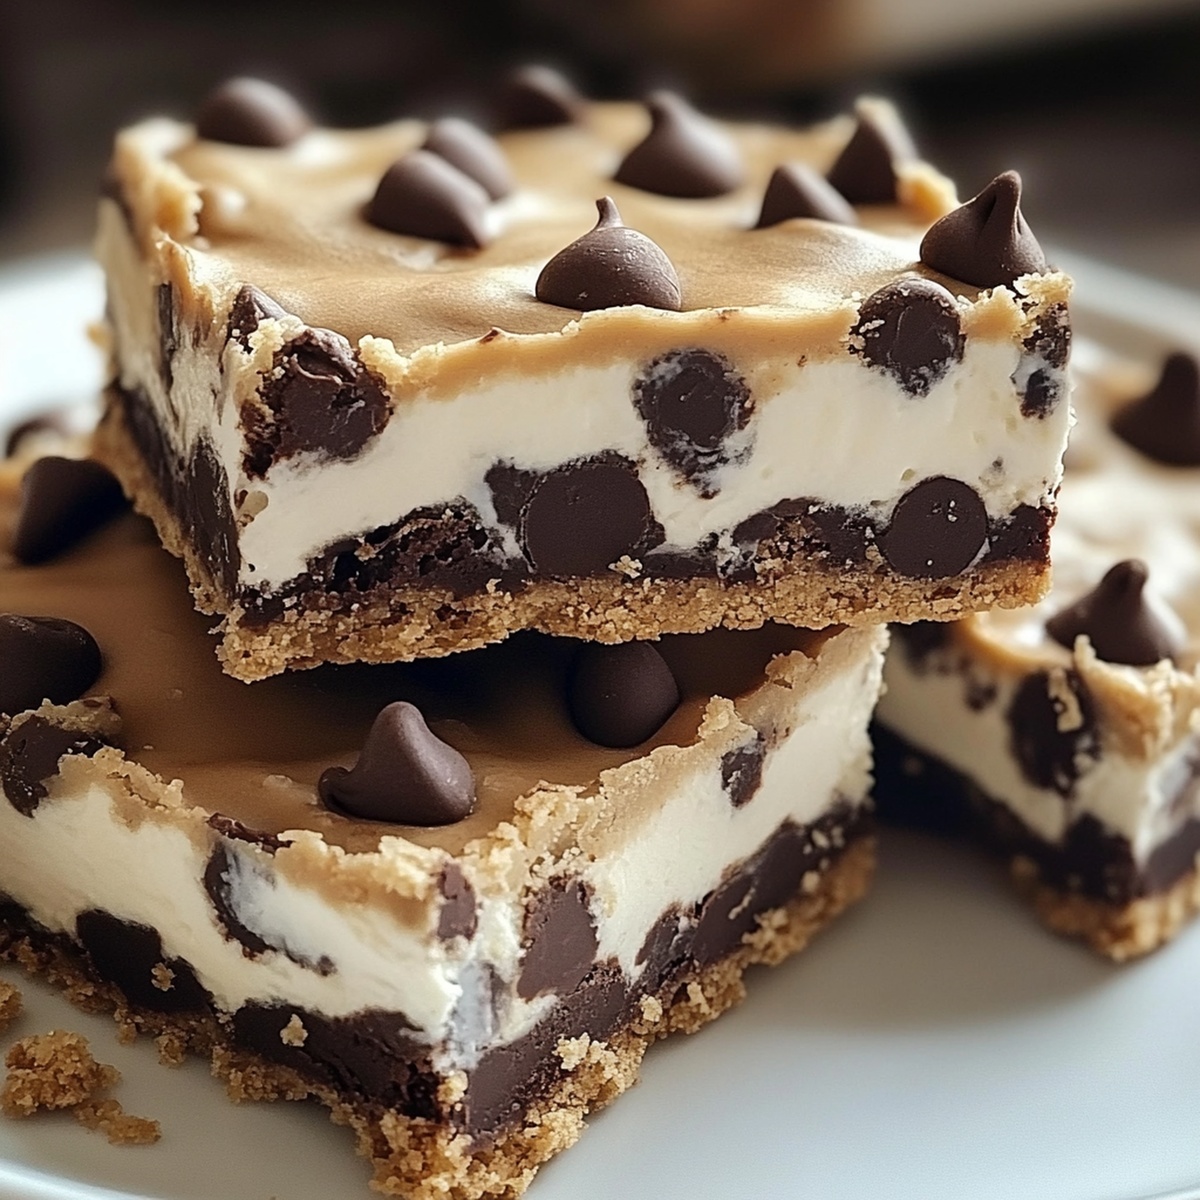
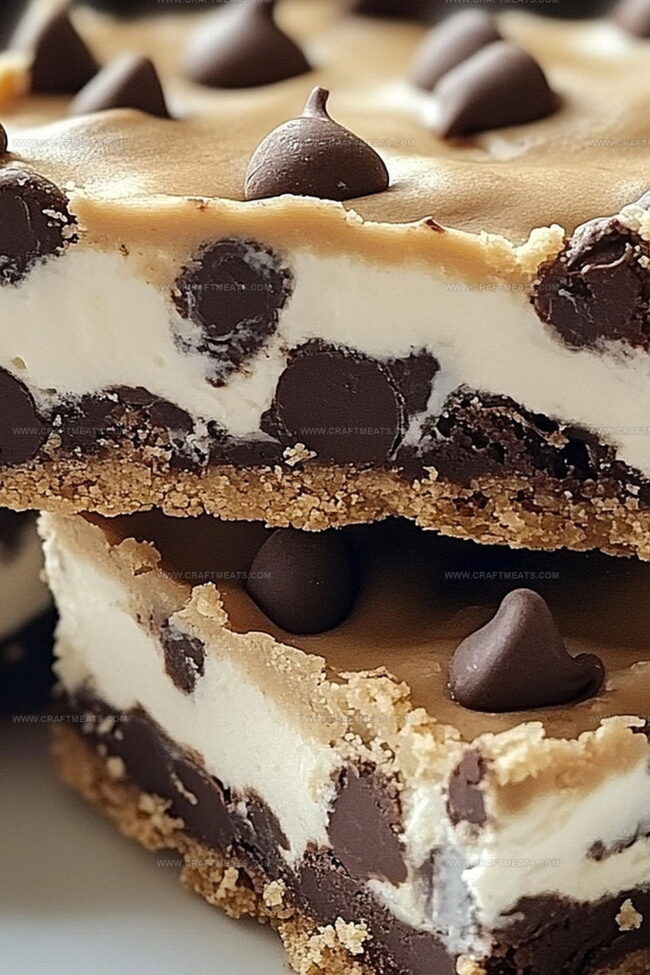
Sweet Chocolate Chip Cookie Dough Bars Recipe: No-Bake Joy
Decadent chocolate chip cookie dough bars are the ultimate sweet escape for dessert enthusiasts.
Bakers adore this no-bake treat that captures the irresistible essence of raw cookie dough without any risk.
Each creamy, indulgent bite delivers pure nostalgic comfort straight from childhood memories.
The silky smooth texture melts effortlessly on your tongue, creating an instant moment of bliss.
Rich chocolate chips scattered throughout provide delightful bursts of intense flavor.
These bars require minimal effort and zero baking, making them a perfect quick dessert for busy sweet tooths.
Dive into this simple recipe and treat yourself to a heavenly confection that’ll become your new favorite indulgence.
Quick Recipe Overview
What You’ll Use For Chocolate Chip Cookie Dough Bars
For Cookie Dough Base:For Chocolate Topping:For Optional Garnish:What To Use When Making Chocolate Chip Cookie Dough Bars
Directions To Make Chocolate Chip Cookie Dough Bars
Kick off your culinary adventure by transforming ordinary flour into a safe treat. Spread the flour on a baking sheet and heat it up until it reaches a safe temperature. Let it cool down completely, creating a foundation for your delectable dessert.
In a spacious mixing bowl, whip together softened butter and sugars until they become a fluffy cloud of sweetness. Splash in some milk and vanilla, creating a smooth base. Gently fold in the cooled flour and a pinch of salt. Sprinkle in chocolate chips for bursts of flavor.
Grab a baking dish and line it with parchment paper. Press your dreamy dough into an even layer, creating a smooth canvas. Pop the dish into the refrigerator and let it chill and set.
Melt chocolate with a touch of coconut oil, creating a silky river of richness. Pour this liquid gold over the chilled dough, spreading it into a perfect blanket of chocolate.
Return the dish to the refrigerator, letting the chocolate firm up into a glossy layer. Once set, slice into tempting squares of pure indulgence.
Serve these bars chilled or at room temperature. Store any leftovers in a sealed container in the refrigerator, ready to satisfy your sweet cravings for days.
Handy Tips For Chocolate Chip Cookie Dough Bars
Best Way To Eat Chocolate Chip Cookie Dough Bars
Save And Serve Chocolate Chip Cookie Dough Bars Later
Print
Nostalgic Chocolate Chip Cookie Dough Bars Recipe
- Total Time: 2 hours 20 minutes
- Yield: 15 1x
Description
Delectable chocolate chip cookie dough bars blend creamy sweetness with nostalgic comfort. Cookie lovers savor rich layers of eggless dough and smooth chocolate, creating an irresistible no-bake dessert you cannot resist.
Ingredients
- ½ cup (115 g) unsalted butter, softened
- ½ cup (100 g) brown sugar, packed
- ¼ cup (50 g) granulated sugar
- 1 ¼ cups (160 g) all-purpose flour, heat-treated
- 1 cup (200 g) semi-sweet chocolate chips
- ¾ cup (135 g) mini chocolate chips
- 2 tbsps milk (or heavy cream)
- 1 tsp vanilla extract
- ¼ tsp salt
- 1 tbsp coconut oil or butter
Instructions
- Flour Preparation: Spread flour on baking sheet and roast at 350F (175C) for 5-7 minutes, ensuring internal temperature reaches 165F (74C). Cool completely before next phase.
- Dough Crafting: Cream butter with brown and granulated sugars until fluffy. Add milk and vanilla, blending smoothly. Integrate heat-treated flour and salt. Fold mini chocolate chips throughout mixture.
- Bar Formation: Line 8×8-inch pan with parchment paper. Compress dough evenly across pan surface. Refrigerate 30 minutes to set foundation.
- Chocolate Coating: Melt semi-sweet chocolate chips with coconut oil using microwave in 30-second intervals, stirring between cycles. Pour melted chocolate uniformly over chilled dough.
- Finishing and Storage: Refrigerate 1-2 hours until chocolate sets completely. Slice into precise bars. Store in sealed container in refrigerator up to one week. Serve chilled or at room temperature.
Notes
- Sanitize Flour Safely: Heat-treat flour in the oven to eliminate potential bacteria, ensuring a safe no-bake dessert experience. Always use a food thermometer to confirm proper temperature.
- Achieve Smooth Dough Consistency: Ensure butter is perfectly softened but not melted. Room temperature ingredients blend more evenly, creating a creamy, lump-free texture.
- Chill for Structural Perfection: Refrigeration is crucial for setting the bars. Don’t rush this step – proper chilling prevents crumbly texture and helps flavors meld together.
- Chocolate Drizzling Technique: Melt chocolate slowly and carefully to prevent seizing. Stir frequently and use short microwave intervals to maintain a glossy, smooth chocolate coating.
- Prep Time: 20 minutes
- Cook Time: 2 hours
- Category: Desserts, Snacks
- Method: Mixing
- Cuisine: American
Nutrition
- Serving Size: 15
- Calories: 230
- Sugar: 18 g
- Sodium: 50 mg
- Fat: 12 g
- Saturated Fat: 7 g
- Unsaturated Fat: 4 g
- Trans Fat: 0 g
- Carbohydrates: 30 g
- Fiber: 1 g
- Protein: 2 g
- Cholesterol: 20 mg
Liam O’Sullivan
Founder & Culinary Content Creator
Expertise
Recipe Development, Traditional Irish and European Cuisines, Food Styling and Photography, Culinary Education
Education
Dublin Institute of Technology (DIT) – School of Culinary Arts and Food Technology
Ballymaloe Cookery School
Isabella brings a global spark to the Craft Meats table. Born in Florence and trained at the Apicius International School of Hospitality, she blends classic Italian flavor with modern writing that’s easy to follow and hard to forget.
Her additional training at the Italian Chef Academy fueled her love for well-crafted dishes, especially ones that spotlight beautiful cuts of meat.
She’s a food writer with heart, and a deep love for storytelling through single recipes. Her goal? To help you cook with more confidence and a little more joy, no matter where you start.