
Rich Rum Balls Recipe with a Classic Family Favorite Twist
Sweet memories dance through kitchens when nostalgic rum balls bring classic holiday cheer.
Generations of bakers have passed down this delectable rum balls recipe that captures pure festive magic.
Chocolatey, boozy, and irresistibly rich, these bite-sized treats melt in your mouth with decadent flavor.
Each rum-soaked morsel carries whispers of tradition and warmth from beloved family gatherings.
No baking required means anyone can craft these delightful confections with minimal effort.
Simple ingredients blend together to create a dessert that sparkles with festive spirit and old-world charm.
Indulge in these little rounds of pure happiness and let the delicious memories roll.
Quick Recipe Overview
Everything Needed For Grandmas Rum Balls
For The Dry Base:For The Flavor Enhancers:For The Finishing Touch:Kitchen Tools To Make Grandmas Rum Balls
Easy Steps To Roll Grandmas Rum Balls
Create a delightful blend of crushed vanilla wafers, powdered sugar, cocoa powder, and chopped nuts. Stir everything together until the ingredients are perfectly combined and look like a rich, chocolatey mixture.
Pour rum into the dry ingredients, mixing thoroughly to create a soft, moldable texture that holds together when gently pressed.
Roll the mixture into small, bite-sized balls using your hands. The consistency should be just right – not too crumbly, not too wet.
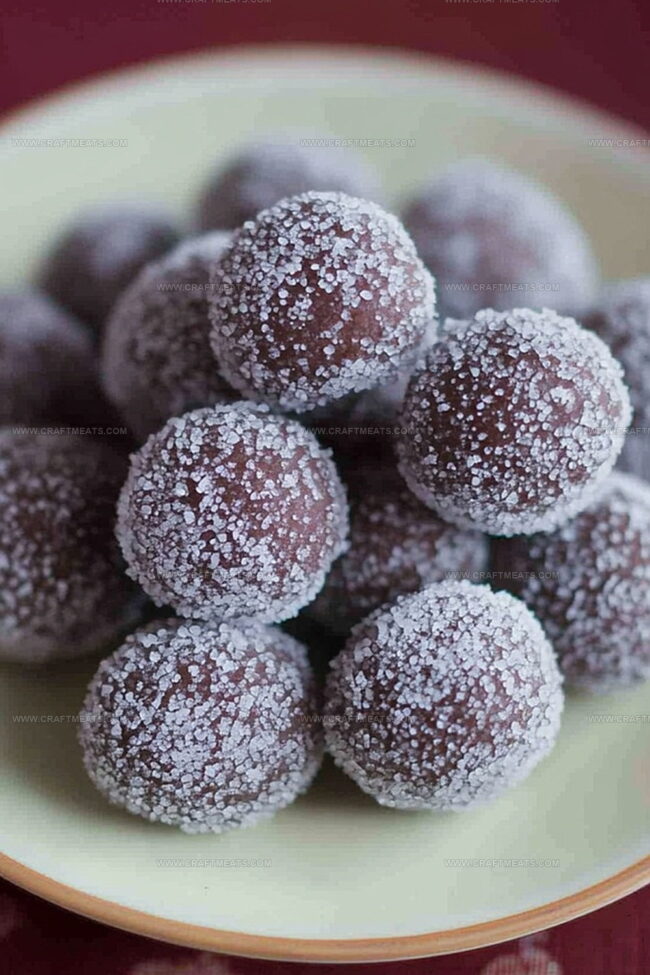
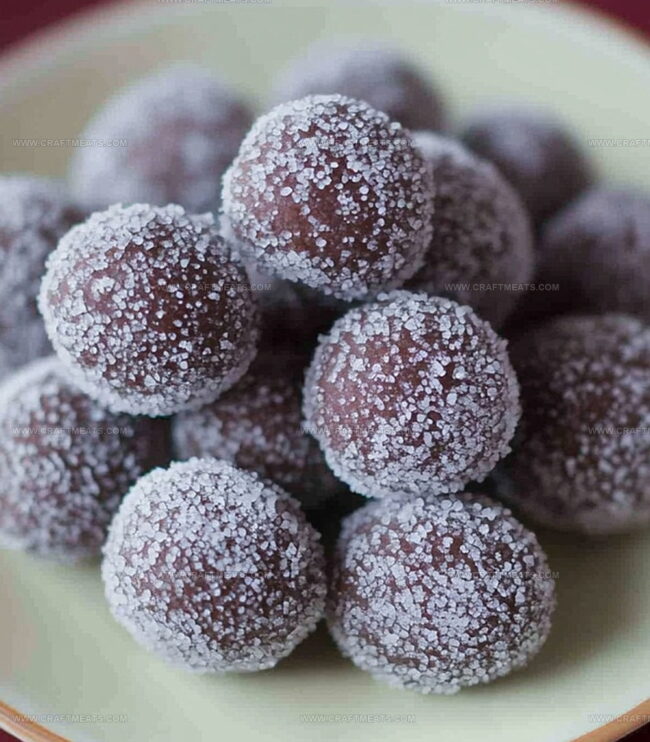
Gently roll each ball in additional powdered sugar, creating a beautiful white exterior that contrasts with the dark chocolate interior.
Place the rum balls in an airtight container and refrigerate. Let them rest for several hours or overnight to allow the flavors to meld and intensify.
Remove from the refrigerator just before serving. These decadent treats are perfect for adult gatherings, holiday parties, or a special after-dinner indulgence.
Pro Tips For Grandmas Rum Balls Recipe
Cute Ways To Serve Grandmas Rum Balls
Keep Grandmas Rum Balls Ready To Go
Print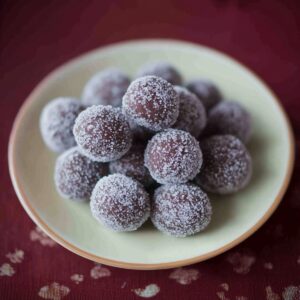
Nostalgic Grandmas Rum Balls Recipe
- Total Time: 1 hour 20 minutes
- Yield: 19 1x
Description
Grandma’s rum balls bring nostalgic holiday cheer with rich chocolate and spirited rum flavor. Homemade treats combine classic ingredients for a delightful no-bake dessert you’ll savor with each delectable bite.
Ingredients
- 2 cups (250 g) vanilla wafer cookies, finely crushed
- 1 cup (120 g) pecans or walnuts, finely chopped
- ¼ cup (20 g) unsweetened cocoa powder
- 1 cup (120 g) powdered sugar
- ¼ cup (60 ml) dark or spiced rum
- 3 tbsps (45 ml) light corn syrup or honey
- Powdered sugar (for rolling)
Instructions
- Pulverization: Transform vanilla wafers into fine crumbs using a food processor or rolling pin, ensuring a uniform texture that will effectively bind the mixture.
- Flavor Foundation: Whisk powdered sugar and cocoa powder together, distributing dry ingredients evenly to enhance the rum ball’s rich taste profile.
- Textural Complexity: Blend finely chopped nuts into the crumb mixture, introducing a delightful crunch and nutty undertone to the confectionery treat.
- Moisture Integration: Pour rum into the dry ingredient blend, stirring methodically to create a cohesive, slightly sticky dough that holds its shape when rolled.
- Shaping and Coating: Form compact, uniform spheres using clean hands or a small cookie scoop, then generously roll each rum ball in powdered sugar to create a delicate, snow-white exterior that contrasts with the dark, rich interior.
- Maturation and Storage: Arrange coated rum balls on a parchment-lined tray, allowing them to set and develop deeper flavors in a cool environment. Transfer to an airtight container and refrigerate, where they can mature and maintain their robust rum-infused essence for up to two weeks.
Notes
- Crumb Consistency Matters: Ensure vanilla wafers are finely ground for a smooth, uniform texture that helps bind ingredients perfectly.
- Balance Rum Intensity: Adjust rum quantity to control alcohol strength, making the treat suitable for different taste preferences and age groups.
- Chilling Technique: Refrigerate rum balls for several hours before serving to enhance flavor melding and improve overall taste complexity.
- Coating Customization: Experiment with alternative coatings like cocoa powder, finely chopped nuts, or melted chocolate for diverse flavor and texture experiences.
- Prep Time: 20 minutes
- Cook Time: 1-2 hours
- Category: Desserts, Snacks, Cocktails
- Method: Mixing
- Cuisine: American
Nutrition
- Serving Size: 19
- Calories: 162
- Sugar: 12 g
- Sodium: 5 mg
- Fat: 7 g
- Saturated Fat: 1 g
- Unsaturated Fat: 6 g
- Trans Fat: 0 g
- Carbohydrates: 23 g
- Fiber: 1 g
- Protein: 2 g
- Cholesterol: 0 mg
Liam O’Sullivan
Founder & Culinary Content Creator
Expertise
Recipe Development, Traditional Irish and European Cuisines, Food Styling and Photography, Culinary Education
Education
Dublin Institute of Technology (DIT) – School of Culinary Arts and Food Technology
Ballymaloe Cookery School
Isabella brings a global spark to the Craft Meats table. Born in Florence and trained at the Apicius International School of Hospitality, she blends classic Italian flavor with modern writing that’s easy to follow and hard to forget.
Her additional training at the Italian Chef Academy fueled her love for well-crafted dishes, especially ones that spotlight beautiful cuts of meat.
She’s a food writer with heart, and a deep love for storytelling through single recipes. Her goal? To help you cook with more confidence and a little more joy, no matter where you start.