Homemade Fudge Recipe with Classic Flavor
Creamy old fashioned fudge brings nostalgic memories of sweet kitchen moments that spark pure joy.
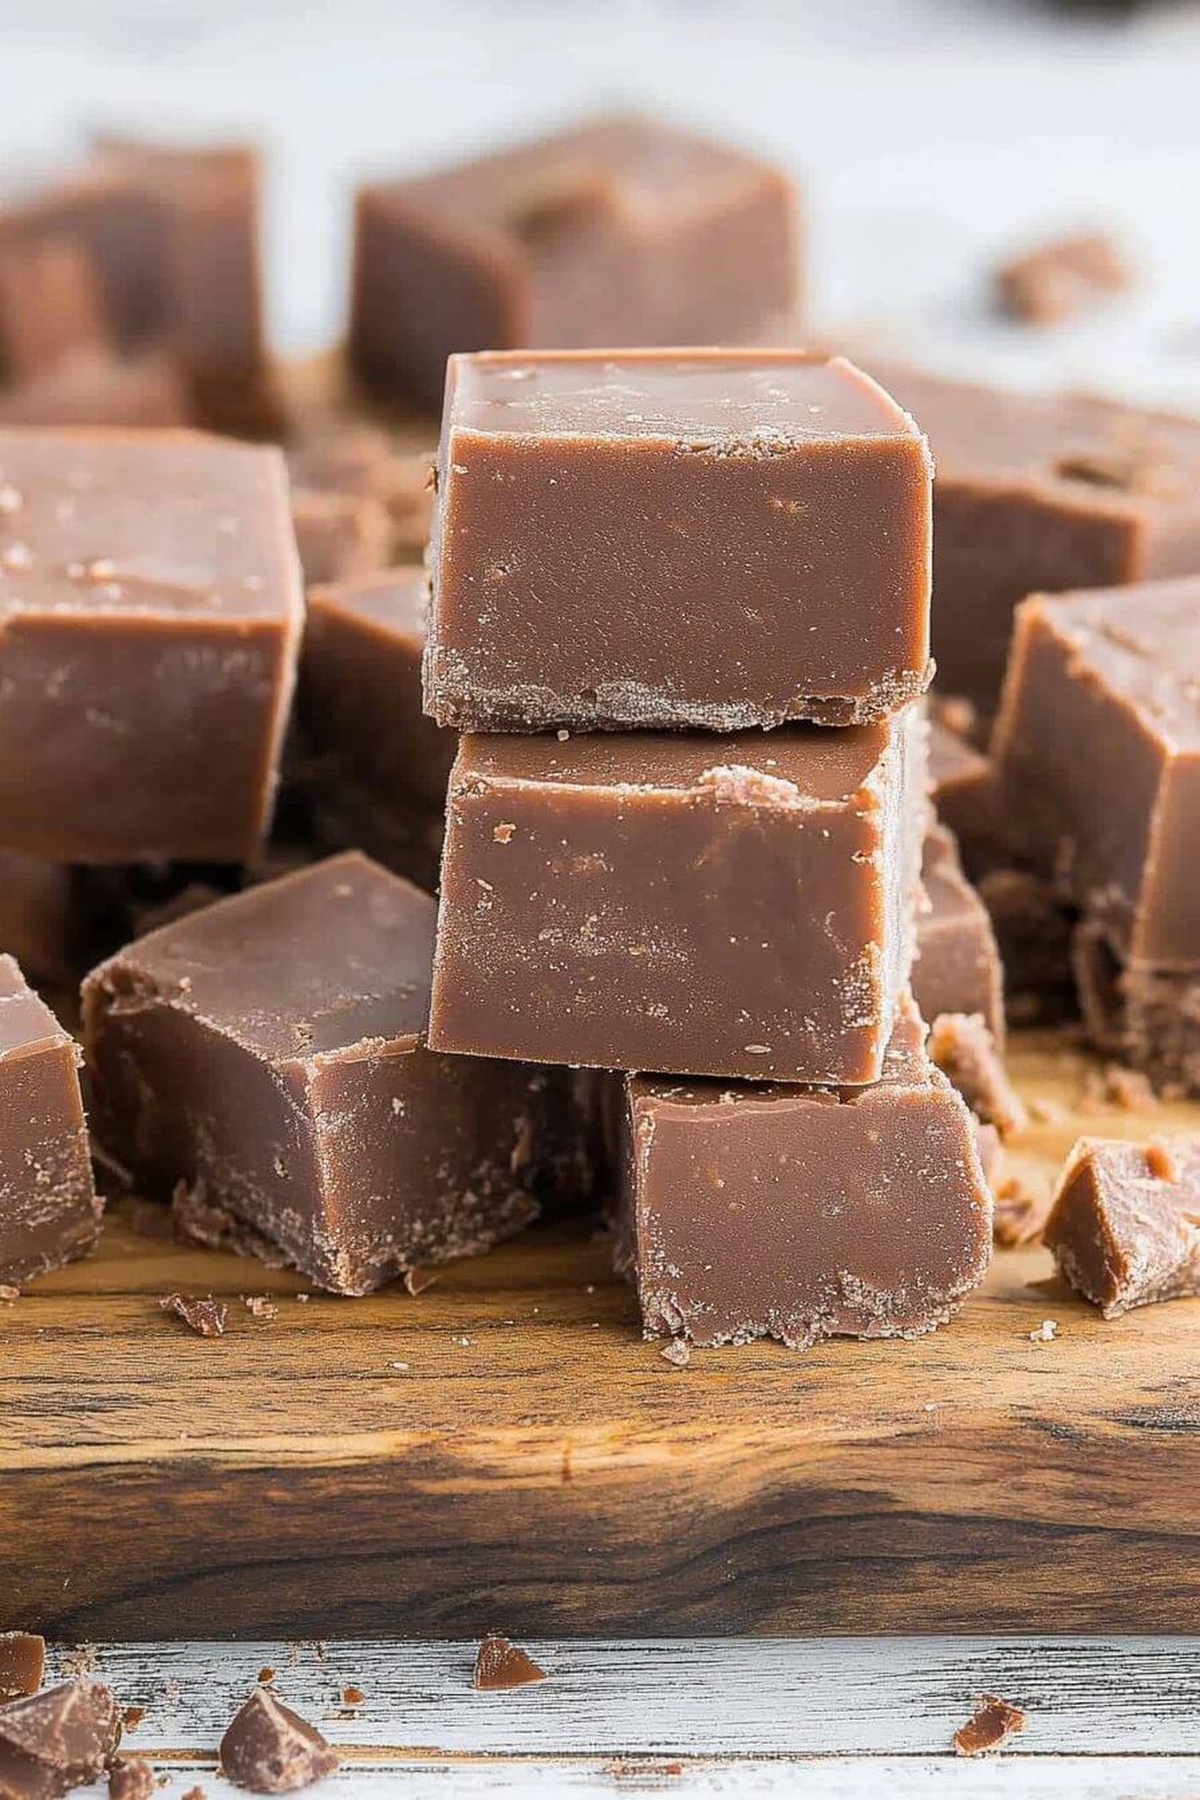
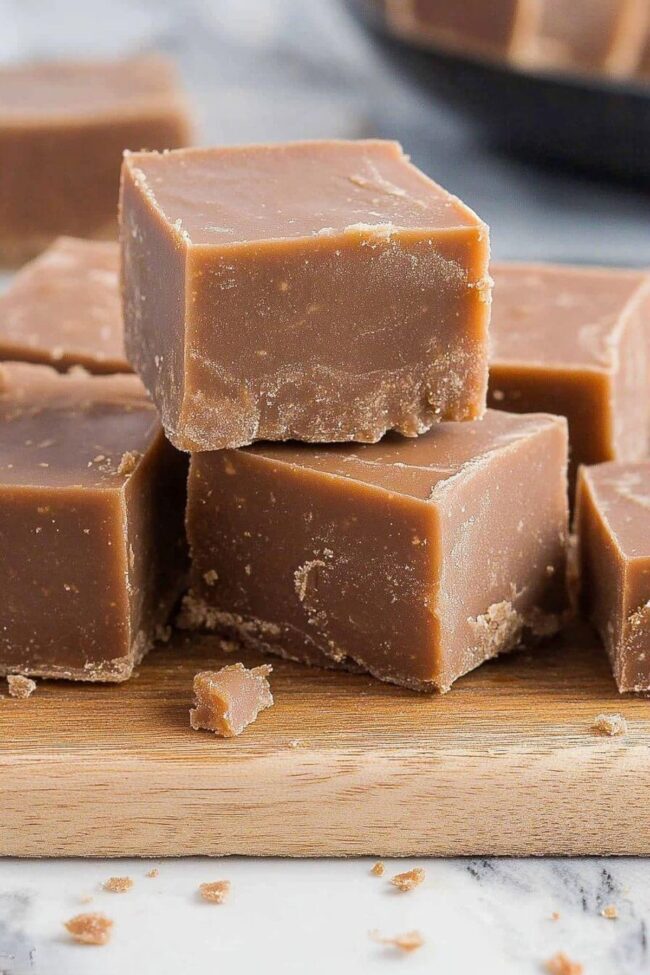
Sugar, butter, and chocolate combine in a classic treat that melts hearts instantly.
Rich textures and deep flavors define this beloved dessert passed through generations.
Smooth, velvety surfaces promise indulgence with every single bite you savor.
Simple ingredients create magic when mixed with careful technique and patience.
Chocolate lovers understand the magic of traditional confectionery techniques that require skill and precision.
Handcrafted sweets like this connect us to cherished culinary traditions that feel both timeless and comforting.
You will want to experience the delightful elevateation from basic ingredients to decadent confection.
Old-Fashioned Fudge: Sweet, Rich, and Timeless
Ingredients to Make Classic Old-Fashioned Fudge
Sweet Base Ingredients:Dairy and Moisture Ingredients:Flavor Enhancers:Easy Steps to Make Old-Fashioned Fudge at Home
Step 1: Prepare Baking Pan
Line an 8-inch square pan with aluminum foil. Generously coat the foil with butter to help fudge release easily after setting.
Step 2: Combine Dry Ingredients
In a heavy saucepan, mix:Step 3: Add Liquid
Slowly pour milk into the dry ingredients, stirring until the mixture becomes completely smooth.
Step 4: Heating Process
Place saucepan over medium heat. Stir continuously while bringing the mixture to a rapid boil. Keep stirring to prevent burning or sticking.
Step 5: Reach Precise Temperature
Insert a candy thermometer. Cook without stirring until the mixture reaches exactly 234°F, which is the classic soft-ball stage for perfect fudge.
Step 6: Remove and Rest
Take the saucepan off the heat. Add:Let the mixture sit undisturbed until it cools to 110°F.
Step 7: Beat Until Perfect
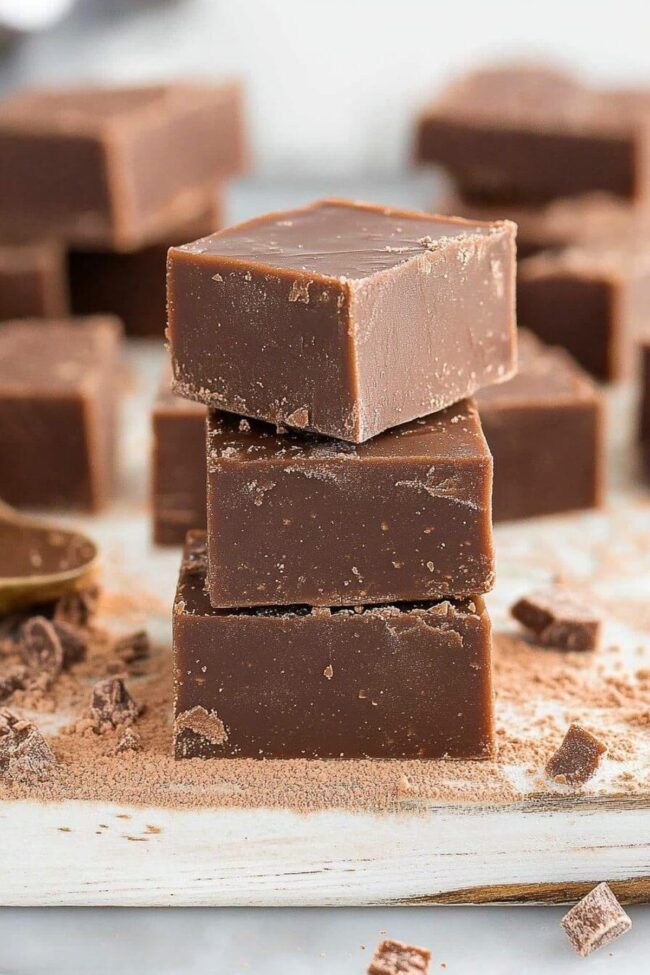
Using a wooden spoon, beat the mixture until it thickens and loses its glossy appearance. This creates the classic fudge texture.
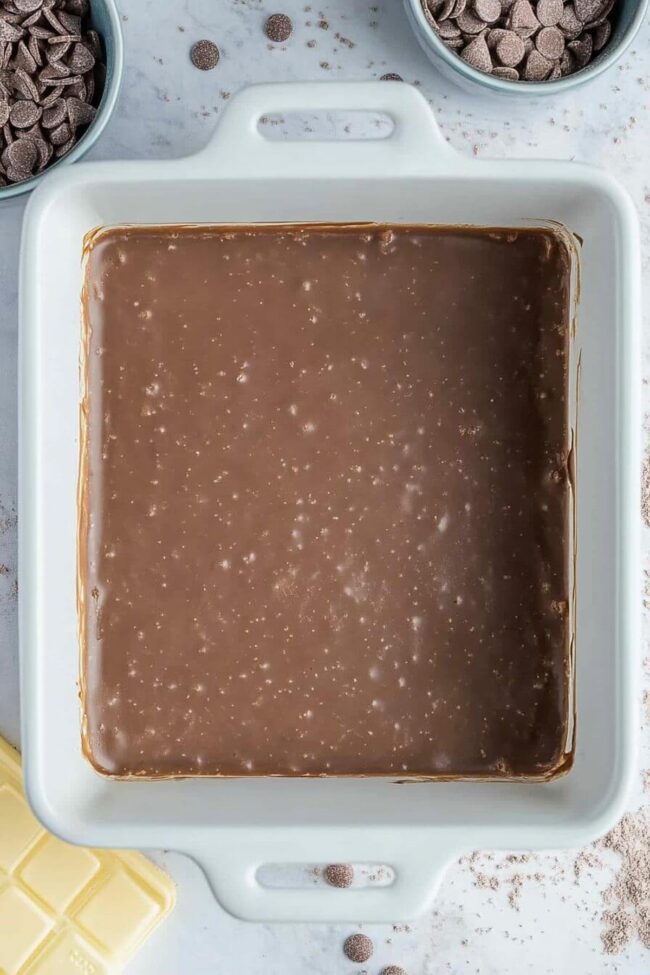
Step 8: Set and Serve
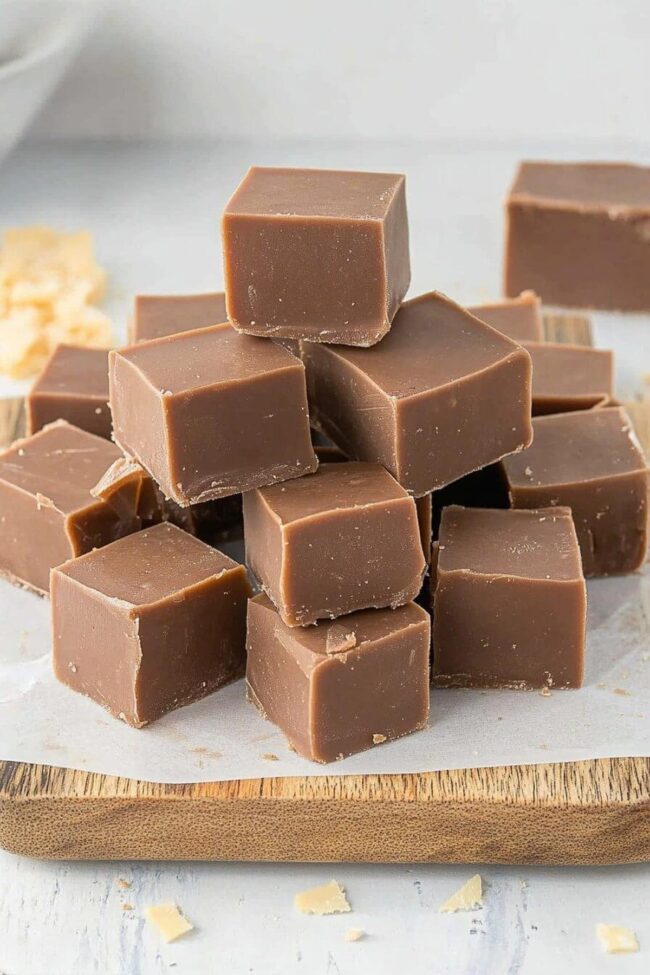
Spread the fudge evenly in the prepared pan. Allow to cool completely at room temperature. Cut into 1-inch squares for serving.
Fudge-Making Tips for Smooth Success
Keep Your Fudge Fresh with These Storage Tips
What to Pair with Old-Fashioned Fudge
Fudge Flavors and Add-Ins to Explore

Sweet Answers to Your Old-Fashioned Fudge Questions

The candy thermometer ensures you reach the exact soft-ball stage (234°F) which is crucial for the perfect fudge texture. Without it, your fudge might turn out too soft or too hard.
Yes! Store the fudge in an airtight container at room temperature for up to one week. For longer storage, you can refrigerate it for about 2-3 weeks.
You can use a sturdy spatula or electric mixer on low speed. The key is to beat until the mixture loses its glossy shine and starts to thicken, which helps create that classic fudge consistency.
Stirring at this stage can cause sugar crystals to form, which makes the fudge grainy. Let it cool undisturbed to 110°F for the smoothest texture possible.
Print
Old Fashioned Fudge Recipe
- Total Time: 45 minutes
- Yield: 12 1x
Description
Creamy Old Fashioned Fudge elevates dessert time with rich chocolate perfection. Sweet memories melt together, promising pure indulgence that satisfies chocolate cravings deeply.
Ingredients
Fudge Ingredients:
Main Ingredients:
- 3 cups granulated sugar
- 1 ½ cups whole milk
- ⅔ cup unsweetened cocoa powder
Supporting Ingredients:
- 1 ½ teaspoons butter
- ¼ cup butter
- 1/8 teaspoon salt
- 1 teaspoon vanilla extract
Instructions
- Prepare a smooth release surface by lining an 8-inch square pan with aluminum foil, carefully greasing the entire surface with butter to prevent sticking.
- Combine cocoa powder, sugar, and salt in a heavy-bottomed saucepan, creating a dry mixture that will serve as the fudge’s flavor foundation.
- Pour milk into the dry ingredients, whisking gently to create a uniform, velvety mixture without any lumps.
- Position the saucepan over medium heat, stirring continuously to prevent scorching and ensure even heat distribution.
- Allow the mixture to reach a rolling boil, maintaining constant movement to protect the delicate sugar crystals from burning.
- Attach a candy thermometer and cease stirring, letting the temperature rise until it precisely hits 234°F, marking the critical soft-ball stage.
- Immediately remove from heat and gently introduce vanilla and remaining butter, allowing the residual warmth to meld the flavors without disrupting the chemical process.
- Let the mixture rest undisturbed, cooling naturally to 110°F, which helps develop the perfect crystalline structure.
- Vigorously beat the cooling fudge with a wooden spoon, transforming its appearance from glossy to matte and creating a dense, creamy texture.
- Spread the fudge evenly into the prepared pan, using smooth, deliberate motions to ensure a consistent thickness.
- Allow the fudge to set completely at room temperature, then slice into precise 1-inch squares for serving.
Notes
- Precise pan preparation is crucial for seamless fudge removal, using foil and butter prevents sticking and ensures clean cutting.
- Constant stirring during boiling prevents sugar burning and creates a smooth, even texture in the final fudge.
- Accurate temperature monitoring with a candy thermometer is essential for achieving the perfect soft-ball stage, which determines fudge consistency.
- Allow cooling without stirring to develop the ideal crystal structure, resulting in a creamy, melt-in-your-mouth texture.
- Beating the mixture by hand transforms the glossy liquid into a thick, spreadable fudge with a classic homemade appearance.
- Small, 1-inch squares make for perfect bite-sized treats that are easy to share and control portion sizes.
- Prep Time: 15 minutes
- Cook Time: 30 minutes
- Category: Desserts, Snacks
- Method: Boiling
- Cuisine: American
Nutrition
- Serving Size: 12
- Calories: 110
- Sugar: 17 g
- Sodium: 5 mg
- Fat: 3.5 g
- Saturated Fat: 2 g
- Unsaturated Fat: 1.5 g
- Trans Fat: 0 g
- Carbohydrates: 20 g
- Fiber: 0 g
- Protein: 1 g
- Cholesterol: 10 mg
Isabella Rossi
Founder & Culinary Content Creator
Expertise
Recipe Development, Traditional Irish and European Cuisines, Food Styling and Photography, Culinary Education
Education
Dublin Institute of Technology (DIT) – School of Culinary Arts and Food Technology
Ballymaloe Cookery School
Liam is the voice behind many of Craft Meats’ most flavorful features. With roots in Dublin’s smoky barbecue scene and a culinary degree from the Dublin Institute of Technology, he brings time-tested cooking techniques to life.
His training at Ballymaloe Cookery School sharpened his farm-to-table approach, giving him a deep respect for every ingredient he writes about.
He’s not about overcomplicating the process, just helping you cook meat that’s worth talking about. When he’s not writing or grilling, he’s out foraging or nerding out on regional spice blends to add to his next recipe.