Oreo Cookie Truffles Recipe With a Smooth Chocolate Center
Oreo cookie truffles capture the imagination of dessert enthusiasts with their irresistible charm.
Sweet magic happens when classic sandwich cookies meet rich cream cheese in a decadent no-bake treat.
Chocolate lovers find pure bliss in these bite-sized confections that melt effortlessly on your tongue.
Simple ingredients combine to create an indulgent experience that feels surprisingly sophisticated.
Minimal kitchen skills are required to craft these elegant little morsels of deliciousness.
Creamy centers coated in smooth chocolate promise a sensational taste adventure waiting to unfold.
Craving something spectacular that impresses without complicated techniques?
These truffles will be your secret weapon.
Oreo Truffles That Feel Like Dessert Magic
What Goes Into Oreo Cookie Truffles
Base Ingredients:Chocolate Coating Ingredients:Decorative Ingredients:Rolling and Coating Instructions Made Simple
Step 1: Crush Oreo Cookies
Grab a food processor and toss in the entire package of Oreo cookies. Pulse until the cookies transform into fine, sandy crumbs. The goal is to create a uniform texture that’ll make your truffles super smooth.
Step 2: Blend Creamy Mixture
Ingredients:Combine the Oreo crumbs with softened cream cheese and a splash of vanilla extract. Mix until the ingredients become a rich, cohesive blend that looks like delicious cookie dough.
Step 3: Chill the Mixture
Transfer the cookie mixture to a mixing bowl. Pop it into the freezer for 15-20 minutes. Chilling helps firm up the mixture, making it easier to shape into perfect little balls.
Step 4: Shape Truffle Balls
Remove the chilled mixture from the freezer. Using a cookie scoop or spoon, portion out small rounds. Roll each portion between your palms to create smooth, uniform truffle balls. Place them on a parchment-lined baking sheet.
Step 5: Prepare Chocolate Coating
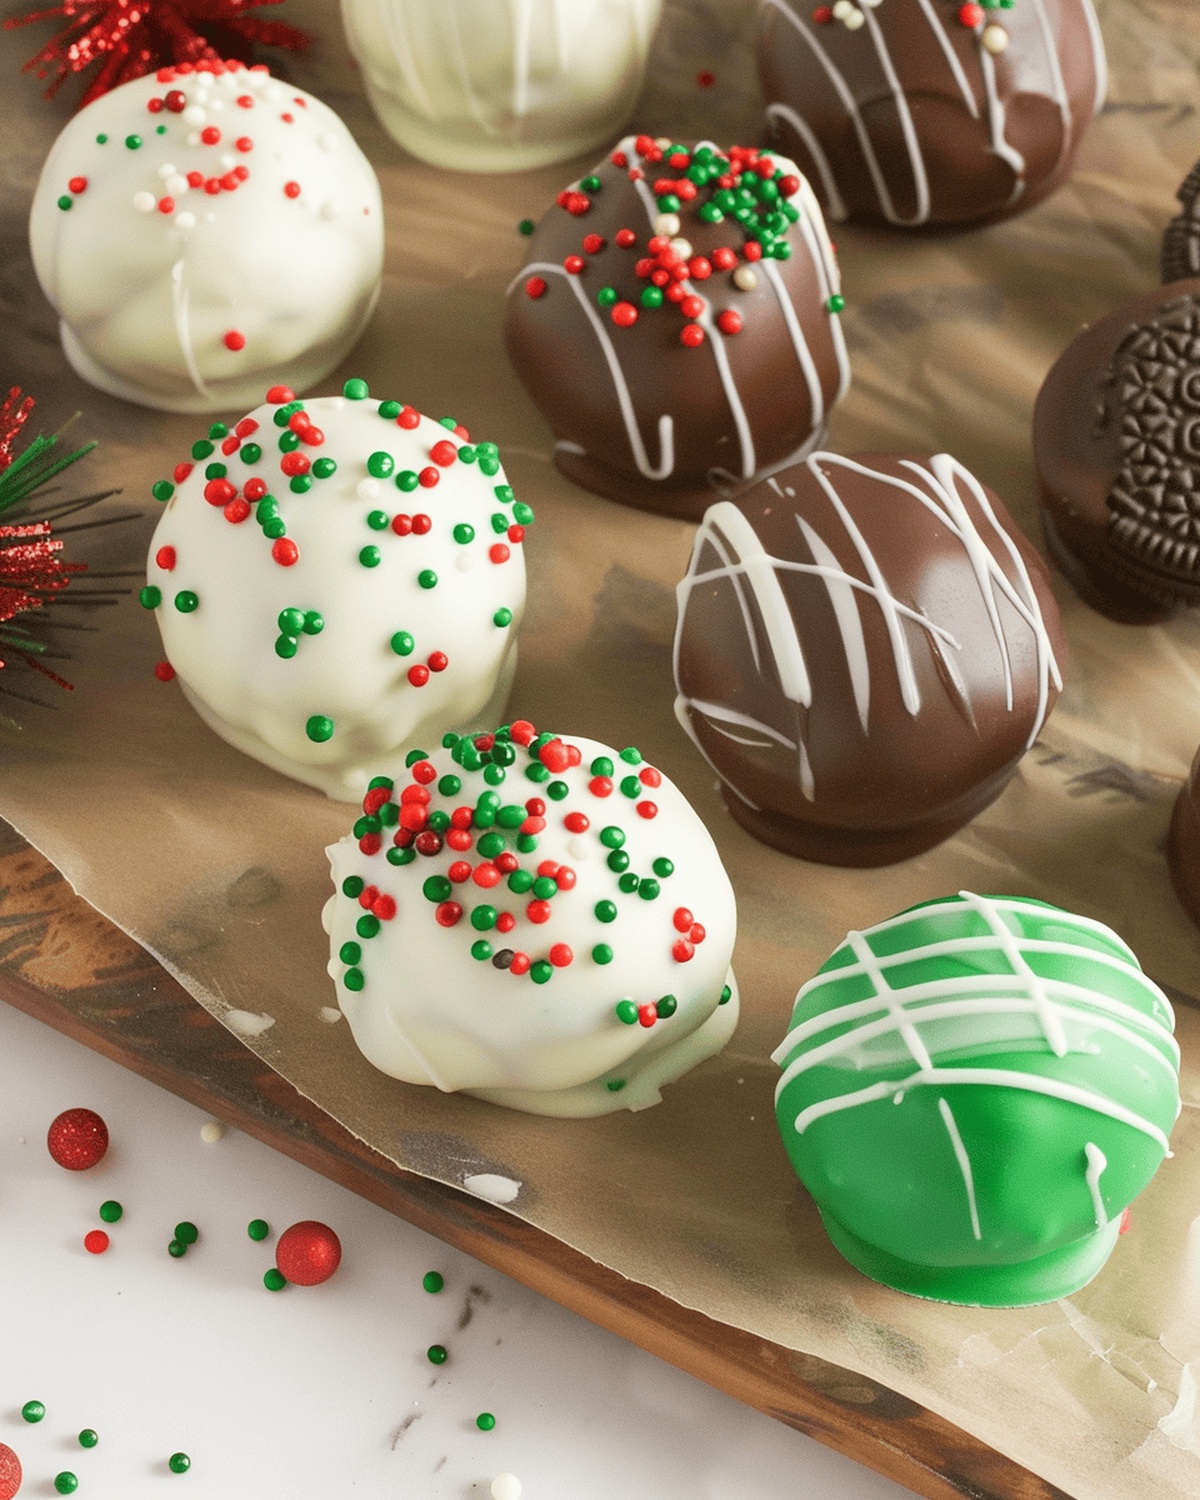
Ingredients:Melt each type of chocolate separately in microwave-safe bowls. Use 30-second intervals, stirring between each interval to ensure smooth melting. Divide the white chocolate into three bowls, adding green and red food coloring to two of them.
Step 6: Freeze Truffle Balls
Place the baking sheet with truffle balls in the freezer for 15-30 minutes. This crucial step helps the truffles maintain their shape during the chocolate dipping process.
Step 7: Dip and Decorate
Remove the chilled truffle balls from the freezer. Carefully dip each ball into the melted chocolates, allowing excess chocolate to drip off. Place the chocolate-covered truffles back on the parchment paper.
Step 8: Add Festive Touches
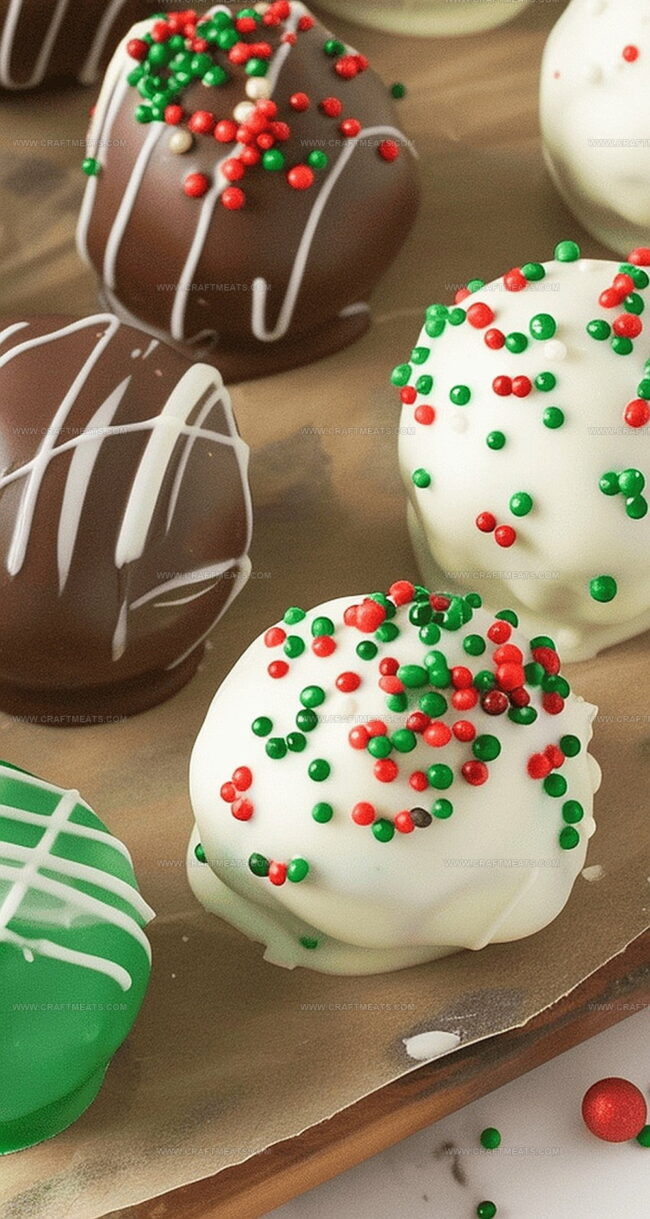
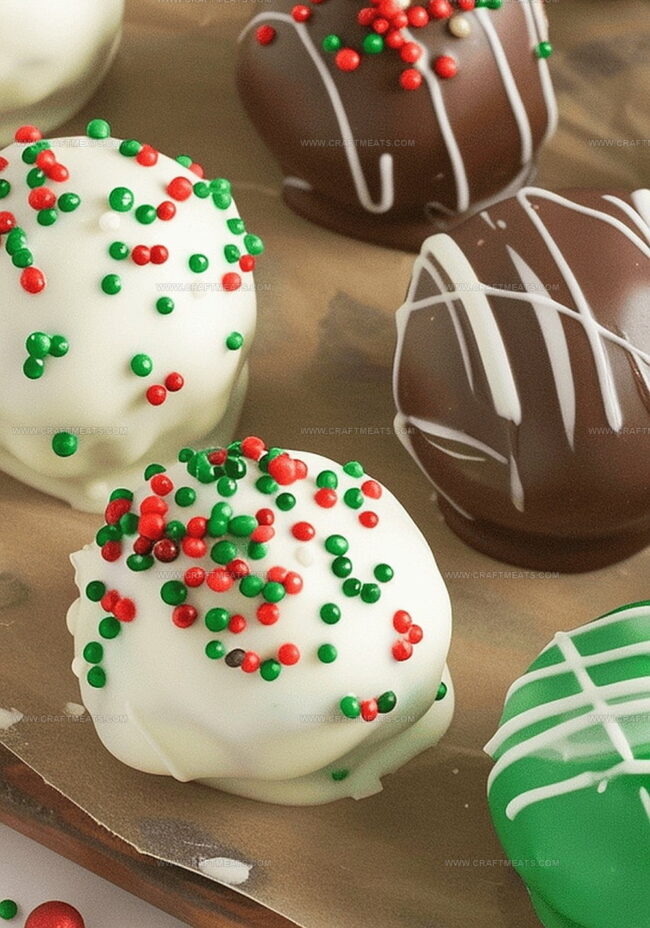
Quickly sprinkle Christmas-themed decorations over the wet chocolate. Use holiday sprinkles, candy melts, or colored chocolate drizzles to create a festive look.
Step 9: Set and Serve
Let the truffles sit at room temperature or in the refrigerator until the chocolate coating hardens completely. Once set, they’re ready to be devoured or packaged as a delightful gift.
Pro Tips for Truffle Perfection
Truffle Storage Tips for Gifting or Later
Refrigerate Leftovers: Store Oreo Cookie Truffles in an airtight container with parchment paper between layers to prevent sticking. Keep refrigerated for up to 7 days to maintain freshness and texture.
Freeze for Long-Term Storage: Wrap individual truffles tightly in plastic wrap, then place in a freezer-safe container. Freeze up to 3 months for extended enjoyment. Thaw overnight in the refrigerator before serving.
Reheating Tips: These truffles are best enjoyed chilled. Let them sit at room temperature for 5-10 minutes before serving to soften slightly and enhance flavor. Avoid microwaving, as this can melt the chocolate coating.
Snacks and Sips That Go Well
Truffle Variations You Can Make Today
Common Oreo Truffle Questions
Yes! You can prepare Oreo truffles up to 5 days in advance. Store them in an airtight container in the refrigerator, layered between parchment paper to prevent sticking.
No problem! Place Oreo cookies in a sealed plastic bag and crush them thoroughly with a rolling pin or the bottom of a heavy pan until finely crumbled.
When stored properly in the refrigerator, these truffles will remain delicious for about 1 week. Always keep them in a sealed container to maintain their texture and flavor.
Absolutely! You can substitute white, milk, or dark chocolate based on your preference. Just ensure you melt the chocolate slowly and smoothly to get the best coating results.
Print
Oreo Cookie Truffles Delight Recipe
- Total Time: 45 minutes
- Yield: 24 1x
Description
Creamy Oreo Cookie Truffles bring indulgent chocolate magic straight from classic cookie favorites. Rich cocoa-infused bites deliver smooth sweetness that melts perfectly on your palate, promising delicious comfort in each delightful truffle.
Ingredients
Main Ingredients:
- 1 pound, 4 ounces (567 grams) Oreo Cookies
- 8 ounces (226 grams) cream cheese, softened
Chocolate and Coating:
- 8 ounces (226 grams) white chocolate almond bark or chocolate chips
- 8 ounces (226 grams) semisweet chocolate almond bark or chocolate chips
- Milk Chocolate Candy Melts
- White Chocolate Candy Melts
Flavoring and Decoration:
- 1 teaspoon vanilla extract
- Christmas sprinkles for decoration
- Red food coloring
- Green food coloring
Instructions
- Crush Oreo cookies into fine crumbs using a food processor, ensuring a uniform texture that will blend seamlessly with cream cheese.
- Incorporate softened cream cheese and vanilla extract into the cookie crumbs, mixing thoroughly until a cohesive, moldable dough forms.
- Refrigerate the mixture for approximately 15 minutes, allowing it to firm up and become easier to handle during shaping.
- Utilize a cookie scoop to create uniform portions, then gently roll each between palms to craft smooth, perfectly round truffle spheres.
- Transfer the shaped truffles to a parchment-lined baking sheet and freeze for 15-30 minutes to stabilize their structure.
- Melt white, milk, and semisweet chocolates individually in microwave-safe containers, stirring carefully to achieve a smooth, glossy consistency.
- Separate melted white chocolate into three distinct bowls, tinting one green and another red while leaving the third portion pristine white.
- Carefully immerse each chilled truffle into the melted chocolate, allowing excess to drip off before placing on parchment paper.
- Embellish the chocolate-coated truffles with festive Christmas sprinkles and decorative drizzles of colored candy melts.
- Allow truffles to set completely at room temperature or in the refrigerator until the chocolate coating hardens and becomes firm.
Notes
- Chilling is crucial for perfect texture, helping the mixture firm up and making truffle shaping easier.
- Use a cookie scoop for uniform size, ensuring consistent and professional-looking truffles.
- Freezing truffles before dipping prevents chocolate coating from melting the delicate mixture.
- Melt chocolate in short intervals to avoid burning, stirring between each microwave session for smooth consistency.
- Work quickly when decorating to prevent chocolate from hardening before adding sprinkles.
- Store in refrigerator to maintain shape and extend shelf life of these delightful treats.
- Prep Time: 30 minutes
- Cook Time: 15 minutes
- Category: Desserts, Snacks
- Method: Blending
- Cuisine: American
Nutrition
- Serving Size: 24
- Calories: 150
- Sugar: 14g
- Sodium: 50mg
- Fat: 8g
- Saturated Fat: 4g
- Unsaturated Fat: 3g
- Trans Fat: 0g
- Carbohydrates: 18g
- Fiber: 1g
- Protein: 2g
- Cholesterol: 15mg


Isabella Rossi
Founder & Culinary Content Creator
Expertise
Recipe Development, Traditional Irish and European Cuisines, Food Styling and Photography, Culinary Education
Education
Dublin Institute of Technology (DIT) – School of Culinary Arts and Food Technology
Ballymaloe Cookery School
Liam is the voice behind many of Craft Meats’ most flavorful features. With roots in Dublin’s smoky barbecue scene and a culinary degree from the Dublin Institute of Technology, he brings time-tested cooking techniques to life.
His training at Ballymaloe Cookery School sharpened his farm-to-table approach, giving him a deep respect for every ingredient he writes about.
He’s not about overcomplicating the process, just helping you cook meat that’s worth talking about. When he’s not writing or grilling, he’s out foraging or nerding out on regional spice blends to add to his next recipe.