Quick No-Bake Peanut Butter Balls Recipe With Classic Flavor
Crafting delectable peanut butter balls that dance with rich, creamy sweetness right in your kitchen.
These irresistible spheres of delight promise pure indulgence without complicated techniques.
Chocolate and peanut butter blend into a magical combination that sparks childhood memories.
Small yet powerful, each bite delivers a perfect balance of smooth texture and intense flavor.
The recipe transforms simple ingredients into something extraordinary, beckoning you toward culinary creativity.
Kids and adults alike will fall in love with these no-bake treats that require minimal effort.
Grab your mixing bowl and let’s create something deliciously unforgettable.
Why Everyone Loves Peanut Butter Balls
Peanut Butter Balls Ingredient Checklist
Peanut Butter Filling Ingredients:Chocolate Coating Ingredients:Preparation Surface:Steps To Make Peanut Butter Balls
Step 1: Create Creamy Peanut Butter Mixture
In a spacious mixing bowl, blend together:Stir everything until the mixture transforms into a consistent, malleable texture that holds together perfectly.
Step 2: Shape Delightful Spheres
Roll the mixture into small round balls, each about the size of a golf ball. Gently place these spheres onto a parchment-lined baking sheet. Pop the tray into the refrigerator for a cool-down session, allowing them to firm up for about 45 minutes.
Step 3: Craft Silky Chocolate Coating
Grab a microwave-safe bowl and combine:Melt the ingredients using short microwave bursts, stirring between each interval. Continue until the chocolate transforms into a smooth, glossy liquid.
Step 4: Dunk and Coat
Using a fork or dipping tool, carefully submerge each peanut butter sphere into the molten chocolate. Ensure complete coverage, letting excess chocolate drip off gently. Return the chocolate-covered treats to the parchment-lined tray.
Step 5: Chill and Solidify
Transfer the chocolate-dressed balls back to the refrigerator. Allow them to rest and set for approximately 30 minutes, or until the chocolate becomes completely firm and crisp.
Step 6: Store and Savor
Move the finished peanut butter balls into an airtight container. These delectable treats can be stored in the refrigerator for up to two weeks or preserved in the freezer for three months.
Simple Tips For Peanut Butter Balls
How To Keep And Warm Peanut Butter Balls
Great Pairings For Peanut Butter Balls
Different Ways To Make Peanut Butter Balls
Peanut Butter Balls Common Questions
Chilling helps the balls firm up, making them easier to handle and preventing them from falling apart during the chocolate dipping process.
Absolutely! Almond butter or cashew butter work great as substitutes with similar results.
Add a little more coconut oil to thin out the chocolate, creating a smoother coating that’s easier to work with.
After dipping, sprinkle some chopped nuts, sea salt, or drizzle white chocolate on top for a fancy touch.
Print
Peanut Butter Balls Recipe
- Total Time: 1 hour 20 minutes
- Yield: 20 1x
Description
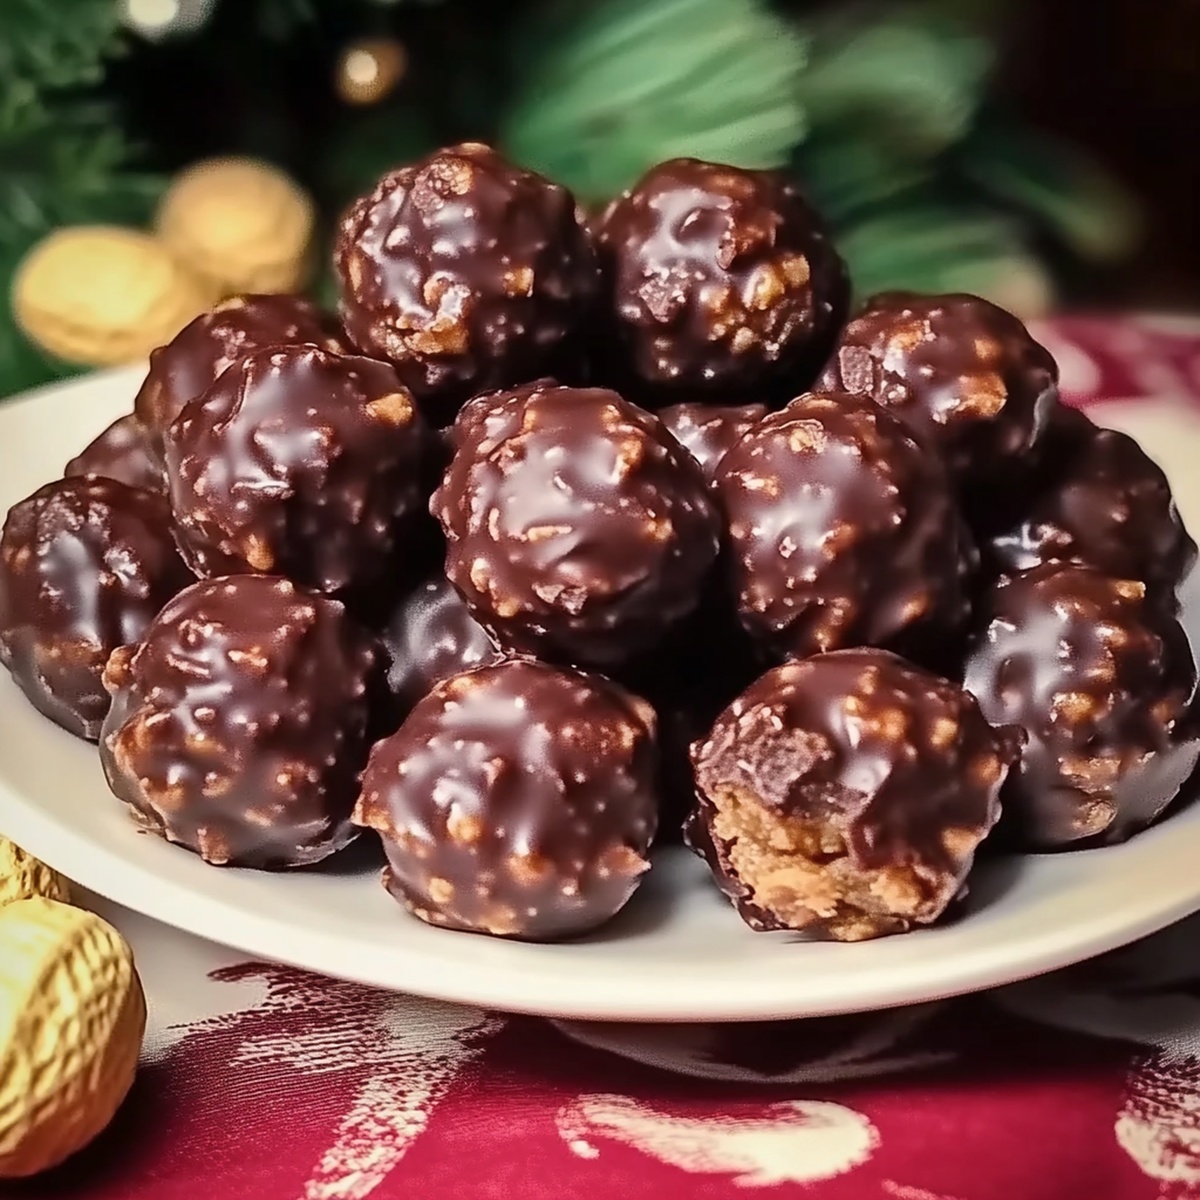
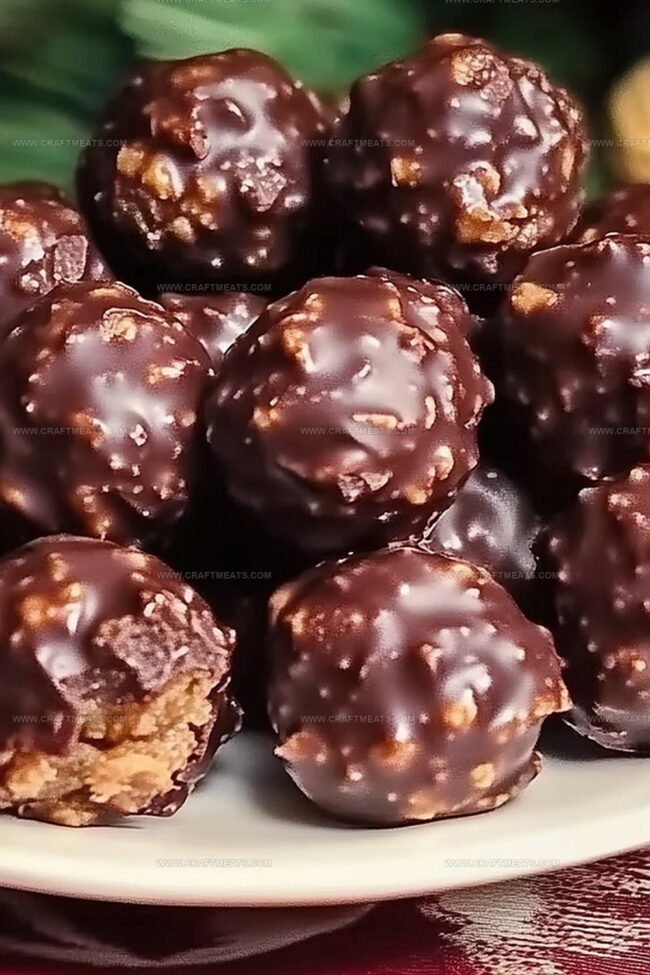
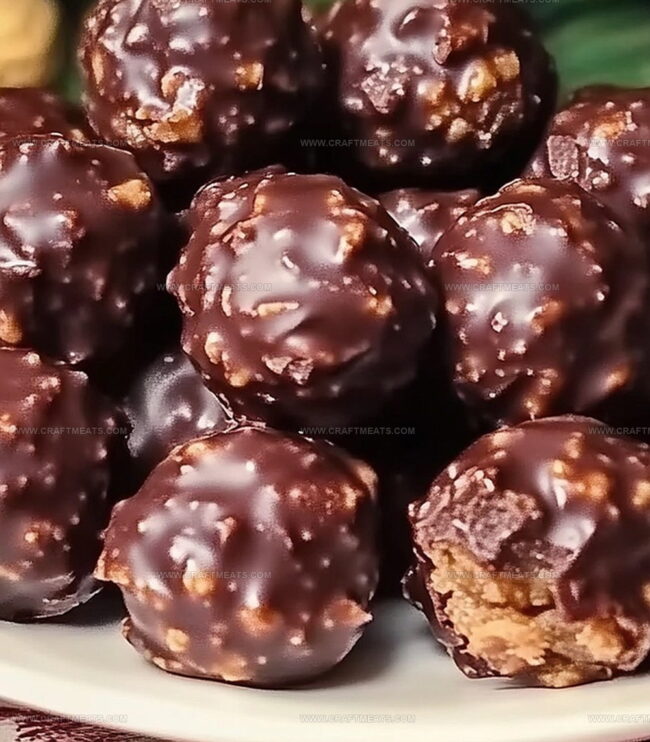
Irresistible chocolate-coated peanut butter balls dance with sweet and creamy perfection, blending rich flavors from classic American dessert traditions. Crunchy peanut butter centers dipped in smooth chocolate create an addictive treat you can’t resist.
Ingredients
Peanut Butter Balls
Main Ingredients:
- 2 cups semi-sweet chocolate chips
- 1 cup creamy peanut butter
- 2 cups powdered sugar
- ¼ cup unsalted butter, softened
Flavoring and Binding:
- 1 teaspoon (1 tsp) vanilla extract
Coating and Melting Agents:
- 2 tablespoons (2 tbsp) coconut oil or vegetable shortening
Instructions
- Craft a luscious peanut butter mixture by thoroughly blending peanut butter, softened butter, powdered sugar, and vanilla extract in a spacious mixing bowl until the consistency becomes uniform and malleable.
- Meticulously shape the creamy blend into compact spheres, approximately the diameter of a large marble, carefully positioning each orb onto a parchment-lined baking tray.
- Chill the formed spheres in the refrigerator for approximately 45 minutes, allowing them to firm and maintain their structured shape.
- Create a silky chocolate coating by gently melting chocolate chips with coconut oil in a microwave-safe vessel, stirring intermittently to achieve a glossy, smooth texture.
- Delicately immerse each chilled peanut butter sphere into the molten chocolate, utilizing a fork or toothpick to ensure comprehensive coverage and elegant presentation.
- Strategically place the chocolate-enrobed spheres back onto the parchment-lined tray, maintaining sufficient spacing between each confection.
- Return the chocolate-coated delicacies to the refrigerator, permitting them to solidify for roughly 30-40 minutes until the chocolate shell becomes completely rigid.
- Transfer the completed treats to an airtight storage container, preserving their freshness in the refrigerator for up to two weeks or extending their longevity by freezing for three months.
Notes
- Choose room temperature ingredients to ensure smooth, easy mixing without lumps in the peanut butter filling.
- Use a cookie scoop or melon baller for uniform, perfectly sized balls that look professionally made.
- Opt for natural peanut butter with no added sugar for a less sweet, more intense nutty flavor that balances the chocolate coating.
- Create dietary variations by substituting ingredients: use almond butter for nut-free versions, dark chocolate for lower sugar content, or coconut oil for vegan-friendly chocolate dipping.
- Prep Time: 20 minutes
- Cook Time: 1 hour
- Category: Snacks, Desserts
- Method: Mixing
- Cuisine: American
Nutrition
- Serving Size: 20
- Calories: 183
- Sugar: 14 g
- Sodium: 53 mg
- Fat: 10 g
- Saturated Fat: 4 g
- Unsaturated Fat: 6 g
- Trans Fat: 0 g
- Carbohydrates: 21 g
- Fiber: 1 g
- Protein: 3 g
- Cholesterol: 5 mg
Isabella Rossi
Founder & Culinary Content Creator
Expertise
Recipe Development, Traditional Irish and European Cuisines, Food Styling and Photography, Culinary Education
Education
Dublin Institute of Technology (DIT) – School of Culinary Arts and Food Technology
Ballymaloe Cookery School
Liam is the voice behind many of Craft Meats’ most flavorful features. With roots in Dublin’s smoky barbecue scene and a culinary degree from the Dublin Institute of Technology, he brings time-tested cooking techniques to life.
His training at Ballymaloe Cookery School sharpened his farm-to-table approach, giving him a deep respect for every ingredient he writes about.
He’s not about overcomplicating the process, just helping you cook meat that’s worth talking about. When he’s not writing or grilling, he’s out foraging or nerding out on regional spice blends to add to his next recipe.