
Peanut Butter Delights Recipe for Sweet Cravings
Peanut butter delights invite you into a world of creamy, sweet indulgence that sparks instant nostalgia.
These delectable treats blend rich, velvety textures with irresistible comfort.
Imagine a dessert that melts effortlessly on your tongue, creating moments of pure culinary joy.
Soft, pillowy morsels promise a delightful escape from everyday stress.
Each bite carries a subtle nuttiness that dances between sweetness and depth.
The magic happens when simple ingredients combine in unexpected ways, turning ordinary ingredients into extraordinary sensations.
Your taste buds will thank you for embarking on this delicious adventure.
Rich and Creamy Peanut Butter Bars Everyone Loves
Ingredients for Peanut Butter Bars
Main Ingredients:
Peanut Butter Base:Sugar and Coating:Optional Additions:How to Make Soft Peanut Butter Bars Step by Step
Step 1: Prepare Creamy Base
In a spacious mixing bowl, gently melt butter until smooth. Stir in vanilla extract with a whisk, creating a fragrant liquid base.
Blend these ingredients until perfectly combined.
Step 2: Create Silky Mixture
Add peanut butter to the butter-vanilla blend. Use a sturdy spatula to mix thoroughly until the texture becomes uniform and glossy.
Ensure no lumps remain in the mixture.
Step 3: Develop Smooth Dough
Gradually introduce powdered sugar into the peanut butter combination. Mix consistently with gentle folding motions.
Continue stirring until the mixture transforms into a soft, pliable dough.
Step 4: Form Delectable Spheres
Scoop small portions of the dough and roll between your palms. Create uniform round balls approximately 1 inch in diameter.
Place each sphere onto a parchment-lined baking sheet, leaving slight spacing between them.
Step 5: Cool and Solidify
Transfer the baking sheet to the freezer. Allow the peanut butter balls to chill and firm up for approximately 25-35 minutes.
Step 6: Chocolate Enrobing
Select your preferred chocolate variety. Melt chocolate using a double boiler or microwave, stirring until completely smooth.
Carefully dip each frozen ball into the melted chocolate, ensuring complete coverage.
Step 7: Final Setting
Return chocolate-coated balls to the baking sheet. Let them rest at room temperature or refrigerate to accelerate chocolate hardening.
Tips for Perfect Texture in Peanut Butter Bars
Store and Reheat Peanut Butter Bars Without Drying
Pairing Ideas for Peanut Butter Bars
Flavor Variations for Peanut Butter Treats
FAQs About Peanut Butter Bars and Prep
Store them in an airtight container in the refrigerator for up to 2 weeks. They’ll stay fresh and maintain their delicious texture.
Absolutely! Almond butter or cashew butter work great as substitutes with similar results. Just ensure it’s a smooth, creamy variety.
Use a double boiler or microwave in 30-second intervals, stirring between each interval. This prevents burning and ensures smooth melting.
They contain dairy and nuts, so they’re not ideal for those with dairy or nut allergies. For gluten-free versions, use gluten-free powdered sugar.
Print
Peanut Butter Delights Recipe
- Total Time: 40 minutes
- Yield: 20 1x
Description
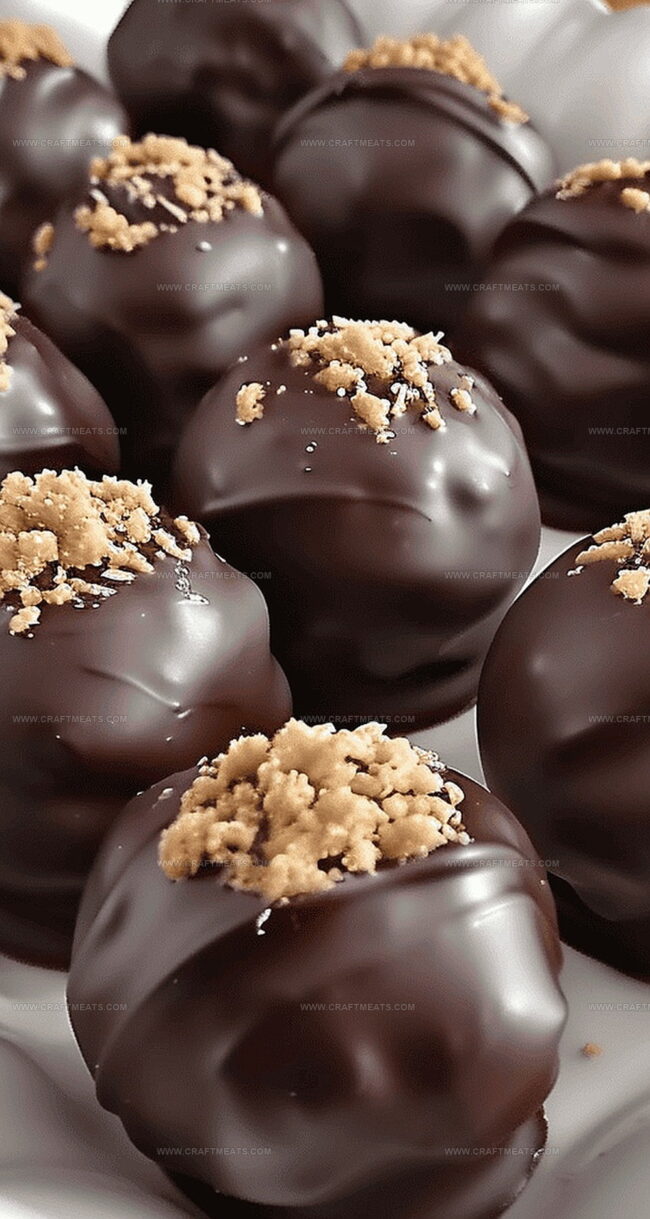
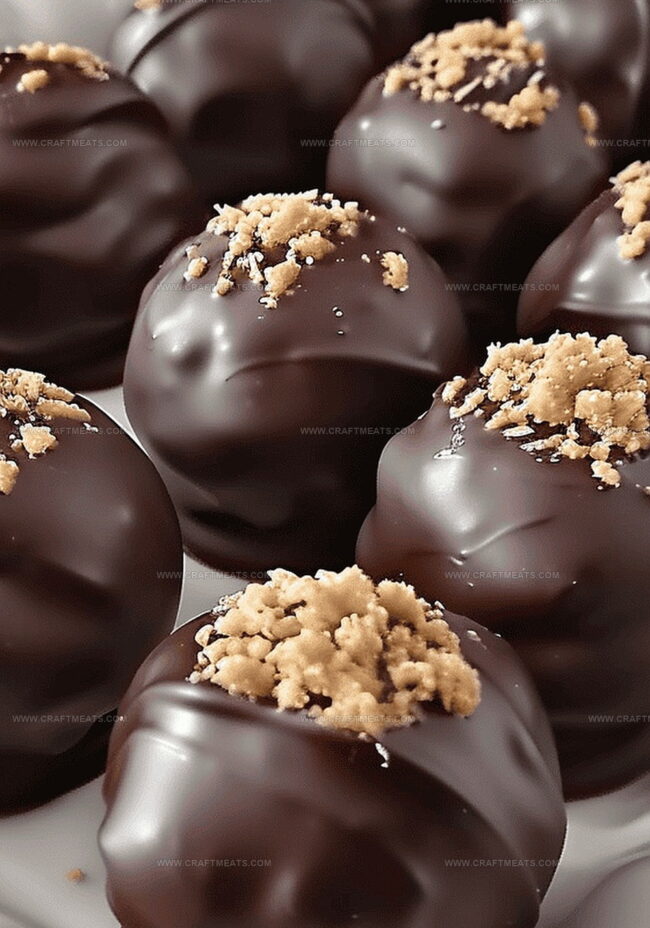
Indulgent “Peanut Butter Delights” offer a luxurious dance of creamy richness and sweet nostalgia. Chocolate-drizzled morsels promise a blissful escape that will transport taste buds to pure comfort.
Ingredients
Main Ingredients:
- 1 cup peanut butter
- 6 tablespoons (90 milliliters) butter, melted
- 2 cups (240 grams) powdered sugar
Flavoring and Coating:
- 1 teaspoon (5 milliliters) vanilla extract
- Dipping chocolate of choice
Instructions
- Create a homogeneous base by whisking melted butter with vanilla extract in a spacious mixing vessel until thoroughly blended.
- Gradually incorporate peanut butter into the butter mixture, stirring meticulously to ensure a consistent texture and eliminate any potential lumps.
- Introduce powdered sugar incrementally while continuously stirring, transforming the mixture into a dense, malleable dough that holds its shape when manipulated.
- Using clean hands, delicately craft uniform spherical portions from the prepared dough, applying gentle pressure to maintain compact integrity.
- Arrange the crafted spheres onto a chilled baking tray, maintaining equal spacing between each orb to prevent accidental merging.
- Transfer the tray to the freezer, allowing the peanut butter spheres to solidify and develop a firm structural consistency for approximately half an hour.
- Meanwhile, gently melt chocolate using a double boiler or microwave, stirring periodically to achieve a smooth, glossy liquid state.
- Extract the frozen peanut butter spheres and systematically immerse each one completely into the molten chocolate, ensuring total coverage and minimal dripping.
- Carefully place the chocolate-enrobed spheres back onto the chilled tray, permitting excess chocolate to gracefully cascade and settle.
- Allow the confections to set at ambient temperature or expedite the process by returning them to the refrigerator until the chocolate coating hardens completely.
Notes
- Prep these delightful treats in just 20 minutes with minimal kitchen equipment.
- Freezing the peanut butter balls helps chocolate coating adhere smoothly and creates a perfect texture.
- Use high-quality chocolate like dark or milk varieties for rich, decadent flavor variations.
- Store finished Peanut Butter Delights in an airtight container in the refrigerator for up to one week.
- Customize by sprinkling sea salt, crushed nuts, or colorful sprinkles on wet chocolate coating.
- Make ahead and freeze uncoated balls for convenient last-minute dessert preparation.
- Prep Time: 30 minutes
- Cook Time: 10 minutes
- Category: Snacks, Desserts
- Method: Mixing
- Cuisine: American
Nutrition
- Serving Size: 20
- Calories: 115
- Sugar: 9g
- Sodium: 50mg
- Fat: 7g
- Saturated Fat: 3g
- Unsaturated Fat: 4g
- Trans Fat: 0g
- Carbohydrates: 12g
- Fiber: 0g
- Protein: 2g
- Cholesterol: 5mg
Isabella Rossi
Founder & Culinary Content Creator
Expertise
Recipe Development, Traditional Irish and European Cuisines, Food Styling and Photography, Culinary Education
Education
Dublin Institute of Technology (DIT) – School of Culinary Arts and Food Technology
Ballymaloe Cookery School
Liam is the voice behind many of Craft Meats’ most flavorful features. With roots in Dublin’s smoky barbecue scene and a culinary degree from the Dublin Institute of Technology, he brings time-tested cooking techniques to life.
His training at Ballymaloe Cookery School sharpened his farm-to-table approach, giving him a deep respect for every ingredient he writes about.
He’s not about overcomplicating the process, just helping you cook meat that’s worth talking about. When he’s not writing or grilling, he’s out foraging or nerding out on regional spice blends to add to his next recipe.