Peppermint Chocolate Roll Cake Recipe for Festive Desserts
Picture a peppermint chocolate dream roll cake that whispers sweet indulgence with every delicate slice.
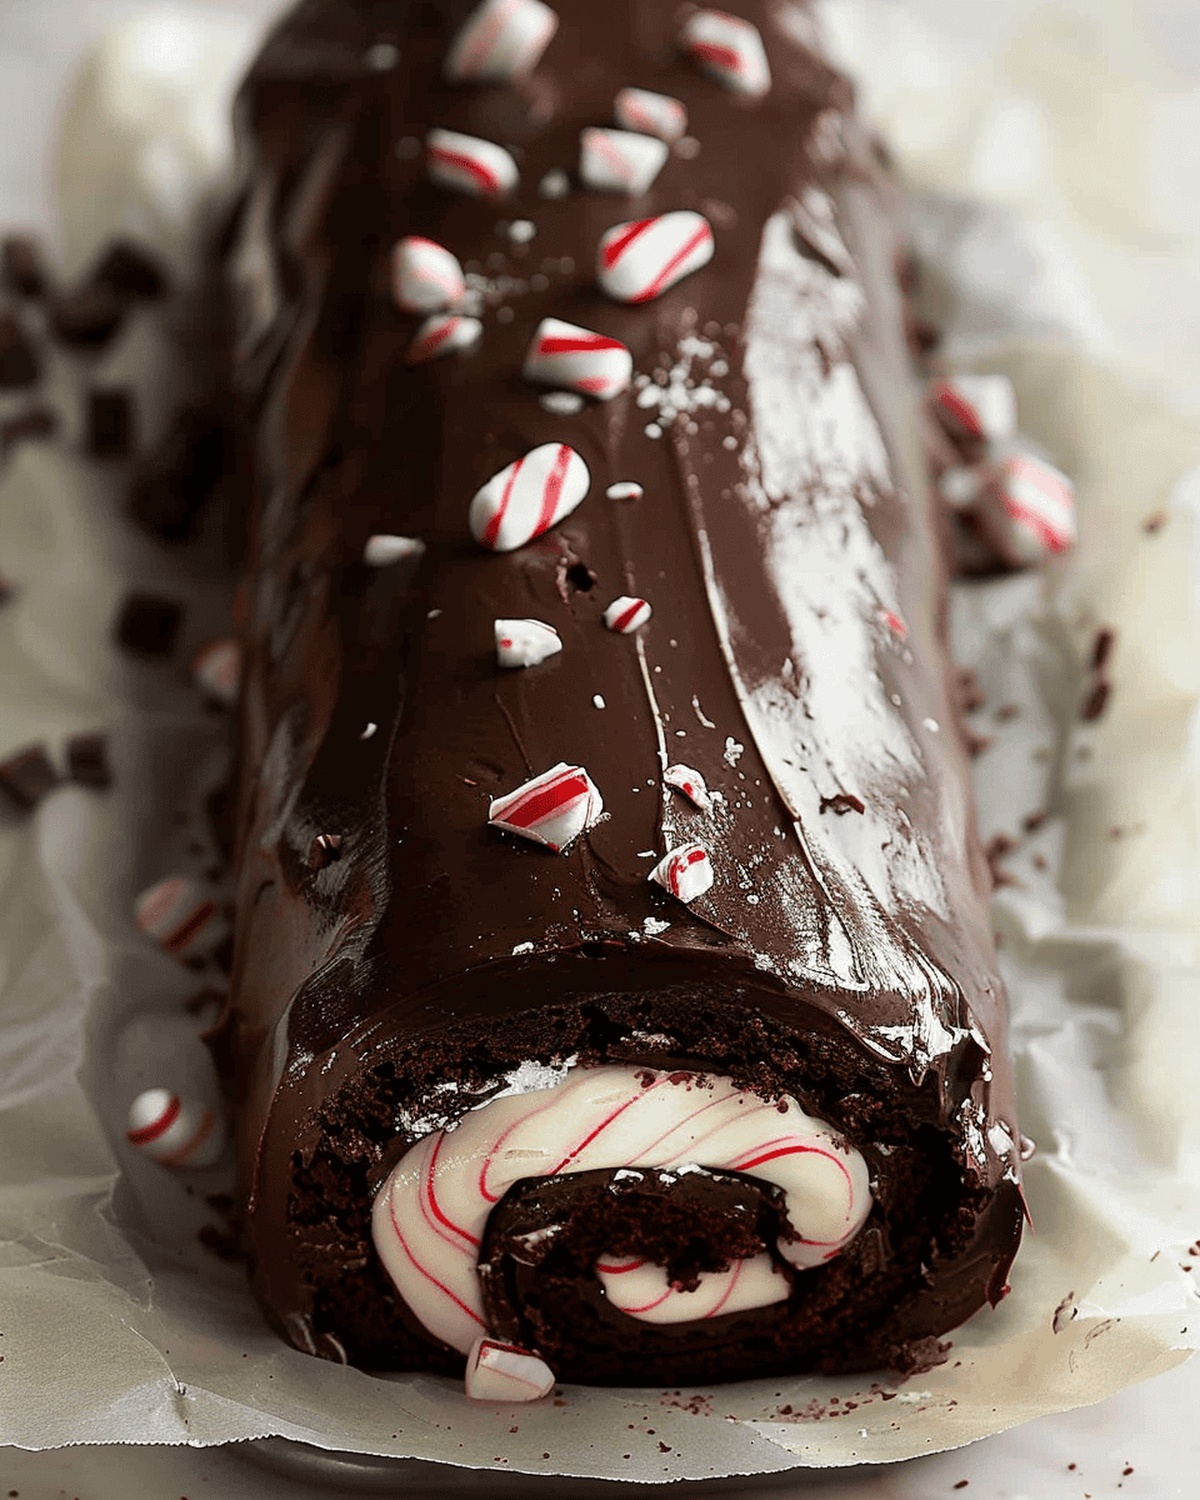
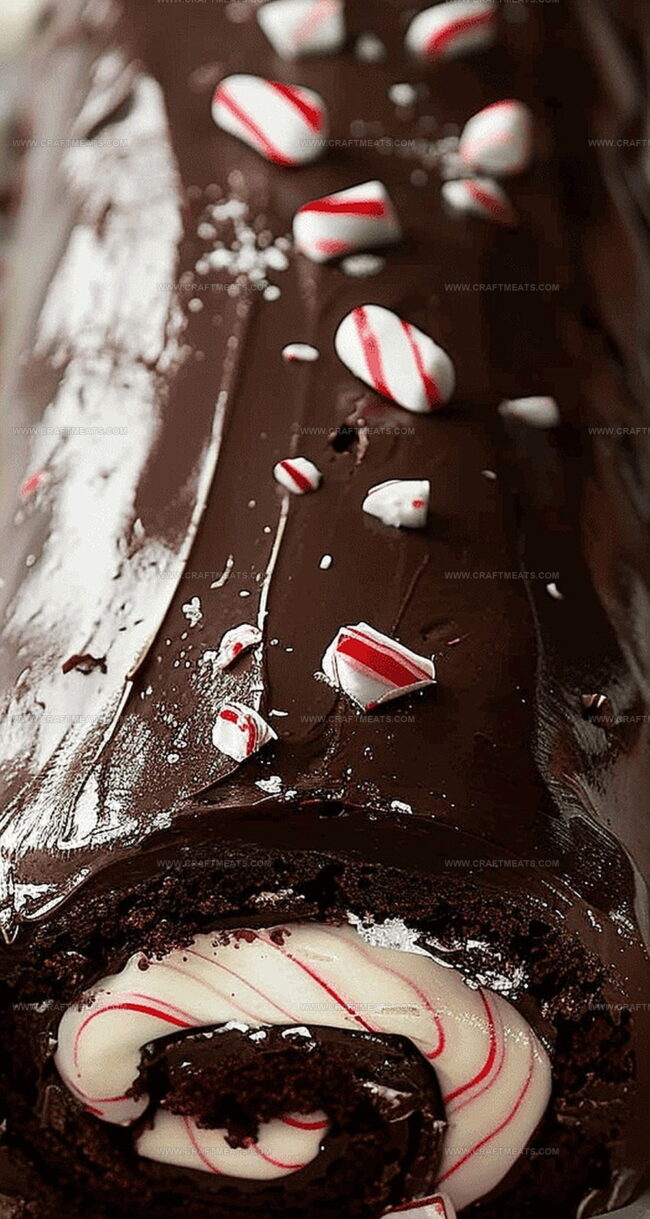
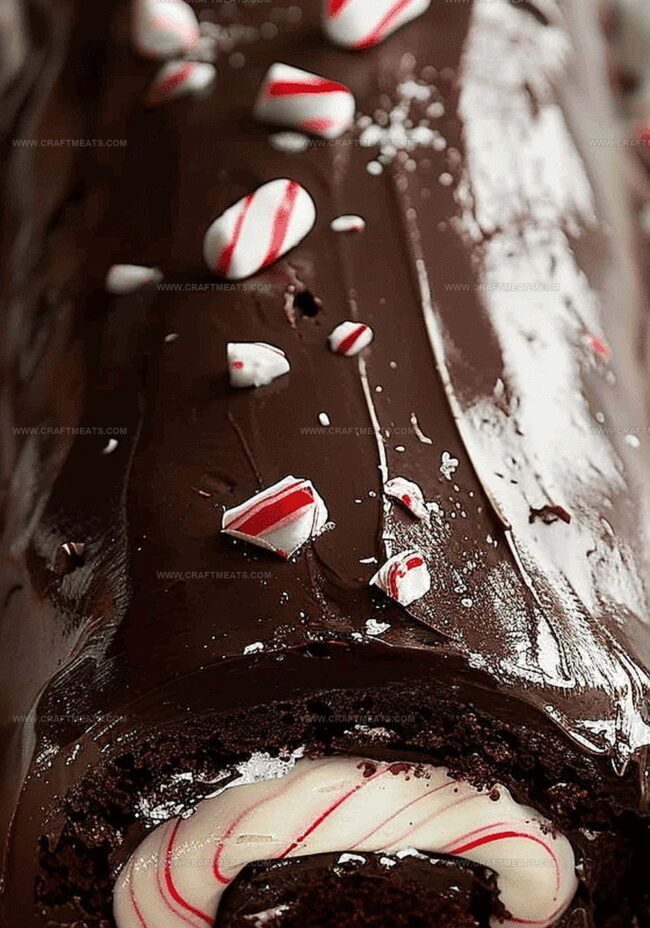
Soft, cloud-like layers of rich chocolate meld seamlessly with cool, refreshing mint undertones.
Each carefully crafted bite promises a sensational dance of contrasting flavors and textures.
Imagine rolling delicate cake into a mesmerizing spiral of decadence that simultaneously surprises and delights the palate.
Delicate swirls of creamy filling peek through tender chocolate sponge, creating a visual masterpiece that hints at the extraordinary experience awaiting you.
Intricate yet surprisingly simple, this dessert changes ordinary ingredients into an extraordinary culinary adventure.
Prepare to be enchanted by a confection that bridges comfort and sophistication in one magnificent dessert.
You won’t be able to resist diving into this irresistible treat.
Peppermint Chocolate Roll Cake Highlights
Ingredients for Peppermint Chocolate Cake
Cake Base Ingredients:Leavening Agents:Liquid and Flavor Enhancers:Preparation Accessories:Baking Steps for Peppermint Chocolate Cake
Step 1: Set Up Your Baking Station
Grab your baking tools and prepare for a delightful dessert adventure! Warm up your oven to a toasty 375 degrees F. Grab a 15 x 10-inch jelly-roll pan and show it some love by:This prevents any sticky situations when it’s time to roll!
Step 2: Create the Magical Cake Batter
Time to transform simple ingredients into a spectacular dessert! You’ll need two mixing bowls and some serious whisking skills:
First Bowl (Fluffy Whites):Whip those egg whites until they form soft, cloud-like peaks. Gradually sprinkle in sugar, continuing until peaks stand tall and proud.
Second Bowl (Chocolate Base):Beat these ingredients until they become smooth and creamy.
Dry Ingredients:Gently fold everything together, creating a silky chocolate dream mixture.
Step 3: Bake and Roll Your Cake Masterpiece
Spread the batter evenly across your prepared pan. Slide into the preheated oven and bake for 14-16 minutes. The cake is ready when it springs back with a gentle touch.
Quickly transfer the cake (still on parchment) to a cool surface. Carefully roll from the short end, keeping parchment intact. Let it rest and cool completely on a wire rack. A quick 30-minute chill in the refrigerator helps set the perfect roll.
Pro Tips for Peppermint Cake
Keeping Peppermint Cake Fresh
What to Serve with Peppermint Cake
Recipe Swaps for Peppermint Roll Cake
FAQs for Peppermint Roll Cake
Yes! You can prepare the cake roll a day in advance and store it in the refrigerator. Just wrap it tightly in plastic wrap to keep it fresh and moist.
You can use a similar sized baking sheet with raised edges. The key is having a thin, even cake that rolls easily without cracking.
Grease and flour the parchment paper thoroughly. This extra step ensures the cake releases smoothly when you’re ready to unroll and fill it.
For the cocoa, use dark chocolate powder. If you don’t have vanilla, almond extract works as a nice alternative. Always measure ingredients carefully to maintain the cake’s delicate texture.
Print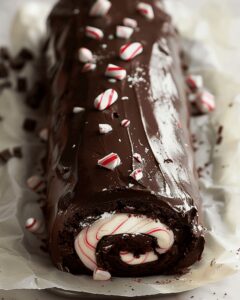
Peppermint Chocolate Dream Roll Cake Recipe
- Total Time: 35 minutes
- Yield: 8 1x
Description
Rich layers of peppermint chocolate dream roll cake melt together in a festive dessert that whispers holiday magic. Silky chocolate sponge embraces cool mint cream, inviting seasonal celebrations where sweetness dances on your palate.
Ingredients
Main Ingredients:
- 4 large eggs, yolks and whites separated
- ½ cup (118 milliliters) plus ⅓ cup (79 milliliters) white sugar
- ½ cup (60 grams) all-purpose flour
- ⅓ cup (33 grams) unsweetened cocoa powder
- 8 ounces (226 grams) cream cheese
- ¼ cup (57 grams) butter
- 1 cup (120 grams) icing sugar
Flavoring Ingredients:
- 1 teaspoon vanilla essence
- ½ teaspoon peppermint essence
- 20 starlight mint candies, crushed
Baking and Filling Ingredients:
- ½ teaspoon baking powder
- ¼ teaspoon baking soda
- 1/8 teaspoon salt
- ⅓ cup (79 milliliters) water
- ½ cup (118 milliliters) heavy cream
- 1 cup (170 grams) semi-sweet chocolate chips (or 3 ounces [85 grams] semi-sweet baking chocolate)
- Crushed starlight mint candies for garnish
Instructions
- Meticulously prepare the baking vessel by preheating the oven to 375 degrees F. Coat a 15 x 10-inch jelly-roll pan with grease, then carefully line with parchment paper. Generously apply additional grease and dust with flour to ensure effortless cake release.
- Craft the delicate cake foundation by whisking egg whites until they form soft, billowy peaks. Gradually incorporate granulated sugar, continuing to whip until stiff, glossy peaks emerge. In a separate mixing bowl, vigorously beat egg yolks and vanilla for three minutes, progressively adding remaining sugar while maintaining a smooth, creamy consistency.
- Sift together dry ingredients – flour, cocoa, baking powder, baking soda, and salt – creating a harmonious blend. Gently integrate this mixture with water into the egg yolk mixture, mixing on low speed until achieving a silky smooth texture.
- Delicately fold the chocolate mixture into the whipped egg whites, ensuring a uniform, airy composition without deflating the precious volume.
- Carefully spread the batter across the prepared pan, creating an even layer. Bake for 14-16 minutes until the surface springs back with a gentle touch, indicating perfect doneness.
- Immediately transfer the cake, still on its parchment paper, to a heat-safe surface. Carefully roll the cake from a short end, maintaining the parchment in place. Allow complete cooling on a wire rack, then refrigerate for 30 minutes to set the delicate structure.
Notes
- Precise preparation is key to creating a show-stopping dessert that looks professional and tastes incredible.
- Whipping egg whites to stiff peaks ensures a light, airy texture that makes this chocolate roll cake melt in your mouth.
- Using parchment paper guarantees easy cake removal and helps create a perfectly smooth rolling surface without cracking.
- Cooling the cake completely before unrolling prevents potential structural damage and ensures clean, smooth filling application.
- Refrigerating the rolled cake helps set its shape and makes it easier to handle when adding the peppermint filling.
- Room temperature ingredients blend more smoothly and create a more consistent cake texture with fewer lumps.
- Prep Time: 20 minutes
- Cook Time: 15 minutes
- Category: Desserts
- Method: Baking
- Cuisine: American
Nutrition
- Serving Size: 8
- Calories: 310
- Sugar: 25 g
- Sodium: 120 mg
- Fat: 20 g
- Saturated Fat: 10 g
- Unsaturated Fat: 8 g
- Trans Fat: 0 g
- Carbohydrates: 30 g
- Fiber: 1 g
- Protein: 4 g
- Cholesterol: 80 mg
Isabella Rossi
Founder & Culinary Content Creator
Expertise
Recipe Development, Traditional Irish and European Cuisines, Food Styling and Photography, Culinary Education
Education
Dublin Institute of Technology (DIT) – School of Culinary Arts and Food Technology
Ballymaloe Cookery School
Liam is the voice behind many of Craft Meats’ most flavorful features. With roots in Dublin’s smoky barbecue scene and a culinary degree from the Dublin Institute of Technology, he brings time-tested cooking techniques to life.
His training at Ballymaloe Cookery School sharpened his farm-to-table approach, giving him a deep respect for every ingredient he writes about.
He’s not about overcomplicating the process, just helping you cook meat that’s worth talking about. When he’s not writing or grilling, he’s out foraging or nerding out on regional spice blends to add to his next recipe.