
Peppermint Cream Discs Recipe for Holiday Fun
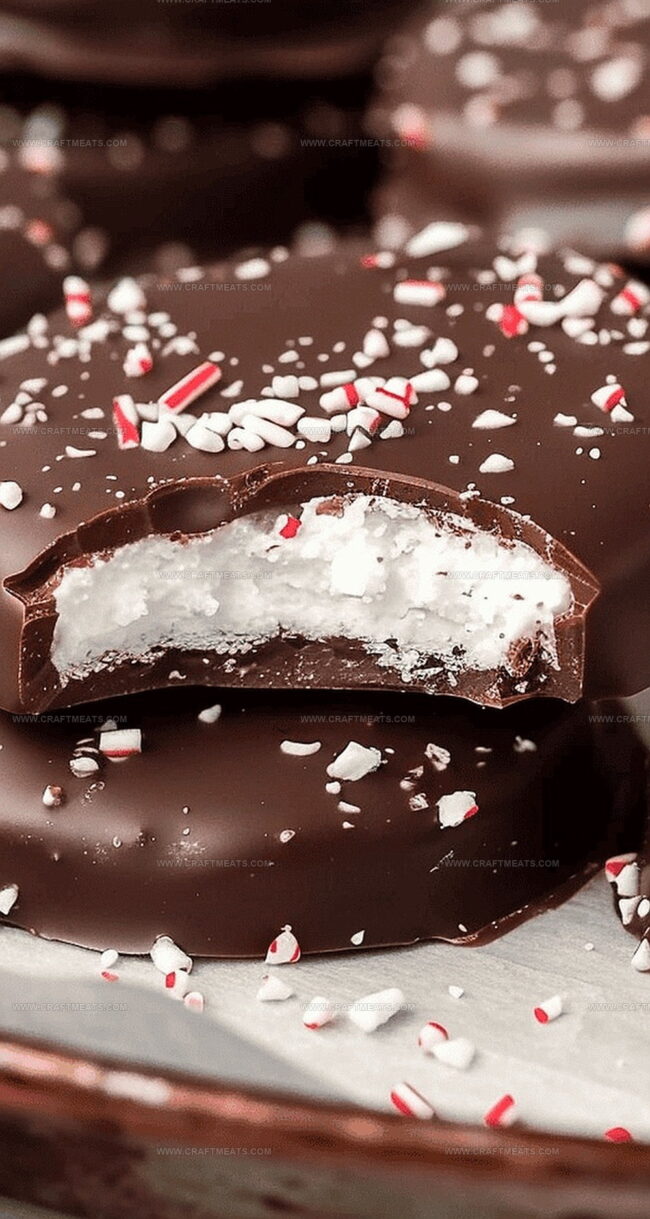
Sweet, refreshing peppermint cream discs capture the essence of cool, minty indulgence in every delightful bite.
These delicate confections melt effortlessly on your tongue, creating a sensational burst of flavor.
Imagine a treat that combines creamy smoothness with invigorating mint sensations.
Soft and luxurious, these discs offer a sophisticated dessert experience that feels both elegant and playful.
Silky textures merge seamlessly with crisp peppermint notes, promising a moment of pure culinary joy.
Light yet decadent, these confections represent a perfect balance of richness and freshness.
You can adore how simple ingredients can create such a magical dessert.
Explore this recipe and refine an ordinary moment into something extraordinary.
Peppermint Cream Discs Introduction
Peppermint Cream Discs Ingredient List
Dairy Base:Flavor Enhancers:Coating and Decoration:Preparation Materials:Directions for Peppermint Cream Discs
Step 1: Set Up Workspace
Grab a baking sheet and line it with parchment paper. Clear some space in your freezer for later chilling.
Step 2: Create Peppermint Base
In a large mixing bowl, combine:Whisk these ingredients until they blend smoothly.
Step 3: Form Creamy Mixture
Using an electric mixer, slowly incorporate confectioners sugar into the milk mixture. Mix at low speed until the mixture transforms into a firm, non-sticky dough that holds its shape.
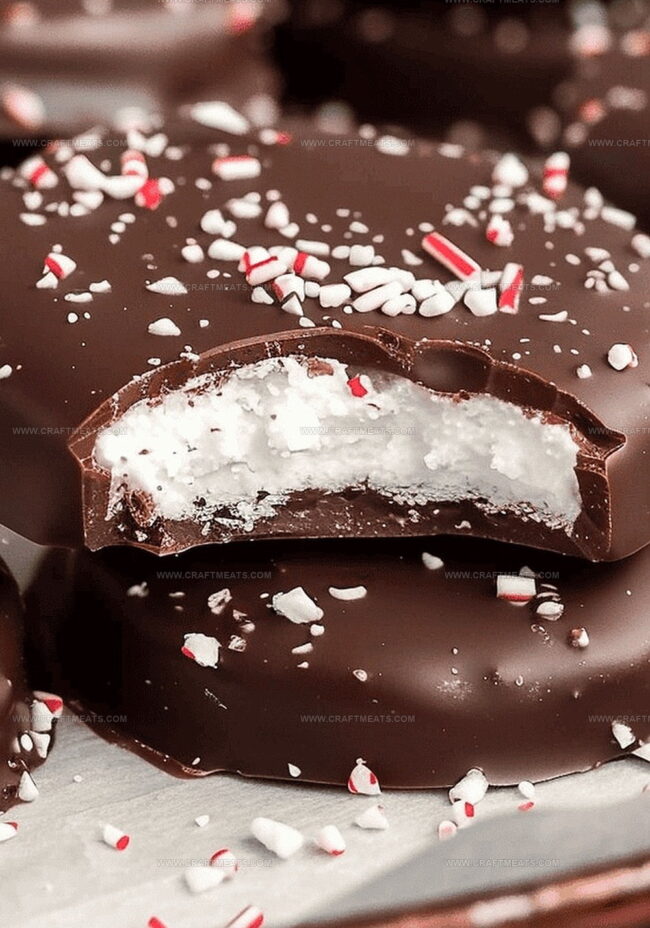
Step 4: Shape Delightful Discs
Roll the dough into small, uniform balls. Place each ball on the prepared baking sheet. Gently press down on each ball to create thick, round discs.
Step 5: Initial Chilling
Transfer the baking sheet to the freezer. Let the peppermint discs chill and firm up for approximately 60 minutes.
Step 6: Prepare Chocolate Coating
Select a microwave-safe bowl and add chocolate almond bark. Melt the chocolate in 30-second intervals, stirring between each interval to ensure smooth, even melting.
Step 7: Chocolate Dipping
Remove the chilled peppermint discs from the freezer. Carefully dip each disc into the melted chocolate, ensuring complete and even coverage. Gently shake off any excess chocolate.
Step 8: Optional Decoration
If desired, immediately sprinkle decorative toppings onto the freshly dipped discs while the chocolate remains wet.
Step 9: Final Setting
Allow the chocolate-covered discs to harden at room temperature. For quicker results, place them in the refrigerator to speed up the setting process.
Tips for Making Peppermint Cream Discs
Storage and Reheating Peppermint Discs
Peppermint Cream Disc Pairings
Twist Ideas for Peppermint Cream Discs
Peppermint Cream Discs Questions Answered
The total preparation time is about 1.5 hours, including 1 hour freezing time for the discs and additional time for dipping in chocolate and setting.
Yes, store the discs in an airtight container in the refrigerator for up to 1 week. They’ll stay fresh and maintain their delicious texture.
You’ll need to use confectioners sugar specifically, as regular granulated sugar won’t create the right consistency for the cream discs. Regular sugar won’t blend smoothly or create the proper texture.
The recipe as written appears to be gluten-free, but always double-check your specific ingredient labels to confirm, especially for the chocolate almond bark and any sprinkles you might use.
Print
Peppermint Cream Discs Recipe
- Total Time: 30 minutes
- Yield: 20 1x
Description
Magical Holiday Peppermint Cream Discs glide through festive celebrations with elegant simplicity. Crisp mint layers melt deliciously, delivering sweet winter memories you cannot resist sampling.
Ingredients
Main Ingredients:
- 4 cups confectioners sugar
- 1 pound chocolate almond bark
- 1 cup sweetened condensed milk
Flavor and Extract:
- 1 teaspoon peppermint extract
Decoration:
- Sprinkles (optional)
Instructions
- Meticulously prepare your culinary workspace by laying out a parchment-lined baking sheet and clearing freezer space for later chilling.
- In a spacious mixing bowl, whisk together sweetened condensed milk and peppermint extract until perfectly blended, creating a fragrant base.
- Gradually incorporate confectioners sugar into the mixture, using an electric mixer on low speed to develop a consistent, firm dough that releases cleanly from the sides of the bowl.
- Gently shape the peppermint dough into uniform small spheres, placing each carefully on the prepared baking sheet.
- Using gentle pressure from your fingertips, flatten each dough ball into thick, elegant discs with smooth edges.
- Carefully transfer the baking sheet to the freezer, allowing the peppermint discs to solidify and chill thoroughly for approximately one hour.
- Select a microwave-safe bowl and melt the chocolate almond bark using precise 30-second intervals, stirring consistently to achieve a silky, uniform consistency.
- Remove the chilled peppermint discs from the freezer and methodically dip each one into the molten chocolate, ensuring complete and elegant coverage.
- Delicately shake off excess chocolate and return each coated disc to the parchment-lined sheet, maintaining a neat presentation.
- For added visual appeal, immediately sprinkle decorative toppings onto the chocolate-covered discs while the coating remains glossy and wet.
- Allow the chocolate to set completely at ambient room temperature, or expedite the hardening process by placing the tray in the refrigerator for swift crystallization.
Notes
- Prep ahead by clearing freezer space and lining a baking sheet for smooth candy-making.
- Mix condensed milk and peppermint extract thoroughly for consistent flavor throughout the discs.
- Use electric mixer on low speed when adding confectioners sugar to prevent messy sugar clouds.
- Gently press dough balls into flat discs for uniform shape and even chocolate coating.
- Freeze discs before dipping to help chocolate set quickly and create a crisp shell.
- Sprinkle decorations immediately after chocolate dipping to ensure they stick perfectly.
- Prep Time: 30 minutes
- Cook Time: 0 minutes
- Category: Desserts, Snacks
- Method: Mixing
- Cuisine: American
Nutrition
- Serving Size: 20
- Calories: 150
- Sugar: 25 g
- Sodium: 30 mg
- Fat: 7 g
- Saturated Fat: 4 g
- Unsaturated Fat: 2 g
- Trans Fat: 0 g
- Carbohydrates: 23 g
- Fiber: 0 g
- Protein: 1 g
- Cholesterol: 5 mg
Isabella Rossi
Founder & Culinary Content Creator
Expertise
Recipe Development, Traditional Irish and European Cuisines, Food Styling and Photography, Culinary Education
Education
Dublin Institute of Technology (DIT) – School of Culinary Arts and Food Technology
Ballymaloe Cookery School
Liam is the voice behind many of Craft Meats’ most flavorful features. With roots in Dublin’s smoky barbecue scene and a culinary degree from the Dublin Institute of Technology, he brings time-tested cooking techniques to life.
His training at Ballymaloe Cookery School sharpened his farm-to-table approach, giving him a deep respect for every ingredient he writes about.
He’s not about overcomplicating the process, just helping you cook meat that’s worth talking about. When he’s not writing or grilling, he’s out foraging or nerding out on regional spice blends to add to his next recipe.