Fluffy Peppermint Sour Cream Sugar Cookies Delight Recipe
Peppermint sour cream sugar cookies bring winter magic straight to your kitchen with their irresistible charm.
Classic baking takes an unexpected twist when cool mint meets creamy sweetness.
Soft, pillowy textures promise a delightful encounter that tingles your taste buds.
Festive bakers know these treats can turn ordinary moments into celebration.
Delicate flavors dance between sugary richness and refreshing peppermint zest.
Imagine a cookie that whispers holiday cheer with every tender bite.
Memories of cozy gatherings and sweet indulgence await you in this simple yet spectacular recipe.
Whip up these cookies and watch smiles sparkle like freshly fallen snow.
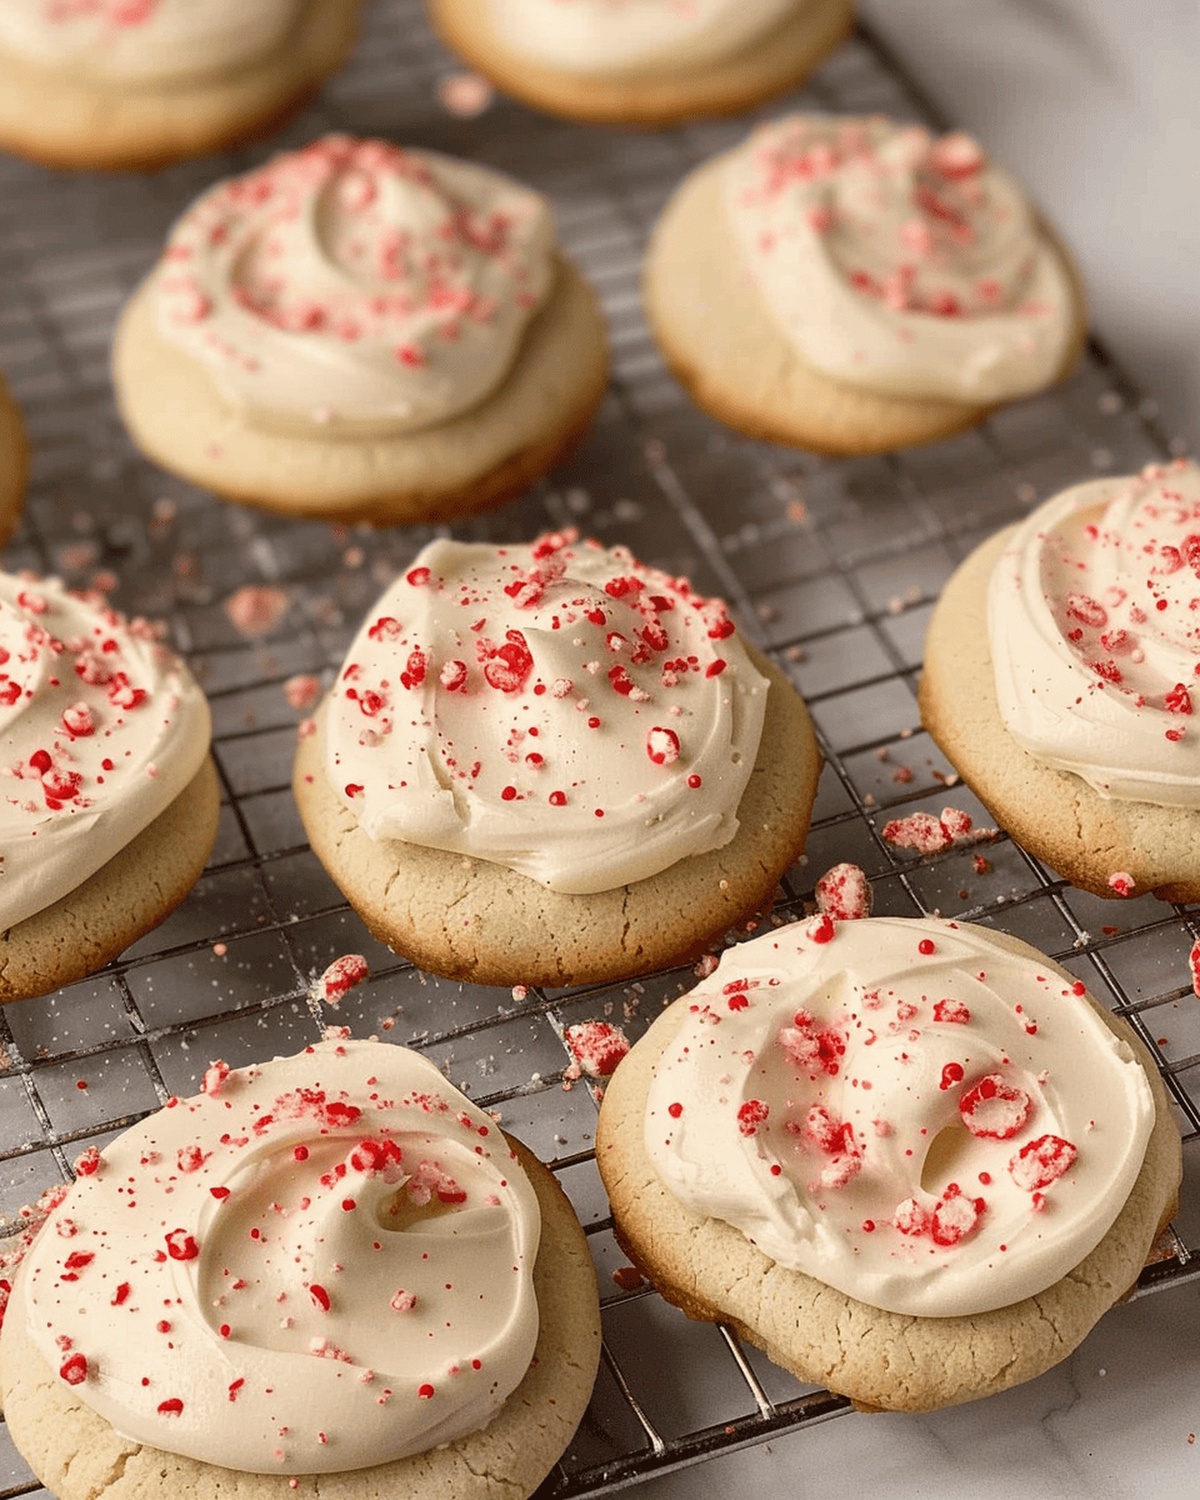
Peppermint Sugar Cookies That Melt in Your Mouth

What You’ll Need for Peppermint Sugar Cookies
Dry Ingredients:Wet Ingredients:Flavor Enhancers:Frosting Ingredients:How to Prepare This Refreshing Holiday Cookie

Step 1: Prepare Baking Workspace
Preheat oven to 350°F (177°C). Line two large baking sheets with parchment paper or silicone mats. Gather all ingredients and equipment for smooth cookie creation.
Step 2: Create Cookie Base Mixture
In a large mixing bowl, cream butter using a stand mixer or electric hand mixer on medium speed for 2-3 minutes until light and fluffy. Follow with these ingredients:Mix on medium-low speed until ingredients blend perfectly.
Step 3: Incorporate Dry Ingredients
Gradually add dry ingredients to the wet mixture:Mix thoroughly. If dough feels sticky, add up to 1/4 cup extra flour.
Step 4: Fold in Peppermint Crunch
Gently fold chopped Andes Peppermint Crunch into cookie dough, distributing evenly.
Step 5: Shape Cookie Dough
Scoop dough into quarter-cup sized balls. Roll each ball in granulated sugar. Place on prepared baking sheets, leaving several inches between cookies.
Step 6: Flatten Cookies
Using a sugar-dipped cup bottom, flatten each cookie ball to half-inch thickness.
Step 7: Bake Cookies
Bake for 6-8 minutes. Cookies should be set but not golden, maintaining a soft texture.
Step 8: Cool Cookies
Allow cookies to cool on baking sheets before transferring to a cooling rack.
Step 9: Prepare Peppermint Frosting
Beat together these ingredients until smooth:Step 10: Frost and Chill
Spread frosting over cooled cookies. Refrigerate for at least one hour before serving.
Peppermint Baking Pointers
Store and Refresh Your Peppermint Cookies
Serve With These Beverages or Treats
Add a New Twist to Your Peppermint Cookies
Your Questions About Peppermint Cookies Answered
Yes, you can substitute gluten-free flour with all-purpose wheat flour in equal amounts. The recipe will work perfectly fine with standard flour.
Store the cookies in an airtight container in the refrigerator for up to 5 days. They’ll maintain their soft texture and delicious peppermint flavor throughout that time.
Absolutely! Freeze unfrosted cookies in a sealed container for up to 3 months. Thaw at room temperature and frost before serving for best results.
You can replace Andes Peppermint Crunch with crushed candy canes or peppermint chips. These alternatives will still provide that wonderful minty crunch to your cookies.
Print
Peppermint Sour Cream Sugar Cookies Delight Recipe
- Total Time: 28 minutes
- Yield: 24 1x
Description
Delightful peppermint sour cream sugar cookies bring festive winter magic to holiday gatherings. Sweet peppermint notes and creamy texture invite you to savor each delectable bite of seasonal cheer.
Ingredients
Main Ingredients:
- 1 ½ cups (300g) granulated sugar
- 3 ¾ cups (560g) gluten-free measure-for-measure flour
- 1 cup Andes Peppermint Crunch Baking Chips or Andes Peppermint Crunch Thins, chopped
- 4 cups (450g) powdered sugar
Wet Ingredients:
- ½ cup (113g) butter, softened
- ½ cup (110g) vegetable oil
- 1 cup (240g) sour cream, full fat
- 1 large egg
- 1 teaspoon vanilla extract
- ½ teaspoon peppermint extract
- 6 tablespoons (84g) butter, softened
- ⅓ cup (80g) sour cream
Dry and Flavoring Ingredients:
- 1 teaspoon baking powder
- 1 teaspoon salt
- ½ teaspoon peppermint extract
- ½ teaspoon vanilla extract
- 1 pinch of salt
- 1 tiny drop red food coloring
Instructions
- Warm the oven to 350F (177C) and prepare two baking sheets with parchment paper or silicone mats.
- Whip butter in a mixer until airy and light, approximately 2-3 minutes.
- Introduce vegetable oil and continue mixing for an additional 1-2 minutes until thoroughly blended.
- Gently incorporate sour cream, egg, granulated sugar, vanilla and peppermint extracts, mixing on medium-low speed until harmoniously combined.
- Gradually fold in baking powder, salt, and gluten-free flour in stages, ensuring even distribution throughout the dough.
- If the mixture feels excessively tacky, sprinkle additional flour to achieve optimal consistency.
- Delicately fold chopped Andes Peppermint Crunch into the dough, distributing evenly.
- Craft dough into quarter-cup sized spheres, rolling each generously in granulated sugar.
- Arrange cookie balls on prepared sheets, leaving substantial spacing between each.
- Delicately flatten each ball to approximately half-inch thickness using a sugar-dipped cup to prevent adhesion.
- Bake for 6-8 minutes, watching carefully to maintain a soft, barely set texture without browning.
- Allow cookies to cool completely on baking sheets before transferring to a cooling rack.
- Prepare frosting by whipping butter, sour cream, powdered sugar, extracts, salt, and food coloring until silky smooth.
- Lavishly spread frosting over completely cooled cookies.
- Refrigerate for minimum one hour to set before serving, enhancing flavor and texture.
Notes
- Gluten-free flour can be easily substituted with all-purpose flour if not requiring a gluten-free version.
- Chilling the dough for 30 minutes before baking helps prevent excessive spreading and maintains cookie shape.
- Andes Peppermint Crunch can be replaced with crushed candy canes or white chocolate chips for variety.
- Ensure ingredients are at room temperature for better mixing and smoother cookie texture.
- Store cookies in an airtight container in the refrigerator for up to 5 days to maintain freshness and prevent frosting from melting.
- Use a light hand when flattening cookies to preserve their soft, tender crumb and prevent over-compacting.
- Prep Time: 20 minutes
- Cook Time: 8 minutes (per batch)
- Category: Desserts, Snacks
- Method: Baking
- Cuisine: American
Nutrition
- Serving Size: 24
- Calories: 220
- Sugar: 18g
- Sodium: 150mg
- Fat: 10g
- Saturated Fat: 4g
- Unsaturated Fat: 6g
- Trans Fat: 0g
- Carbohydrates: 30g
- Fiber: 0g
- Protein: 2g
- Cholesterol: 20mg
Isabella Rossi
Founder & Culinary Content Creator
Expertise
Recipe Development, Traditional Irish and European Cuisines, Food Styling and Photography, Culinary Education
Education
Dublin Institute of Technology (DIT) – School of Culinary Arts and Food Technology
Ballymaloe Cookery School
Liam is the voice behind many of Craft Meats’ most flavorful features. With roots in Dublin’s smoky barbecue scene and a culinary degree from the Dublin Institute of Technology, he brings time-tested cooking techniques to life.
His training at Ballymaloe Cookery School sharpened his farm-to-table approach, giving him a deep respect for every ingredient he writes about.
He’s not about overcomplicating the process, just helping you cook meat that’s worth talking about. When he’s not writing or grilling, he’s out foraging or nerding out on regional spice blends to add to his next recipe.