
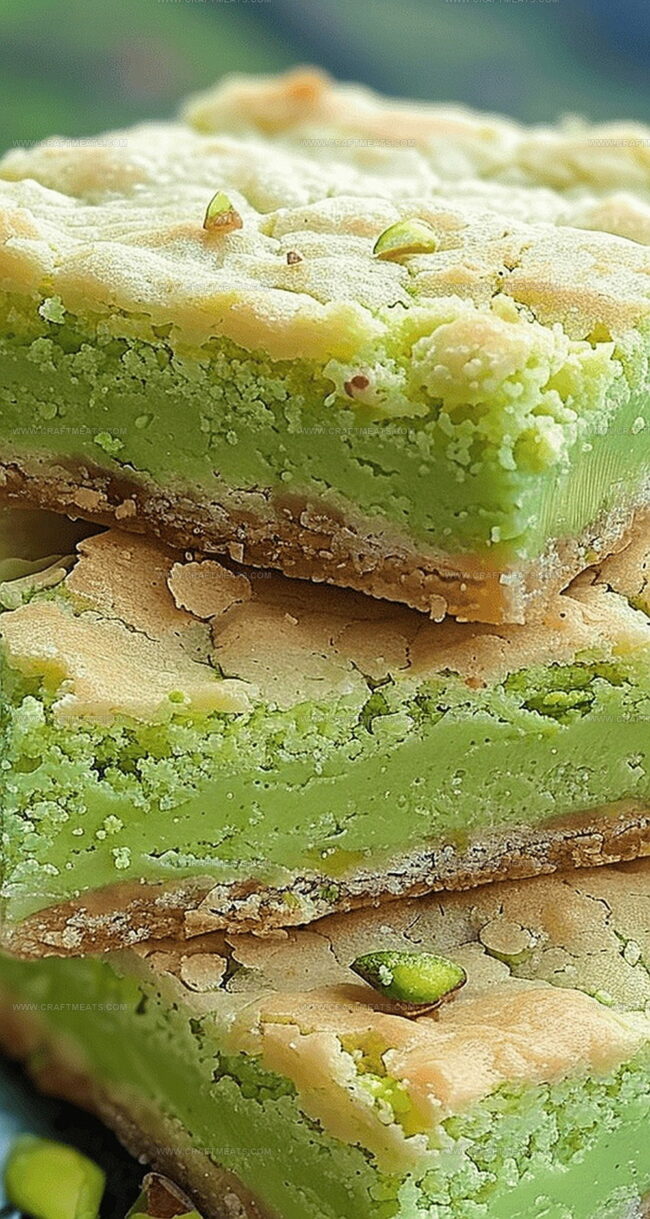
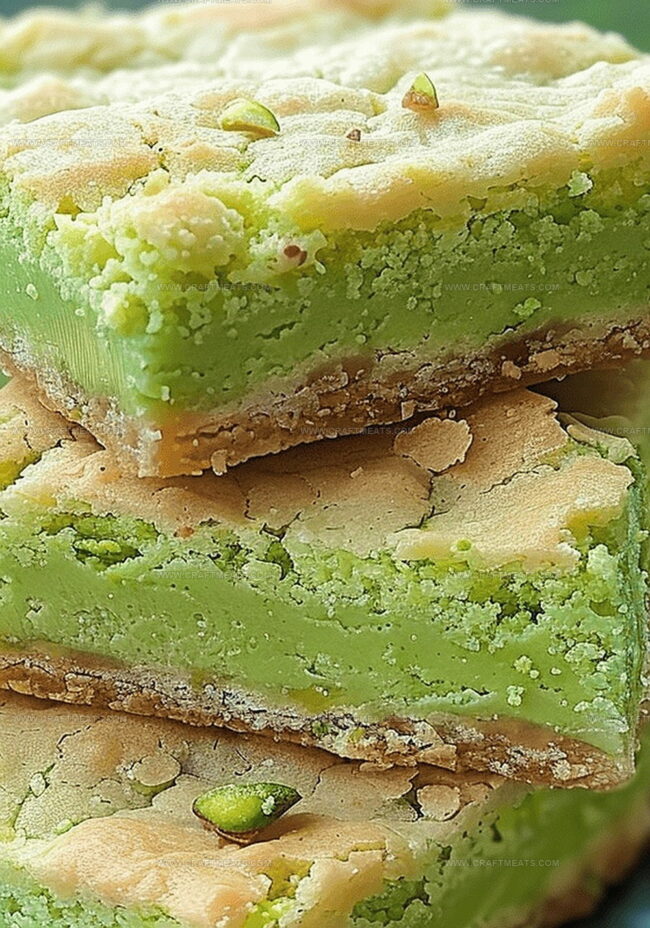
Pistachio Cookie Bars Recipe With Crunch and Creamy Drizzle
Pistachio dream cookie bars bring a whimsical twist to classic dessert experiences.
Sweet memories often dance around unexpected flavor combinations that surprise our taste buds.
Nutty undertones blend seamlessly with rich, buttery textures in this delightful treat.
Imagine a magical bar that crumbles softly and melts with each delectable bite.
Green-hued crumbles hint at sophisticated culinary creativity waiting to unfold.
Sophisticated yet approachable, these bars promise a delightful journey through complex taste profiles.
You can find this recipe revolutionizes simple ingredients into an extraordinary sensory adventure.
Explore a world where comfort meets elegance in one irresistible bar.
Why You’ll Love Pistachio Dream Cookie Bars
What You’ll Need for Pistachio Dream Cookie Bars
Base Ingredients:Baking Preparation:Optional Garnish and Flavor Enhancers:Directions for Pistachio Dream Cookie Bars
Step 1: Fire Up the Oven
Set your oven to a toasty 375°F (190°C). Give it a few minutes to warm up completely while you prep your ingredients.
Step 2: Create the Creamy Base
Grab a spacious mixing bowl and gather your key players:Whip these ingredients together using an electric mixer until they transform into a silky, smooth blend that looks absolutely irresistible.
Step 3: Fold in the Cookie Magic
Slowly introduce the sugar cookie mix to your creamy foundation. Stir with enthusiasm, watching the mixture come together into a delectable, sticky dough that promises pure happiness.
Step 4: Prepare the Baking Canvas
Grab a 10 x 15-inch baking sheet and give it a light coating of cooking spray or butter. Gently spread your dough across the entire surface, coaxing it to reach every corner with gentle fingertips.
Step 5: Bake to Golden Perfection
Slide the baking sheet into the waiting oven. Watch for those edges to turn a gorgeous, light golden color – this typically takes about 10 to 12 minutes. Keep a close eye, as ovens can be wonderfully unpredictable.
Step 6: Cool and Slice with Love
Carefully remove the baking sheet from the oven. Let the bars cool completely on a wire rack. Once cooled, slice into squares that will make everyone’s sweet tooth dance with joy.
Pro Tips for Dreamy Pistachio Bars
How to Store Cookie Bars Without Drying Out
Pairing Options for Pistachio Dream Cookie Bars
Unique Spins on Pistachio Cookie Bars
FAQs About Pistachio Dream Cookie Bars
Yes, you can substitute the pistachio pudding mix with other flavors like vanilla or white chocolate, but it will change the overall taste of the cookie bars.
Store the bars in an airtight container at room temperature for up to 5 days. For longer storage, you can refrigerate them for up to a week or freeze for up to 3 months.
You can use a similar-sized baking pan or adjust the baking time and recipe quantity to fit your available pan. Just ensure the dough is spread evenly and watch the baking time carefully.
Absolutely! You can mix in chopped pistachios, white chocolate chips, or drizzle melted chocolate on top after baking for extra flavor and texture.
Print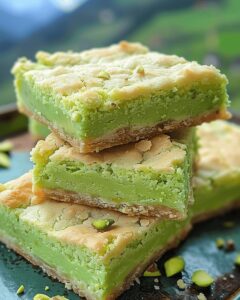
Pistachio Dream Cookie Bars Recipe
- Total Time: 25 minutes
- Yield: 12 1x
Description
Indulgent pistachio dream cookie bars blend nutty richness with silky sweetness, creating a Mediterranean-inspired dessert. Creamy layers and crumbly textures promise a delightful escape you’ll savor bite by bite.
Ingredients
Main Ingredients:
- 1 package sugar cookie mix
- 3.4 ounces (96 grams) pistachio instant pudding mix
- 2 large eggs
- ½ cup (113 grams) unsalted butter, softened
Instructions
- Prepare the oven by heating it to 375°F (190°C), allowing sufficient time for thorough preheating.
- Combine softened butter, eggs, and pistachio pudding mix in a large mixing bowl, using an electric mixer to create a smooth, homogeneous blend with no visible lumps.
- Gradually fold the sugar cookie mix into the creamy mixture, stirring methodically until a cohesive, slightly sticky dough emerges.
- Coat a 10 x 15-inch baking sheet with a thin layer of cooking spray or butter, ensuring complete coverage to prevent sticking.
- Gently distribute the prepared dough across the baking sheet, using clean hands or a spatula to spread it evenly and create a uniform thickness.
- Transfer the baking sheet to the preheated oven, positioning it in the center rack for consistent heat distribution.
- Monitor the cookie bars closely, watching for delicate golden edges as an indicator of doneness, which typically occurs between 10-12 minutes.
- Carefully remove the baking sheet from the oven, allowing the cookie bars to cool completely on a wire rack to prevent continued cooking.
- Once thoroughly cooled, slice the cookie bars into uniform rectangles or squares using a sharp knife, creating clean, precise edges.
Notes
- Capture the essence of nutty sweetness with these dreamy pistachio-infused cookie bars that blend creamy pudding mix and sugar cookie base.
- Softened butter is crucial for achieving a smooth, creamy texture that helps bind ingredients perfectly and ensures a melt-in-your-mouth consistency.
- Precise oven temperature matters significantly, as 375°F creates golden edges and maintains the delicate balance between crisp exterior and tender interior.
- Spreading dough evenly across the baking sheet guarantees uniform baking and prevents uneven texture or inconsistent doneness in different areas.
- Cooling completely before slicing prevents crumbling and helps bars set properly, allowing clean, sharp cuts for picture-perfect presentation.
- Storage tip: Keep bars in an airtight container at room temperature for up to 5 days to maintain their delightful texture and rich pistachio flavor.
- Prep Time: 10 minutes
- Cook Time: 15 minutes
- Category: Desserts, Snacks
- Method: Baking
- Cuisine: American
Nutrition
- Serving Size: 12
- Calories: 170
- Sugar: 7 g
- Sodium: 150 mg
- Fat: 8 g
- Saturated Fat: 5 g
- Unsaturated Fat: 3 g
- Trans Fat: 0 g
- Carbohydrates: 22 g
- Fiber: 0 g
- Protein: 2 g
- Cholesterol: 30 mg
Isabella Rossi
Founder & Culinary Content Creator
Expertise
Recipe Development, Traditional Irish and European Cuisines, Food Styling and Photography, Culinary Education
Education
Dublin Institute of Technology (DIT) – School of Culinary Arts and Food Technology
Ballymaloe Cookery School
Liam is the voice behind many of Craft Meats’ most flavorful features. With roots in Dublin’s smoky barbecue scene and a culinary degree from the Dublin Institute of Technology, he brings time-tested cooking techniques to life.
His training at Ballymaloe Cookery School sharpened his farm-to-table approach, giving him a deep respect for every ingredient he writes about.
He’s not about overcomplicating the process, just helping you cook meat that’s worth talking about. When he’s not writing or grilling, he’s out foraging or nerding out on regional spice blends to add to his next recipe.