Chocolate Peanut Butter Mini Cheesecakes Recipe to Love
Creamy, decadent chocolate peanut butter mini cheesecakes dance between indulgence and pure bliss.
These bite-sized treats pack an incredible punch of rich flavor in every single bite.
Smooth cream cheese blends perfectly with deep chocolate notes and nutty peanut butter undertones.
Each miniature cheesecake promises a delightful balance of sweet and savory elements that melt seamlessly on your tongue.
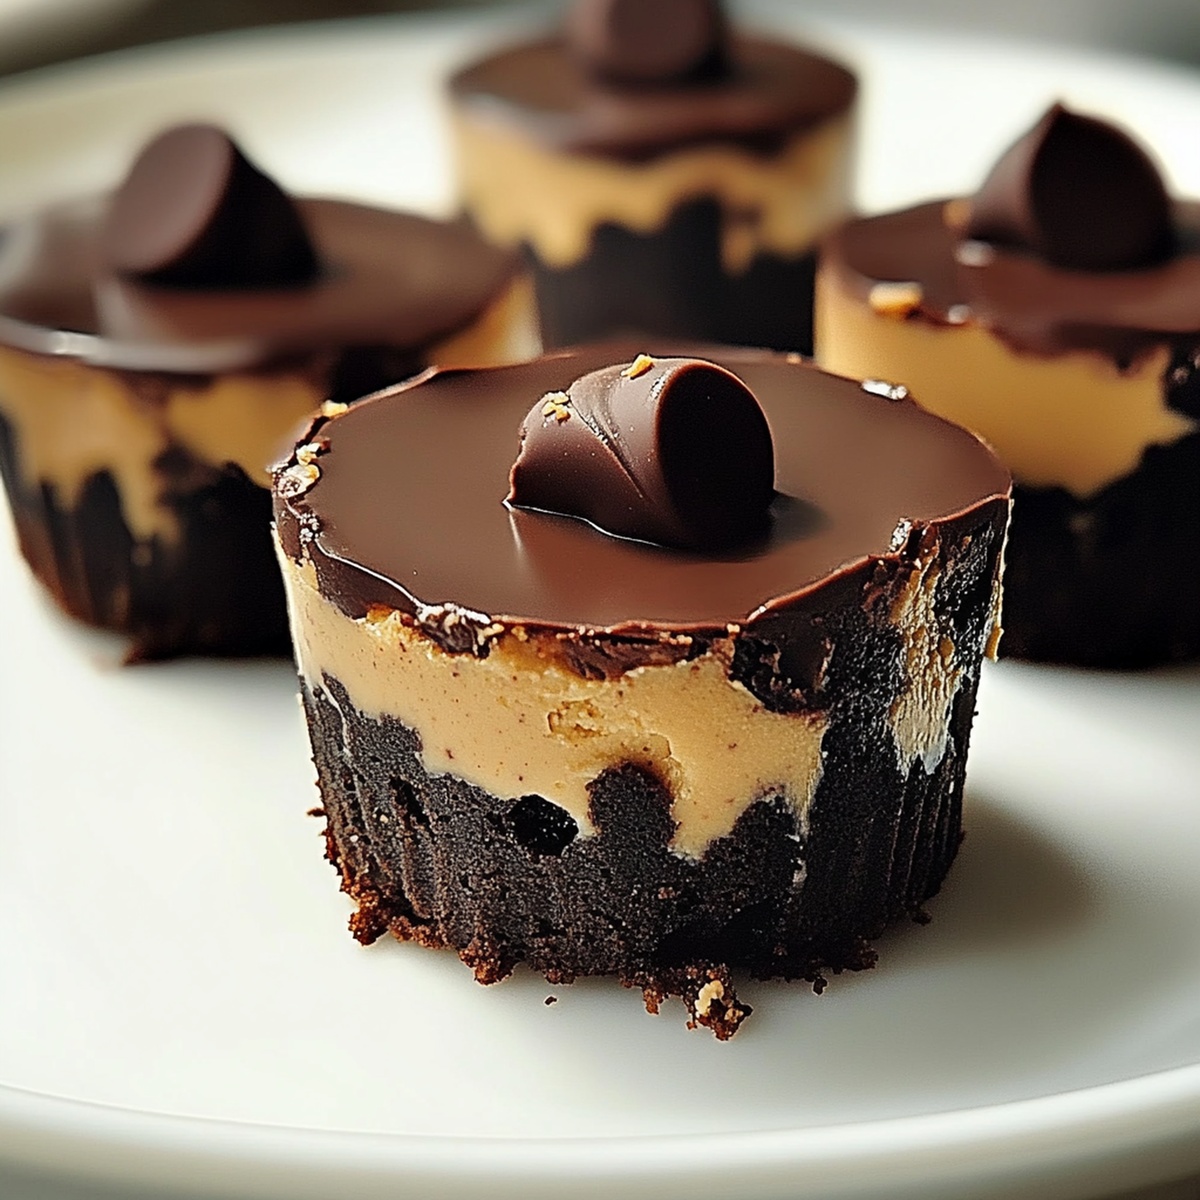
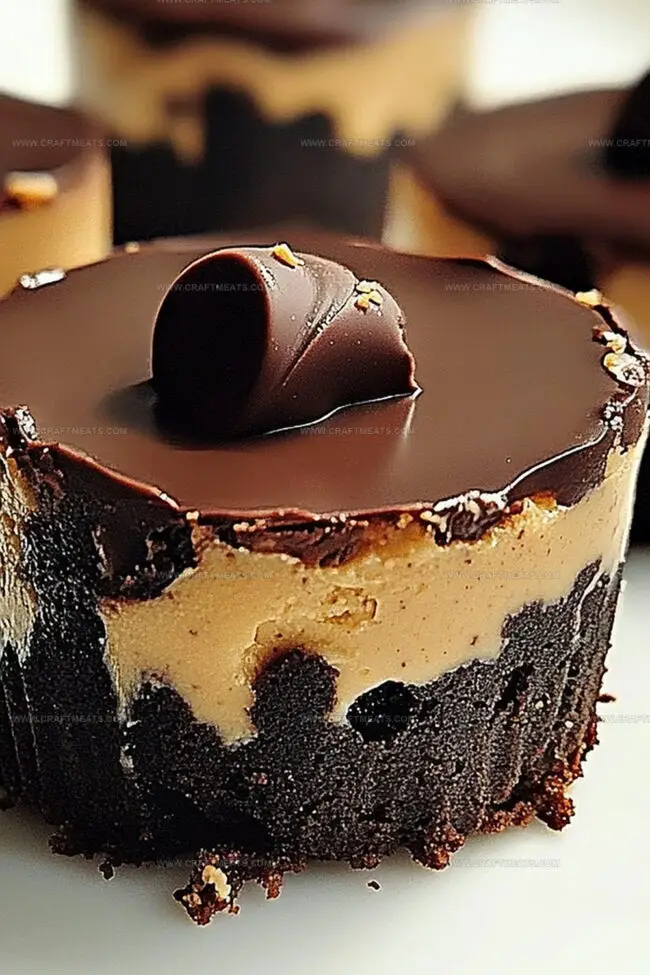
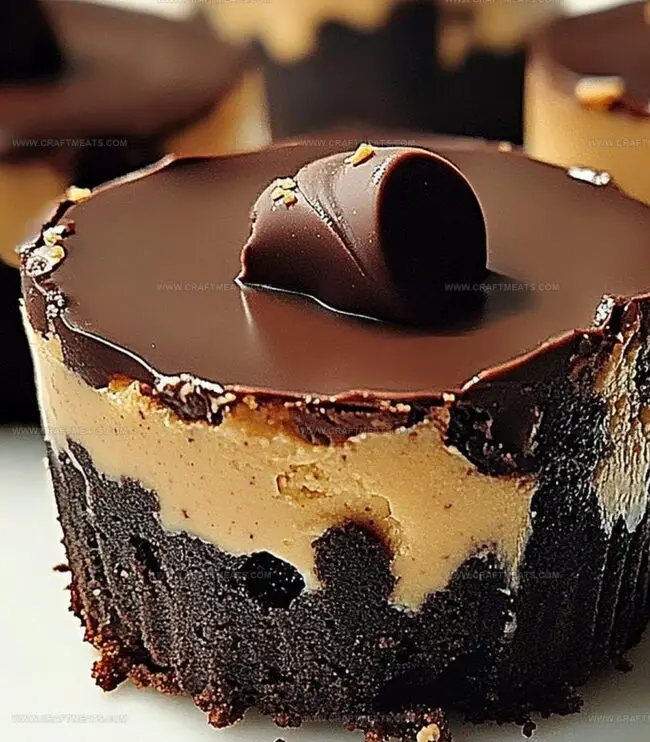
The graham cracker crust provides a delicious crunch that complements the silky filling.
Small enough to enjoy without guilt yet powerful enough to satisfy serious dessert cravings.
Prepare to wow everyone at your next gathering with these irresistible little delights that elevate dessert to an art form.
Quick Recipe Overview
Everything Needed For Chocolate Peanut Butter Mini Cheesecakes
For Crust:For Cheesecake Filling:For Chocolate Ganache and Topping:Supplies For Chocolate Peanut Butter Mini Cheesecakes
How To Prepare Chocolate Peanut Butter Mini Cheesecakes
Create a delightful base by crushing chocolate cookies and blending with melted butter. Press the mixture firmly into muffin tin liners, forming a solid foundation for your mini cheesecakes. A quick bake will help set this delicious bottom layer.
Whip cream cheese and peanut butter into a smooth, dreamy mixture. Gently fold in sugar and incorporate eggs for a rich, velvety texture. This step transforms simple ingredients into a luxurious cheesecake filling that will melt in your mouth.
Slide your cheesecakes into a warm oven, allowing them to develop a perfect, silky consistency. Watch for a slight jiggle in the center – this signals they’re ready to cool and set. Patience is key to achieving that classic, smooth cheesecake texture.
Craft a glossy chocolate ganache by combining heated cream with premium chocolate chips. Stir until the mixture becomes a silky, luxurious topping that will elevate your mini desserts from delicious to extraordinary.
Top your chilled cheesecakes with the decadent chocolate ganache. Add a sprinkle of crushed peanuts or mini chocolate chips for an extra layer of indulgence. These miniature treats are now ready to dazzle and delight.
Tips To Perfect Chocolate Peanut Butter Mini Cheesecakes
Best Way To Serve Chocolate Peanut Butter Mini Cheesecakes
How To Store Chocolate Peanut Butter Mini Cheesecakes Correctly
Print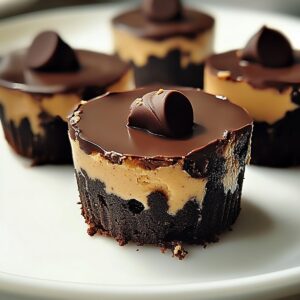
Silky Chocolate Peanut Butter Mini Cheesecakes Recipe
- Total Time: 2 hours 38 minutes
- Yield: 11 1x
Description
Rich chocolate peanut butter mini cheesecakes bring creamy indulgence to dessert lovers seeking small-batch perfection. Luscious graham cracker crusts and silky chocolate layers create irresistible mini treats you cannot resist.
Ingredients
- 8 oz (225 g) cream cheese, softened
- ¼ cup (60 g) creamy peanut butter
- 1 cup (100 g) chocolate cookie crumbs (like Oreo crumbs)
- ½ cup (90 g) semi-sweet chocolate chips
- 1 large egg
- ¼ cup (50 g) granulated sugar
- 2 tbsps unsalted butter, melted
- 2 tbsps sour cream
- ¼ cup (60 ml) heavy cream
- 1 tsp vanilla extract
- Crushed peanuts
- Mini chocolate chips
- Whipped cream
Instructions
- Crust Preparation: Pulverize chocolate cookies into fine crumbs, blend with melted butter, and press firmly into muffin tin cavities lined with paper cups. Toast in a preheated 350°F oven for 5-7 minutes until set.
- Filling Fusion: Whip cream cheese and peanut butter until velvety smooth, gradually adding sugar until fully integrated. Incorporate egg, vanilla, and sour cream, mixing until achieving a silky, uniform consistency without any lumps.
- Baking Process: Distribute filling evenly across prepared crusts, leaving a small margin at the top. Bake in a 325°F oven for 15-18 minutes until centers show a subtle wobble, indicating perfect custard-like texture.
- Cooling and Setting: Remove from oven and allow cheesecakes to cool completely at room temperature. Refrigerate for minimum 2 hours to enhance flavor and ensure proper setting.
- Ganache Creation: Warm cream and pour over premium chocolate chips, stirring until developing a glossy, smooth coating with a luxurious sheen.
- Finishing Touches: Drizzle or cover cheesecakes with ganache, garnishing with crushed peanuts or miniature chocolate morsels for textural complexity and visual intrigue.
- Serving Presentation: Carefully remove paper liners and plate these elegant individual desserts, ready to delight sophisticated palates.
Notes
- Prevent Cracking Cheesecake: Gently bake in a water bath to create humid environment, reducing surface tension and preventing unsightly cracks on delicate cheesecake surface.
- Smooth Cream Cheese Technique: Ensure cream cheese is room temperature before mixing, softening completely to eliminate lumps and achieve ultra-smooth, silky filling consistency.
- Precise Baking Timing: Watch for slight wobble in center when removing from oven – indicates perfect custard-like texture without overbaking, which causes dry, crumbly cheesecakes.
- Gluten-Free Adaptation: Substitute chocolate cookie crumbs with gluten-free graham crackers or almond flour-based crust for those with dietary restrictions, maintaining original recipe’s rich flavor profile.
- Prep Time: 20 minutes
- Cook Time: 18 minutes
- Category: Desserts, Snacks
- Method: Baking
- Cuisine: American
Nutrition
- Serving Size: 11
- Calories: 260
- Sugar: 13 g
- Sodium: 150 mg
- Fat: 18 g
- Saturated Fat: 8 g
- Unsaturated Fat: 10 g
- Trans Fat: 0 g
- Carbohydrates: 24 g
- Fiber: 1 g
- Protein: 4 g
- Cholesterol: 35 mg
Liam O’Sullivan
Founder & Culinary Content Creator
Expertise
Recipe Development, Traditional Irish and European Cuisines, Food Styling and Photography, Culinary Education
Education
Dublin Institute of Technology (DIT) – School of Culinary Arts and Food Technology
Ballymaloe Cookery School
Isabella brings a global spark to the Craft Meats table. Born in Florence and trained at the Apicius International School of Hospitality, she blends classic Italian flavor with modern writing that’s easy to follow and hard to forget.
Her additional training at the Italian Chef Academy fueled her love for well-crafted dishes, especially ones that spotlight beautiful cuts of meat.
She’s a food writer with heart, and a deep love for storytelling through single recipes. Her goal? To help you cook with more confidence and a little more joy, no matter where you start.