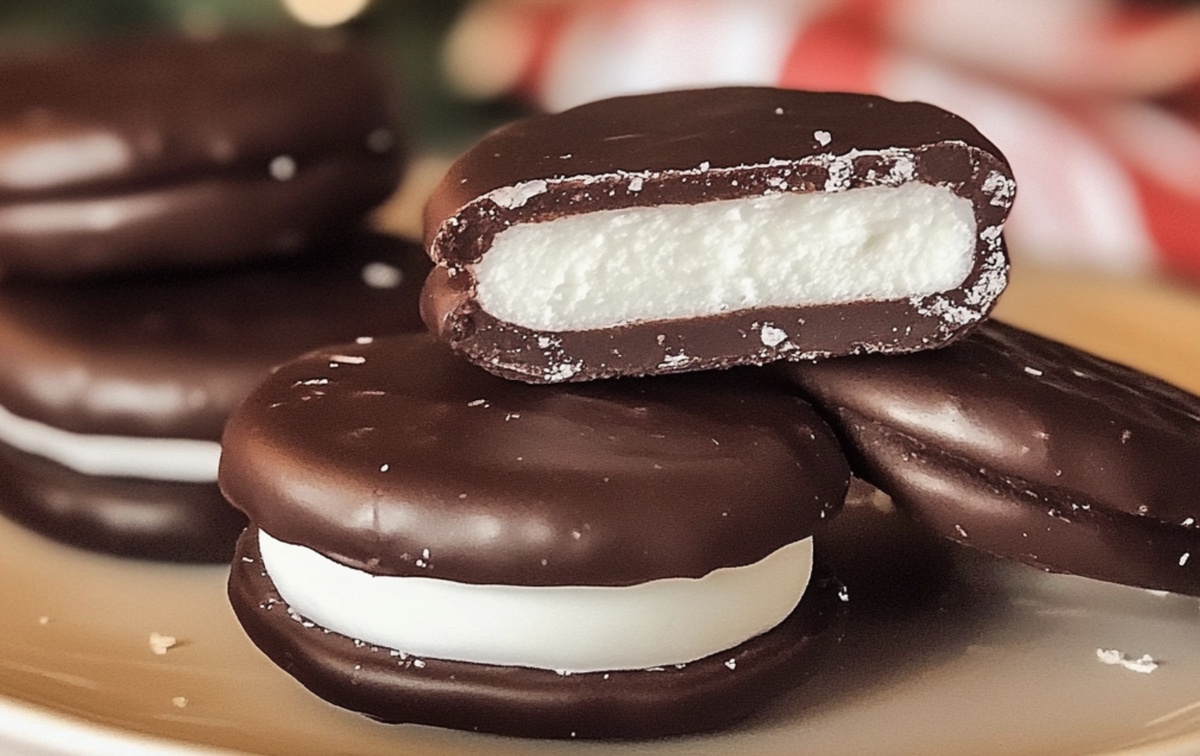
Homemade Peppermint Patties Recipe to Share
Cool nights call for sweet treats that melt in your mouth, and these homemade peppermint patties dance with refreshing minty magic.
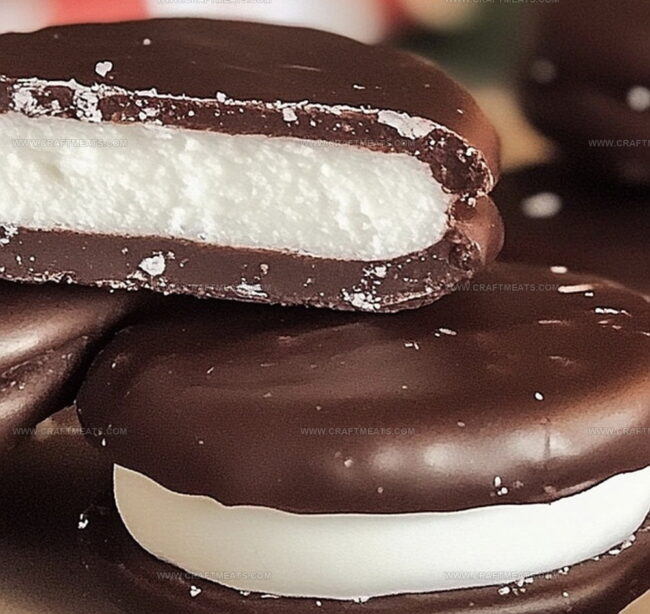
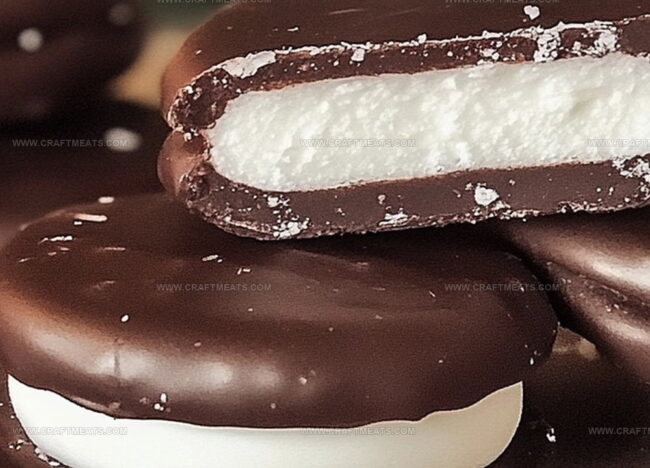
Dark chocolate and smooth cream create a delightful harmony of flavors.
Each bite promises a burst of cool peppermint wrapped in rich chocolate coating.
This simple recipe delivers restaurant-quality candies right from your kitchen.
You can whip up these delectable discs in under an hour with just a few pantry ingredients.
The process is surprisingly straightforward and rewards you with elegant, professional-looking confections.
Dive into this delicious adventure and surprise everyone with your candy-making skills.
Quick Recipe Overview
Ingredient List For Homemade Peppermint Patties
For Filling Base:For Flavor Enhancers:For Chocolate Coating:Tools To Shape Homemade Peppermint Patties
How To Make Homemade Peppermint Patties Smooth
Blend silky sugar, butter, cream, and magical peppermint essence into a velvety smooth mixture. The goal is creating a soft, pliable dough that feels like delicate clouds in your hands.
Gently roll the mixture into tiny rounds, pressing them into delicate discs. Place these minty treasures on a cool parchment surface, then let them chill in the freezer until perfectly firm.
Melt rich chocolate with a whisper of coconut oil, creating a glossy, smooth river of decadence. Use gentle microwave pulses or a classic double boiler technique to achieve liquid perfection.
Lovingly dunk each frosty peppermint disc into the molten chocolate bath. Allow excess chocolate to drip away, creating a smooth, elegant coating that hugs each treat.
Slide your chocolate-covered delights into the refrigerator, letting them rest until the chocolate sets into a gorgeous, glossy shell.
Savor these heavenly bites immediately or tuck them away in a sealed container for future moments of pure bliss.
Minty Tweaks For Homemade Peppermint Patties
Serve Homemade Peppermint Patties Cool And Sweet
How To Store Homemade Peppermint Patties Properly
Print
Silky Homemade Peppermint Patties Recipe
- Total Time: 1 hour 20 minutes
- Yield: 19 1x
Description
Classic homemade peppermint patties bring mint-chocolate magic to dessert lovers seeking a refreshing treat. Cool peppermint centers enrobed in rich dark chocolate create a delightful confection you’ll crave again and again.
Ingredients
- 1 ½ cups (255 g) semi-sweet chocolate chips
- 1 tbsp (15 ml) coconut oil or vegetable shortening
- 2 ½ cups (300 g) powdered sugar
- 2 tbsps (28 g) unsalted butter
- 2 tbsps (30 ml) heavy cream
- 1 ½ tsps peppermint extract
- ¼ tsp vanilla extract
- 1/8 tsp salt
Instructions
- Filling Preparation: Combine powdered sugar, butter, cream, peppermint extract, vanilla extract, and salt in a mixing bowl. Whip until a smooth, uniform dough forms, adjusting consistency with additional powdered sugar if needed.
- Shaping and Chilling: Mold the mixture into one-inch spheres, then gently flatten into discs. Arrange on a parchment-lined tray and freeze for 20-30 minutes to firm up the patties.
- Chocolate Coating: Melt chocolate chips with coconut oil using either microwave or double boiler method until a glossy, smooth mixture develops.
- Dipping and Coating: Remove frozen patties from freezer. Submerge each disc fully in melted chocolate, using a fork to ensure complete coverage. Tap gently to remove excess chocolate and return to parchment-lined tray.
- Setting and Storing: Refrigerate coated patties for 20-30 minutes until chocolate hardens completely. Transfer to an airtight container and store in refrigerator for up to two weeks. Serve chilled for optimal flavor and texture.
Notes
- Chill the Filling: Refrigerate the peppermint mixture for 15-20 minutes before shaping to enhance moldability and reduce stickiness.
- Control Chocolate Temperature: Maintain chocolate at a precise 88-90°F for smooth, glossy coating without streaks or bloom.
- Perfect Portion Control: Use a small cookie scoop or tablespoon measure to create uniform patty sizes for consistent shape and texture.
- Customize Dietary Needs: Substitute dairy butter with coconut oil for vegan version, or use sugar-free chocolate for low-carb alternative.
- Prep Time: 30 minutes
- Cook Time: 50 minutes
- Category: Desserts, Snacks
- Method: Mixing
- Cuisine: American
Nutrition
- Serving Size: 19
- Calories: 145
- Sugar: 23 g
- Sodium: 30 mg
- Fat: 8 g
- Saturated Fat: 5 g
- Unsaturated Fat: 3 g
- Trans Fat: 0 g
- Carbohydrates: 19 g
- Fiber: 1 g
- Protein: 1 g
- Cholesterol: 2 mg
Liam O’Sullivan
Founder & Culinary Content Creator
Expertise
Recipe Development, Traditional Irish and European Cuisines, Food Styling and Photography, Culinary Education
Education
Dublin Institute of Technology (DIT) – School of Culinary Arts and Food Technology
Ballymaloe Cookery School
Isabella brings a global spark to the Craft Meats table. Born in Florence and trained at the Apicius International School of Hospitality, she blends classic Italian flavor with modern writing that’s easy to follow and hard to forget.
Her additional training at the Italian Chef Academy fueled her love for well-crafted dishes, especially ones that spotlight beautiful cuts of meat.
She’s a food writer with heart, and a deep love for storytelling through single recipes. Her goal? To help you cook with more confidence and a little more joy, no matter where you start.