
Homemade Peanut Butter Fudge Recipe That’s Creamy and Quick
Chocolate and peanut butter dance together in this decadent peanut butter fudge recipe that promises pure indulgence.
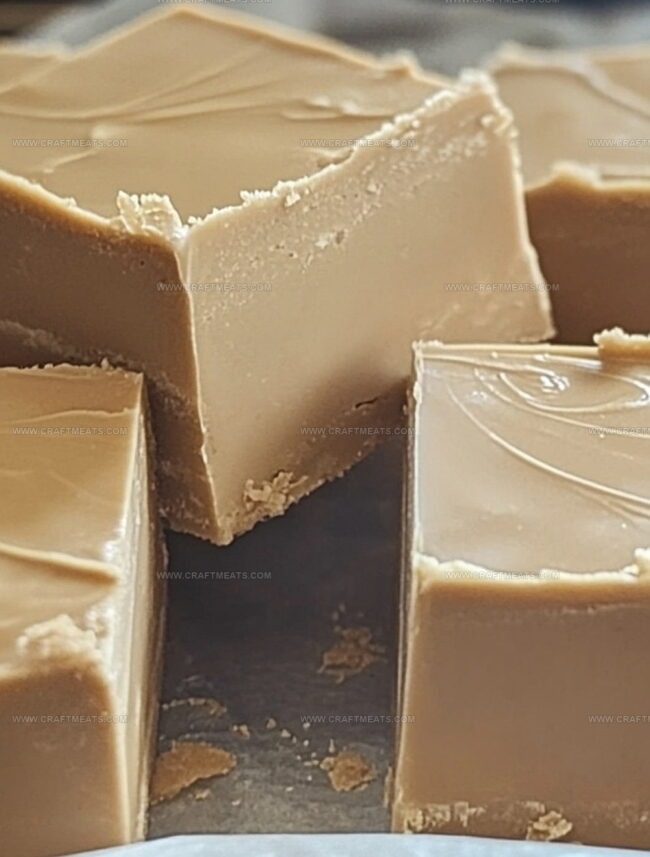
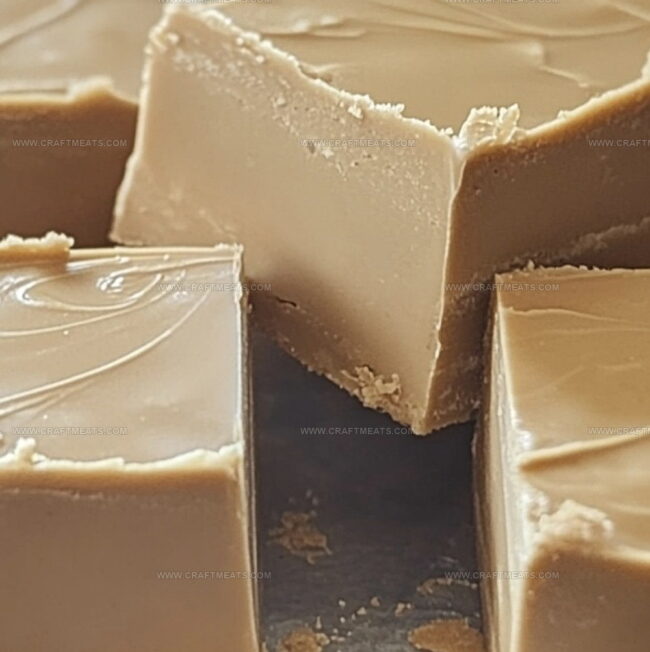
Rich, creamy textures meld into a mouthwatering treat that melts on your tongue.
Sweet notes of smooth peanut butter create a luxurious depth of flavor that beckons dessert lovers.
Classic comfort meets elegant simplicity in this easy-to-make confection.
Every bite delivers a perfect balance of sweetness and nutty richness.
The recipe transforms basic ingredients into a spectacular dessert you’ll want to share.
Dive into this irresistible fudge and let your taste buds celebrate a moment of pure culinary bliss.
Quick Recipe Overview
What Goes Into Peanut Butter Fudge
For Base and Binding:For Sweetening and Texture:For Flavor Enhancement:Tools That Help With Peanut Butter Fudge
Steps To Make Peanut Butter Fudge Soft And Creamy
Create a cozy landing spot for your fudge by laying parchment paper inside baking pans, letting the edges hang over like soft blankets.
Gently warm peanut butter and butter in a saucepan, stirring lovingly until they become a silky, glossy mixture that looks like liquid gold.
Pull the pan off the heat and invite vanilla to join the party. Gradually welcome powdered sugar, folding it into the mixture until everything blends into a thick, luxurious cream.
Carefully pour the velvety mixture into prepared pans, using a spatula to spread it evenly like you’re tucking it into a soft bed.
Allow your fudge to rest and solidify at room temperature or give it a quick chill in the refrigerator. Once firm, lift the parchment and slice into delectable squares that promise pure indulgence.
Tips For The Best Peanut Butter Fudge Texture
Ideas For Serving Peanut Butter Fudge Anytime
How To Store Peanut Butter Fudge The Right Way
Print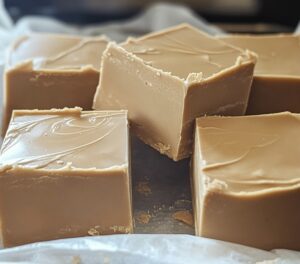
Silky Peanut Butter Fudge Recipe
- Total Time: 2 hours 30 minutes
- Yield: 11 1x
Description
Irresistible peanut butter fudge promises pure indulgence with classic American dessert charm. Creamy chocolate and rich peanut butter combine for a quick, melt-in-your-mouth treat you can easily enjoy at home.
Ingredients
- 3 cups (720 mL/24 fl oz) unsalted butter
- 3 cups (720 mL/24 fl oz) creamy peanut butter
- 12 cups (1.4 kg/3 lbs) powdered sugar
- 3 tbsps vanilla extract
Instructions
- Preparation: Line three 9-inch baking dishes with parchment paper, ensuring paper edges extend beyond the sides for simple extraction.
- Melting: Combine butter and peanut butter in a saucepan over medium heat, stirring continuously until achieving a seamless, glossy texture for 5-7 minutes.
- Flavor Infusion: Remove from heat and incorporate vanilla extract, creating an aromatic foundation for the fudge.
- Sugar Integration: Gradually fold powdered sugar into the warm mixture, blending thoroughly after each addition until developing a dense, velvety consistency.
- Molding and Setting: Transfer the mixture evenly across prepared pans, smoothing the surface with a spatula. Allow fudge to solidify at room temperature for approximately 12 hours, or expedite the process by refrigerating for 30-45 minutes.
- Portioning: Once fully set, lift the fudge block using parchment paper edges and slice into uniform, symmetrical squares using a sharp knife, transforming the mixture into delectable, ready-to-serve confections.
Notes
- Butter Consistency Check: Ensure butter and peanut butter melt smoothly without burning by maintaining medium heat and stirring constantly.
- Sugar Integration Technique: Add powdered sugar gradually to prevent lumps and achieve a silky, uniform texture that blends seamlessly.
- Setting Time Strategy: Allow fudge to set naturally at room temperature for the best texture, but refrigeration works as a quick alternative for time-sensitive situations.
- Storage and Preservation: Store fudge in an airtight container at room temperature for up to a week, or refrigerate for extended freshness without compromising its creamy consistency.
- Prep Time: 20 minutes
- Cook Time: 10 minutes
- Category: Desserts, Snacks
- Method: Mixing
- Cuisine: American
Nutrition
- Serving Size: 11
- Calories: 320
- Sugar: 28 g
- Sodium: 20 mg
- Fat: 18 g
- Saturated Fat: 7 g
- Unsaturated Fat: 11 g
- Trans Fat: 0 g
- Carbohydrates: 36 g
- Fiber: 1 g
- Protein: 6 g
- Cholesterol: 0 mg
Liam O’Sullivan
Founder & Culinary Content Creator
Expertise
Recipe Development, Traditional Irish and European Cuisines, Food Styling and Photography, Culinary Education
Education
Dublin Institute of Technology (DIT) – School of Culinary Arts and Food Technology
Ballymaloe Cookery School
Isabella brings a global spark to the Craft Meats table. Born in Florence and trained at the Apicius International School of Hospitality, she blends classic Italian flavor with modern writing that’s easy to follow and hard to forget.
Her additional training at the Italian Chef Academy fueled her love for well-crafted dishes, especially ones that spotlight beautiful cuts of meat.
She’s a food writer with heart, and a deep love for storytelling through single recipes. Her goal? To help you cook with more confidence and a little more joy, no matter where you start.