Soul-Warming Sweet Potato Pie Recipe: A Homemade Joy
Creamy, velvety sweet potato pie delights taste buds with its rich, autumnal charm.
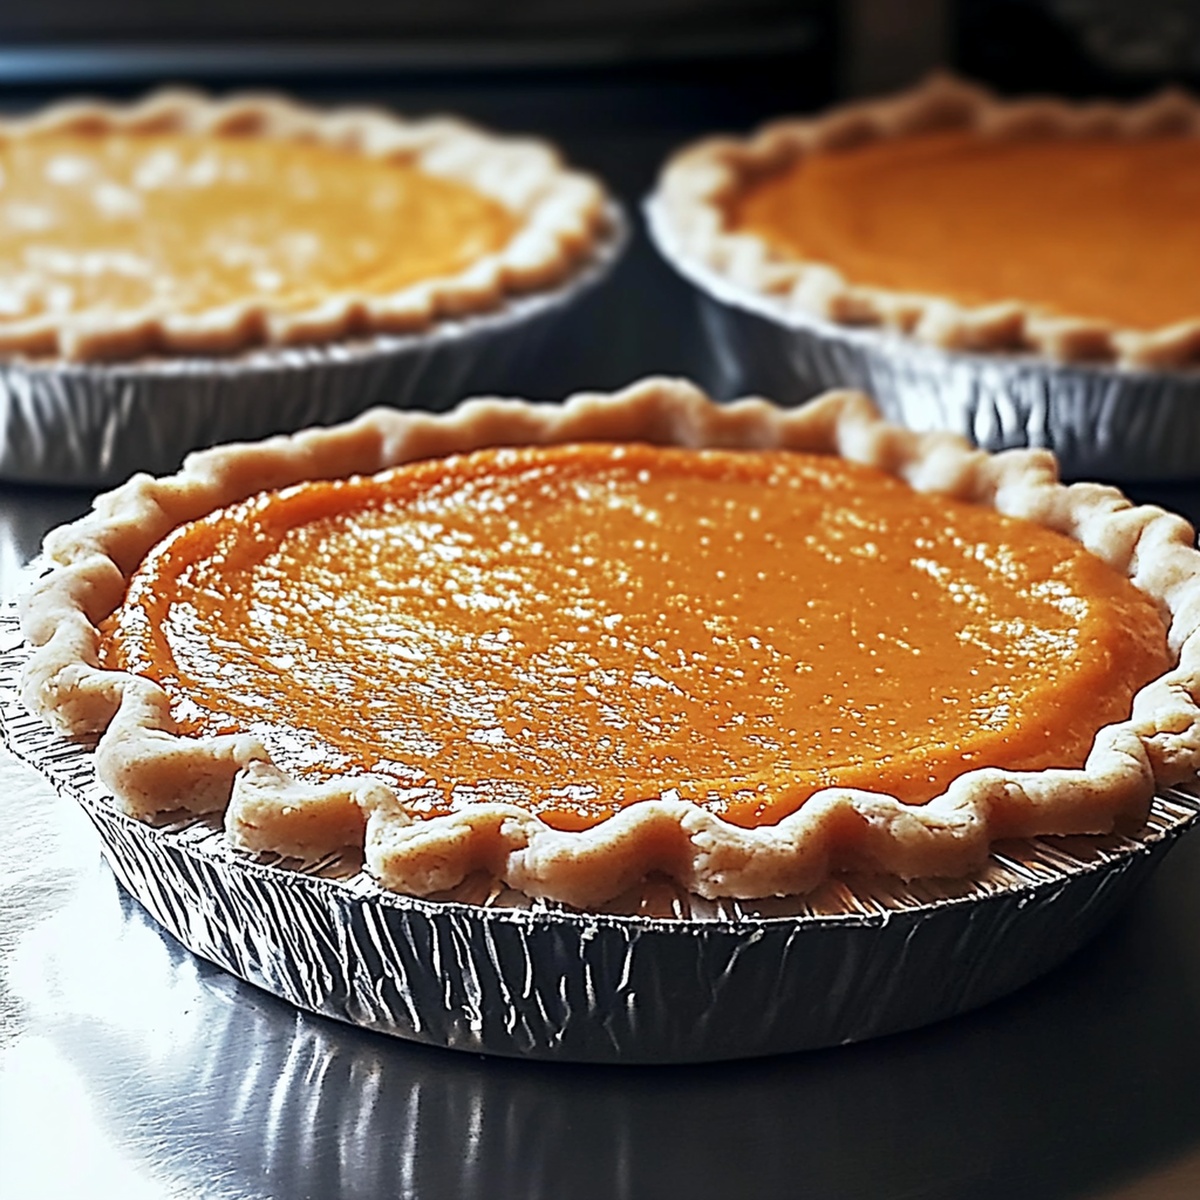
Southern kitchens buzz with excitement when this classic sweet potato pie recipe emerges from warm ovens.
Silky smooth filling nestles into a perfectly golden crust, promising pure comfort in every bite.
Generations have cherished this beloved dessert, passing down secrets from grandmothers to eager bakers.
Warm spices like cinnamon and nutmeg dance through the custard-like filling, creating an irresistible aroma.
Each slice promises a perfect balance of sweetness and warmth that will make your gathering memorable.
Dive into this delectable tradition and watch as smiles light up around the table.
Quick Recipe Overview
Sweet Potato Pie Ingredients Guide
For Pie Crust:For Binding and Moisture:For Preparation:Tools You’ll Need To Bake Sweet Potato Pie
How To Prepare Sweet Potato Pie Smoothly
Crafting the perfect base starts with blending flour and salt, creating a soft, crumbly texture. Gently work butter into the dry ingredients using fingertips or a pastry tool until the mixture looks like sandy pebbles.
Slowly introduce ice water, dropping tiny amounts while softly mixing. The dough will gradually transform into a cohesive, smooth ball that feels slightly tacky but not sticky. Handle with tender care to keep the texture light and flaky.
Shape the dough into a smooth disk, lovingly wrap it in plastic, and tuck it into the refrigerator. Let it relax and firm up for at least half an hour, allowing the butter to solidify and gluten to settle, which ensures a wonderfully tender crust when baked.
Flavorful Changes To Try In Sweet Potato Pie
Serving Sweet Potato Pie With Charm
How To Store Sweet Potato Pie Perfectly
Print
Silky Sweet Potato Pie Recipe
- Total Time: 2 hours
- Yield: 7 1x
Description
Grandma’s classic sweet potato pie recipe delivers a heartwarming Southern dessert with rich, creamy filling and buttery crust. Spiced with cinnamon and nutmeg, this pie offers a delightful finale to holiday meals that will satisfy you completely.
Ingredients
- 2 large eggs
- 2 cups (450 g) mashed sweet potatoes
- ½ cup (100 g) granulated sugar
- ¼ cup (50 g) brown sugar, packed
- 1 ¼ cups (155 g) all-purpose flour
- ½ cup (115 g) unsalted butter, chilled and diced
- ½ cup (120 ml) evaporated milk (or heavy cream)
- ¼ cup (60 g) unsalted butter, melted
- 1 tsp vanilla extract
- 1 tsp ground cinnamon
- ½ tsp ground nutmeg
- ½ tsp salt
- ¼ tsp ground ginger (optional)
- 34 tbsps ice water
Instructions
- Dough Preparation: Blend flour and salt in a large mixing bowl, ensuring uniform distribution of dry ingredients.
- Butter Integration: Work cold butter into the flour mixture using fingertips or pastry cutter until the texture resembles coarse breadcrumbs.
- Moisture Addition: Gradually introduce ice-cold water, folding gently until the dough forms a cohesive ball without overworking.
- Dough Shaping: Form the dough into a smooth disk, wrap tightly in plastic film, and refrigerate for 30 minutes to allow gluten relaxation and butter solidification.
- Crust Rolling: Remove chilled dough from refrigerator and roll out on a lightly floured surface to fit a 9-inch pie dish, trimming excess edges and creating decorative crimping around the perimeter.
- Filling Preparation: Mash sweet potatoes until smooth, then blend with eggs, cream, sugar, vanilla, cinnamon, nutmeg, and salt until thoroughly combined and silky.
- Pie Assembly: Pour sweet potato mixture into prepared pie crust, ensuring even distribution and smooth surface.
- Baking Process: Place pie in a preheated oven at 375°F, baking for 45-50 minutes until the filling is set and the crust turns golden brown.
- Cooling and Serving: Remove pie from oven and allow to cool completely on a wire rack for at least 2 hours, enabling the filling to set properly before slicing and serving.
Notes
- Chill Butter Thoroughly: Keep butter extremely cold and cut into small cubes before mixing to ensure a flaky, tender pie crust with perfect texture.
- Handle Dough Minimally: Work with pastry dough quickly and gently to prevent gluten development, which can make the crust tough and chewy.
- Rest Dough Completely: Let the wrapped dough sit in the refrigerator for at least 30 minutes to allow ingredients to hydrate and butter to solidify, creating a more manageable and flakier crust.
- Control Moisture Carefully: Add ice water sparingly and just until the dough comes together, preventing a sticky or overly wet pastry that can compromise the final texture.
- Prep Time: 30 minutes
- Cook Time: 30 minutes
- Category: Desserts
- Method: Mixing
- Cuisine: Southern American
Nutrition
- Serving Size: 7
- Calories: 312
- Sugar: 23 g
- Sodium: 188 mg
- Fat: 17 g
- Saturated Fat: 10 g
- Unsaturated Fat: 7 g
- Trans Fat: 0 g
- Carbohydrates: 39 g
- Fiber: 2 g
- Protein: 3 g
- Cholesterol: 63 mg
Liam O’Sullivan
Founder & Culinary Content Creator
Expertise
Recipe Development, Traditional Irish and European Cuisines, Food Styling and Photography, Culinary Education
Education
Dublin Institute of Technology (DIT) – School of Culinary Arts and Food Technology
Ballymaloe Cookery School
Isabella brings a global spark to the Craft Meats table. Born in Florence and trained at the Apicius International School of Hospitality, she blends classic Italian flavor with modern writing that’s easy to follow and hard to forget.
Her additional training at the Italian Chef Academy fueled her love for well-crafted dishes, especially ones that spotlight beautiful cuts of meat.
She’s a food writer with heart, and a deep love for storytelling through single recipes. Her goal? To help you cook with more confidence and a little more joy, no matter where you start.