
Simple Fluffy White Bread Recipe: Fresh From Your Oven
Fresh-baked bread with a delicate homemade white bread recipe fills kitchens with an irresistible aroma that beckons everyone near.
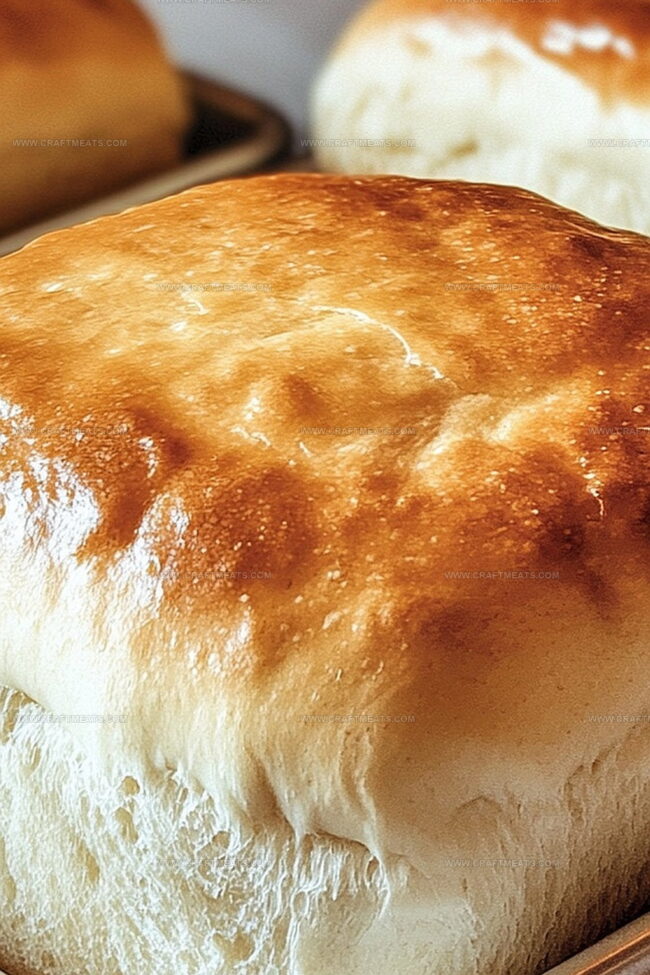
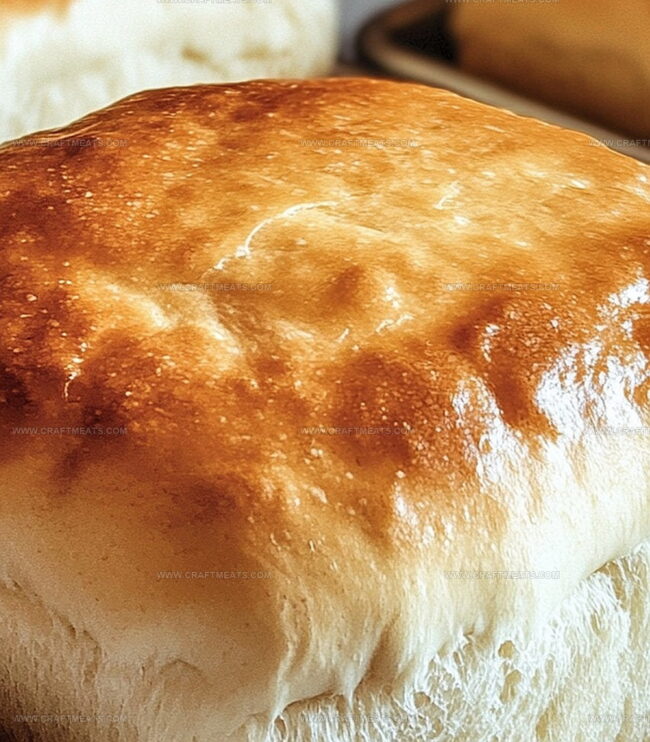
Warm, golden loaves emerge from the oven with a crisp exterior and soft, pillowy interior.
Baking bread from scratch connects us to generations of culinary traditions passed down through time.
This simple recipe requires minimal ingredients and basic techniques that even novice bakers can master.
Each slice promises a comforting, wholesome experience that store-bought bread cannot match.
You’ll savor the satisfaction of creating something truly special with your own hands.
Dive into this delightful baking adventure and transform your kitchen into a fragrant bakery.
Quick Recipe Overview
Easy Homemade White Bread Recipe Ingredient Rundown
For Yeast Activation:For Dough Structure:For Optional Finishing:Tools To Bake Easy Homemade White Bread Recipe
How To Knead Easy Homemade White Bread Recipe Properly
Grab your mixing bowl and sprinkle yeast into warm water. Stir gently and watch the magical transformation as tiny bubbles dance and foam begins to spread across the surface. This signals your yeast is alive and ready to work its magic.
Blend softened butter and a pinch of salt into your yeast mixture. Slowly incorporate flour, mixing until a soft, slightly sticky dough forms. Don’t worry about perfection – bread making is an art, not a science.
Transfer your dough onto a clean surface and start kneading. Push, fold, and turn the dough rhythmically. Feel the texture change from rough and sticky to smooth and silky. This process develops the bread’s delightful texture.
Nestle your dough into a lightly oiled bowl, covering it with a soft cloth. Find a cozy, warm spot in your kitchen and let the dough rest and expand. During this time, the yeast works its transformation, creating beautiful air pockets.
Gently deflate the risen dough and shape it into a smooth oval. Tuck it into a greased pan, allowing it to rise once more and become puffy and voluminous.
Slide your pan into a preheated oven. Watch as the bread turns golden and fills your kitchen with an irresistible aroma. The bread is ready when it sounds hollow when tapped.
Carefully remove the bread from the pan and let it cool on a wire rack. Slice, spread with butter, and savor your delicious homemade creation.
Flavors You Can Add To Easy Homemade White Bread Recipe
How To Serve Easy Homemade White Bread Recipe Warm
Storage Tips For Easy Homemade White Bread Recipe
Print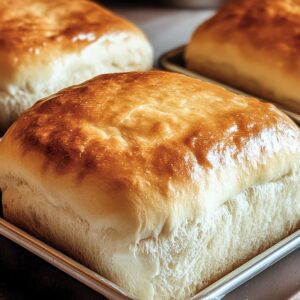
Soft Homemade White Bread Recipe
- Total Time: 2 hours 35 minutes
- Yield: 11 1x
Description
Homemade classic white bread brings comfort to kitchen tables with its simple, nostalgic charm. Bakers can craft this delightful loaf using basic ingredients and straightforward techniques, ensuring warm, fresh bread for family meals.
Ingredients
- 2 ¼ tsps (1 packet) active dry yeast
- 3 cups (360 g) all-purpose flour (or bread flour)
- 1 cup (240 ml) warm water (about 110°F/45°C)
- 2 tbsps granulated sugar
- 2 tbsps unsalted butter (softened) or vegetable oil
- 1 tsp salt
Instructions
- Yeast Activation: Blend warm water, yeast, and sugar in a large mixing bowl. Let the mixture rest until a frothy layer forms, indicating active yeast.
- Dough Formation: Blend softened butter and salt into the yeast mixture. Gradually incorporate flour, kneading until a smooth, elastic dough develops. Work the dough on a floured surface for 8-10 minutes by hand or 5-6 minutes with a stand mixer, developing a robust gluten network.
- First Fermentation: Transfer dough to a lightly oiled bowl, ensuring complete surface coverage. Drape with a damp cloth and place in a warm location. Allow the dough to rise and expand, roughly doubling in volume within 1-1.5 hours.
- Shaping and Second Rise: Gently deflate the risen dough. Mold into a traditional loaf shape and position in a prepared baking pan. Cover and let rise until the dough peaks just above the pan’s rim.
- Baking Preparation: Preheat the oven to 375F (190C). Carefully place the loaf in the heated oven, baking until the surface turns a rich, golden brown and produces a hollow sound when tapped.
- Finishing Touch: Remove the bread from the oven and transfer to a wire rack. Allow complete cooling to distribute internal steam before slicing and enjoying the freshly baked loaf.
Notes
- Optimize Yeast Activation: Use water between 100-110°F to ensure perfect yeast bloom without killing the microorganisms; lukewarm temperature triggers maximum fermentation.
- Knead with Precision: Develop gluten structure by applying consistent, rhythmic stretching movements; proper kneading creates soft, airy bread texture with even crumb distribution.
- Control Rising Environment: Maintain warm, draft-free space around 80-85°F during proofing stages; consistent temperature guarantees uniform dough expansion and optimal fermentation.
- Moisture Management: Cover dough with slightly damp cloth to prevent surface drying and maintain humidity during rising process; prevents crusty exterior formation before baking.
- Prep Time: 20 minutes
- Cook Time: 30 minutes
- Category: Snacks, Breakfast, Lunch, Dinner
- Method: Baking
- Cuisine: American
Nutrition
- Serving Size: 11
- Calories: 150
- Sugar: 2 g
- Sodium: 180 mg
- Fat: 4.5 g
- Saturated Fat: 2 g
- Unsaturated Fat: 2.5 g
- Trans Fat: 0 g
- Carbohydrates: 28 g
- Fiber: 1 g
- Protein: 4 g
- Cholesterol: 10 mg
Liam O’Sullivan
Founder & Culinary Content Creator
Expertise
Recipe Development, Traditional Irish and European Cuisines, Food Styling and Photography, Culinary Education
Education
Dublin Institute of Technology (DIT) – School of Culinary Arts and Food Technology
Ballymaloe Cookery School
Isabella brings a global spark to the Craft Meats table. Born in Florence and trained at the Apicius International School of Hospitality, she blends classic Italian flavor with modern writing that’s easy to follow and hard to forget.
Her additional training at the Italian Chef Academy fueled her love for well-crafted dishes, especially ones that spotlight beautiful cuts of meat.
She’s a food writer with heart, and a deep love for storytelling through single recipes. Her goal? To help you cook with more confidence and a little more joy, no matter where you start.