Cheesy Thumbprint Appetizer Recipe With Hot Pepper Jelly
Crisp appetizers with a tangy twist spark excitement at every gathering.
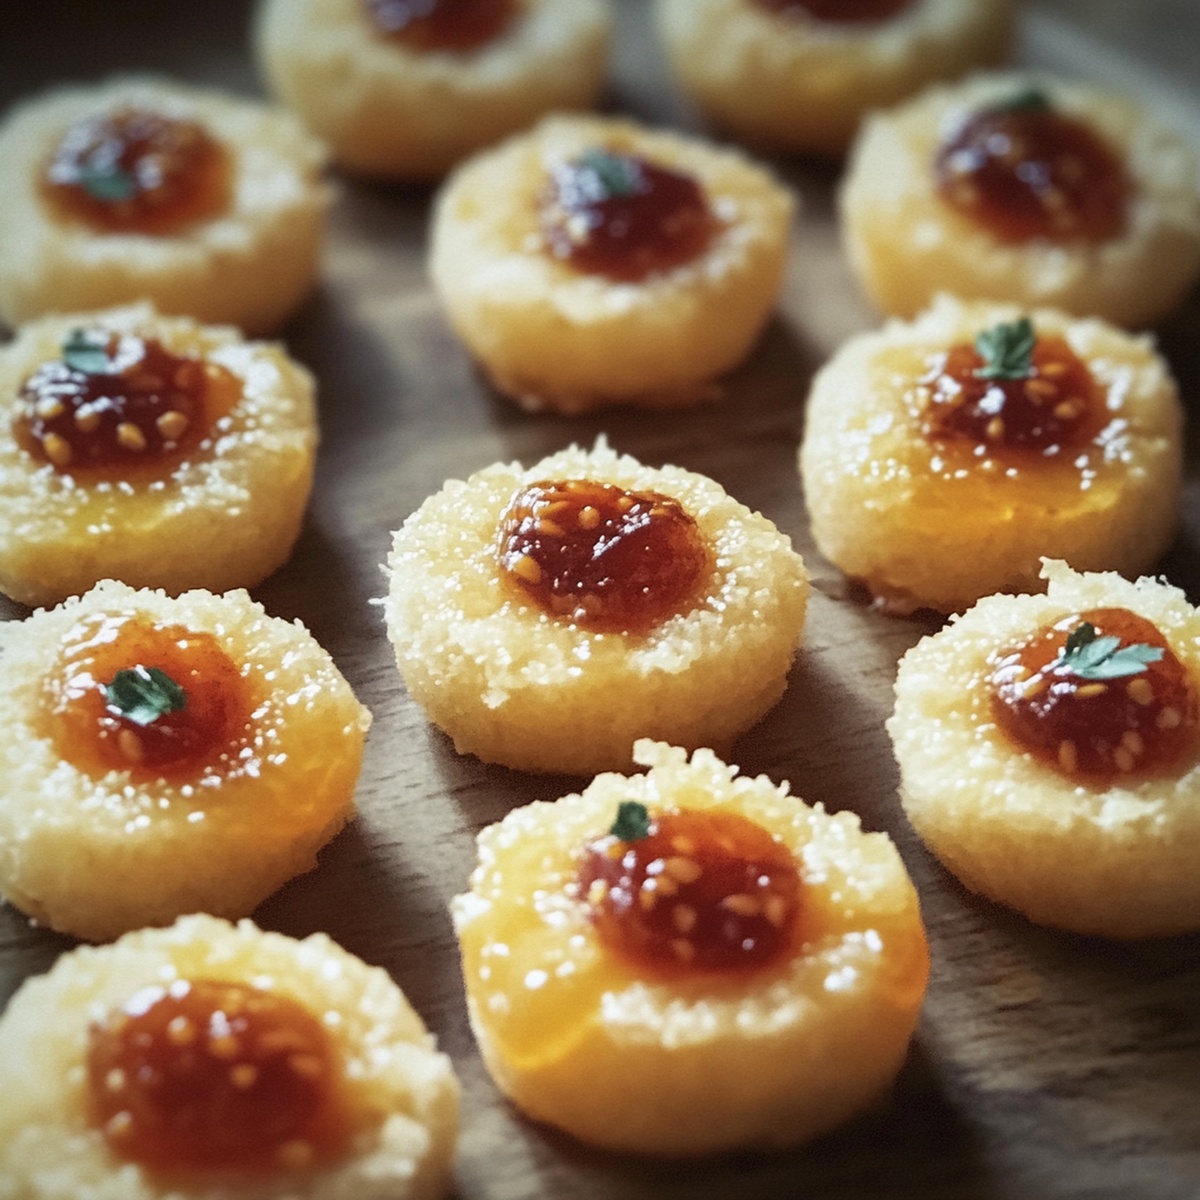
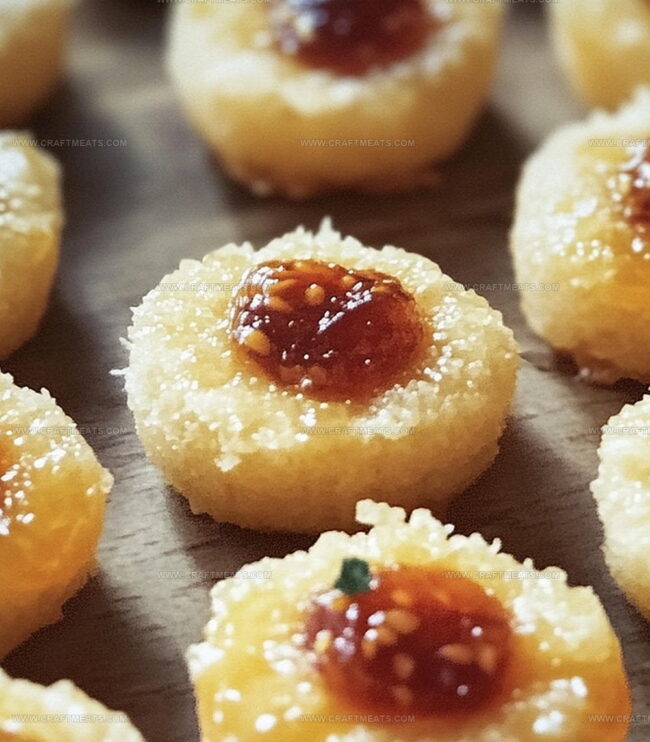
These cheesy thumbprint appetizers with hot pepper jelly deliver a perfect balance of creamy and spicy flavors that dance on your palate.
Sharp cheddar and cream cheese create a luxurious base for the zesty jelly nestled in each golden-brown bite.
The combination of warm, melted cheese and vibrant pepper jelly makes these small bites irresistible.
Elegant yet simple, these appetizers come together quickly with minimal ingredients.
Guests will devour these delectable morsels before you can even set down the serving plate.
Prepare to be the star of your next party with this crowd-pleasing recipe.
Quick Recipe Overview

Everything In Cheesy Thumbprint Appetizers With Hot Pepper Jelly
For Base Ingredients:For Creamy Components:For Filling and Topping:Tools To Make Cheesy Thumbprint Appetizers With Hot Pepper Jelly
How To Whip Up Cheesy Thumbprint Appetizers With Hot Pepper Jelly
Warm up the oven to create the perfect cozy baking environment. Cover baking sheets with protective liners to ensure easy cookie removal.
Whip together creamy butter and rich cheeses until they form a smooth, irresistible mixture. Blend in a splash of liquid and softly fold in dry ingredients until a beautiful dough emerges.
Craft small, delicate balls of dough and arrange them with gentle care on the prepared baking sheets. Create a loving indentation in each ball, giving them their signature thumbprint look.
Slide the trays into the warm oven and let the magic happen. Watch as the edges transform into a lovely golden hue, signaling they’re almost ready.
Carefully nestle a dollop of spicy pepper jelly into the center of each tender cookie. Return to the oven for a quick warm-up that will make the jelly shimmer and shine.
Allow the cookies to rest and settle, letting them cool gracefully. Transfer to a serving plate and enjoy these delightful little bites of cheesy, spicy heaven.
Tips And Twists For Cheesy Thumbprint Appetizers With Hot Pepper Jelly
Serving Up Cheesy Thumbprint Appetizers With Hot Pepper Jelly
How To Store Cheesy Thumbprint Appetizers With Hot Pepper Jelly
Print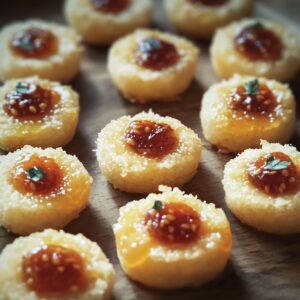
Spicy Thumbprint Appetizers
- Total Time: 35 minutes
- Yield: 23 1x
Description
Cheesy thumbprint appetizers with hot pepper jelly offer a perfect blend of creamy cheese and spicy jelly. Guests will savor these zesty bites that combine rich cream cheese with tangy pepper jelly for an irresistible party snack.
Ingredients
- 1 cup (100 g) sharp cheddar cheese, shredded
- ½ cup (115 g) unsalted butter, softened
- 1 ½ cups (190 g) all-purpose flour
- ¼ cup (25 g) grated Parmesan cheese
- 1 large egg yolk
- 2 tbsps cold water
- ⅓ cup (80 ml) hot pepper jelly
- ½ tsp salt
- ¼ tsp black pepper
- ½ tsp smoked paprika (optional)
Instructions
- Workspace Preparation: Line two baking sheets with parchment paper. Preheat oven to 375F (190C) for consistent heat distribution.
- Dry Ingredient Fusion: Whisk flour, salt, black pepper, and smoked paprika in a medium bowl to create a robust flavor foundation.
- Cheese Base Assembly: Cream butter, cheddar, and Parmesan cheeses until silky smooth. Blend in egg yolk and water, ensuring complete integration of liquid components.
- Dough Formation: Gently fold dry ingredients into cheese mixture, creating a cohesive, malleable dough with uniform consistency.
- Shaping and Indenting: Roll dough into tablespoon-sized spheres, positioning them 2 inches apart on prepared sheets. Craft a gentle thumb impression in each ball’s center, maintaining structural integrity.
- Initial Baking: Slide sheets into preheated oven, baking for 10-12 minutes until edges turn golden brown. When warm, reinforce center wells using a spoon’s back to create perfect jelly reservoirs.
- Jelly Incorporation: Delicately spoon hot pepper jelly into each thumbprint’s center. Return to oven for 2-3 minutes to slightly warm the condiment.
- Cooling and Serving: Allow appetizers to rest on baking sheet for 5 minutes, then transfer to a wire rack. Serve at room temperature for optimal flavor and texture, ideally within a few hours of preparation.
Notes
- Cheese Temperature Matters: Allow butter and cheeses to soften at room temperature for smooth, easy blending and consistent dough texture.
- Perfect Thumbprint Technique: Create indentations gently and uniformly, using the back of a rounded measuring spoon to maintain consistent depth without breaking the dough.
- Jelly Selection Strategy: Choose hot pepper jelly with balanced heat and sweetness; adjust spice levels based on personal preference or guest tolerance.
- Make-Ahead Magic: Prepare dough balls in advance and refrigerate up to 24 hours before baking, enhancing flavor development and saving preparation time.
- Prep Time: 20 minutes
- Cook Time: 15 minutes
- Category: Appetizer, Snacks
- Method: Baking
- Cuisine: American
Nutrition
- Serving Size: 23
- Calories: 106
- Sugar: 2 g
- Sodium: 135 mg
- Fat: 8 g
- Saturated Fat: 5 g
- Unsaturated Fat: 2 g
- Trans Fat: 0 g
- Carbohydrates: 8 g
- Fiber: 0 g
- Protein: 3 g
- Cholesterol: 31 mg
Liam O’Sullivan
Founder & Culinary Content Creator
Expertise
Recipe Development, Traditional Irish and European Cuisines, Food Styling and Photography, Culinary Education
Education
Dublin Institute of Technology (DIT) – School of Culinary Arts and Food Technology
Ballymaloe Cookery School
Isabella brings a global spark to the Craft Meats table. Born in Florence and trained at the Apicius International School of Hospitality, she blends classic Italian flavor with modern writing that’s easy to follow and hard to forget.
Her additional training at the Italian Chef Academy fueled her love for well-crafted dishes, especially ones that spotlight beautiful cuts of meat.
She’s a food writer with heart, and a deep love for storytelling through single recipes. Her goal? To help you cook with more confidence and a little more joy, no matter where you start.