Aloha Sweetness: Hawaiian Pineapple Cake Recipe
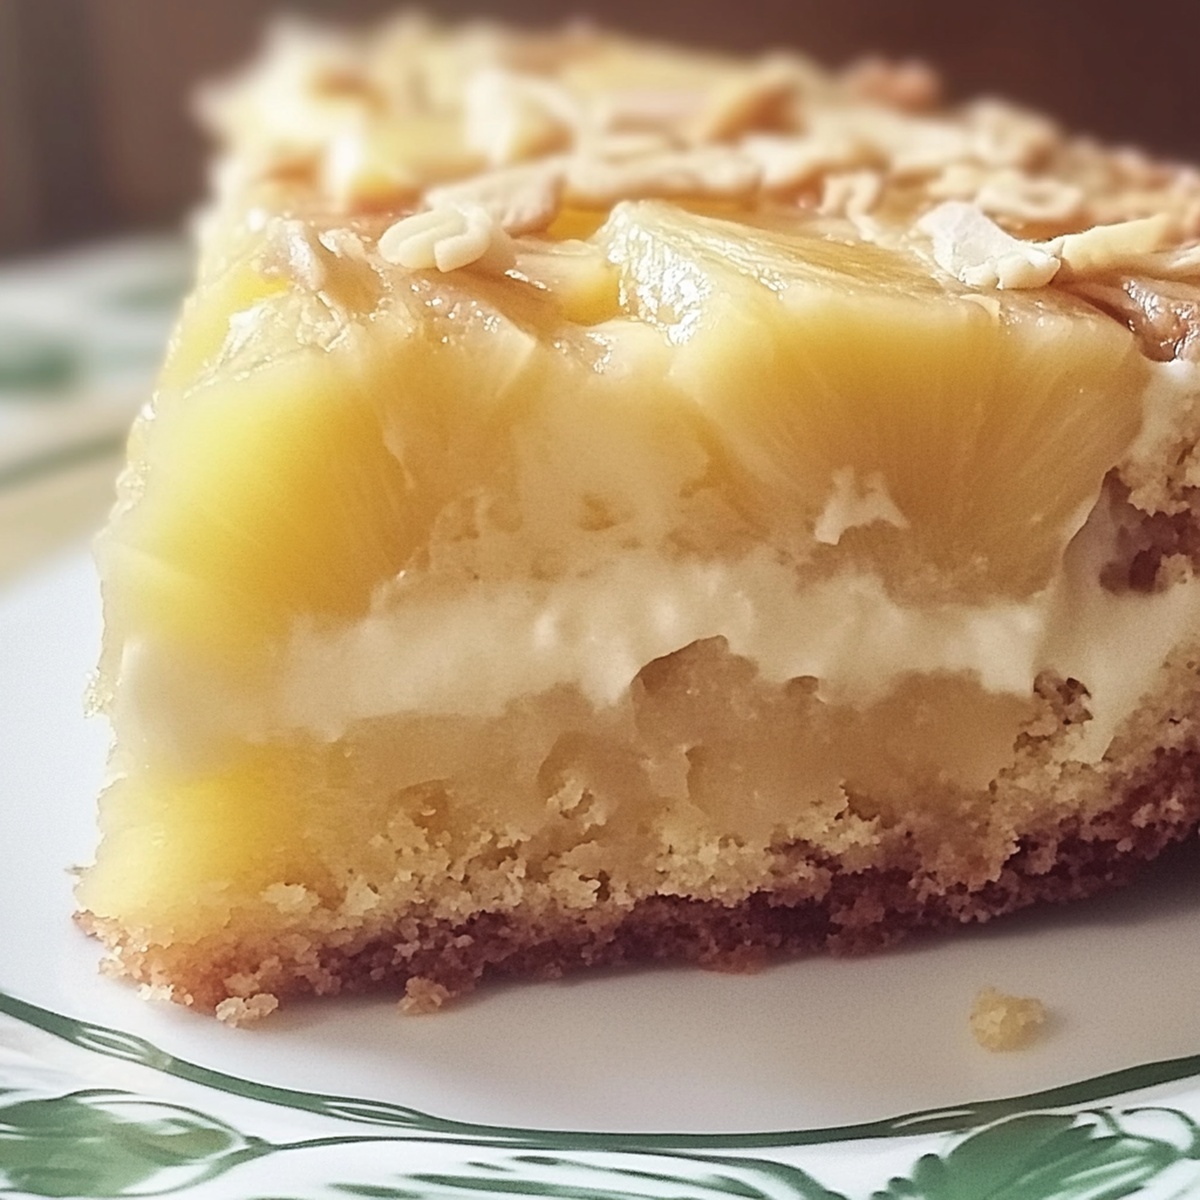
Sweet and tangy flavors dance together in this delightful hawaiian pineapple cake that promises to transport your taste buds to tropical paradise.
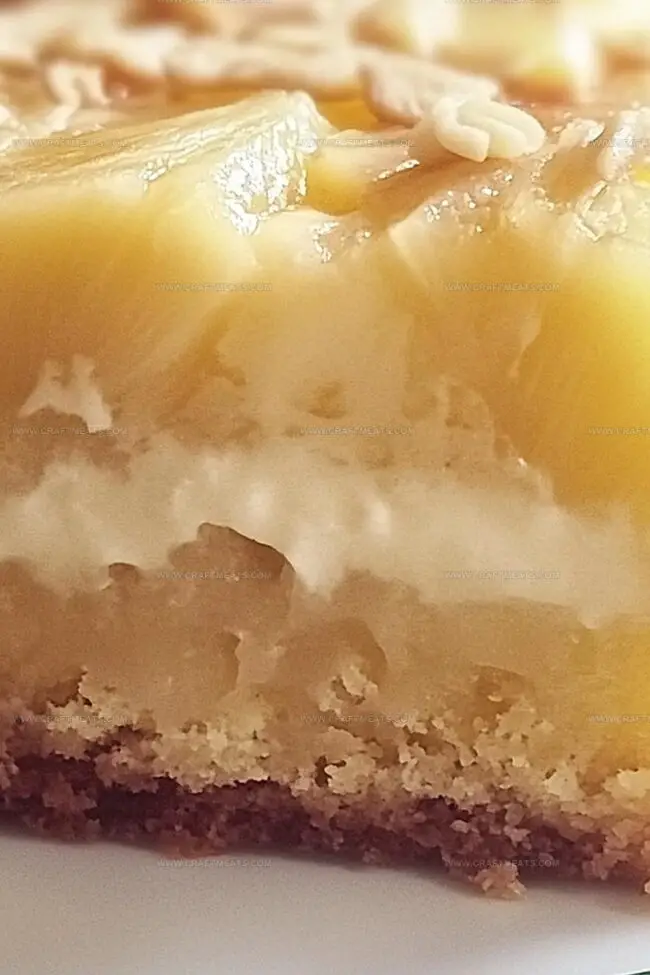
Layers of moist, tender cake blend perfectly with rich, creamy frosting and bright pineapple chunks.
Each bite tells a story of sunshine and island breeze.
The recipe combines simple ingredients with classic baking techniques that even novice bakers can master.
Tropical fruit lovers will adore this dessert that balances sweetness and texture beautifully.
Prepare to indulge in a slice of pure culinary joy that feels like a mini vacation on your plate.
Quick Recipe Overview
All You Need For Hawaiian Pineapple Cake
For Base Ingredients:For Moisture and Flavor Ingredients:For Creamy Frosting Ingredients:Tools For Baking Hawaiian Pineapple Cake
How To Make Hawaiian Pineapple Cake From Scratch

Warm up the oven to create the perfect baking environment. Grab a baking dish and give it a light coating of grease to ensure the cake slides out effortlessly.
Combine all the dry ingredients in a spacious mixing bowl. Blend in the wet ingredients, stirring gently until everything comes together in a smooth, luscious mixture. The key is to mix just enough to bring the ingredients together without overdoing it.
Pour the batter into the prepared dish, spreading it evenly. Slide the dish into the preheated oven and let the magic happen. Keep an eye on the cake, checking its doneness with a toothpick. Once it comes out clean, you’ll know your masterpiece is ready.
Whip up a dreamy cream cheese frosting by blending the creamy ingredients until they reach a silky smooth consistency. Gradually incorporate the powdered sugar, creating a luscious topping that will make taste buds dance.
Once the cake has cooled completely, spread the frosting with a gentle hand. For an extra burst of tropical flair, sprinkle some shredded coconut or chopped nuts on top.
Slice into this heavenly creation and savor each bite. Store any remaining pieces in a sealed container in the refrigerator, where they’ll stay fresh and delicious for several days.
Tips To Brighten Hawaiian Pineapple Cake Flavor
Serve Hawaiian Pineapple Cake Island Style
Storing Hawaiian Pineapple Cake Without Drying Out
Keep cake covered in refrigerator, lasting up to 5 days for maximum freshness.
Print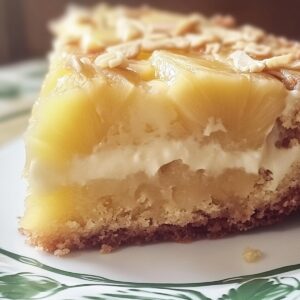
Sweet Hawaiian Pineapple Cake Recipe
- Total Time: 1 hour 20 minutes
- Yield: 11 1x
Description
Hawaiian Pineapple Cake blends tropical sweetness with moist, tender crumb. Coconut and rum highlights create a paradise-inspired dessert sure to transport you to island flavors.
Ingredients
- 1 (20 oz / 565 g) can crushed pineapple with juice (do not drain)
- 2 large eggs
- 2 cups (400 g / 14.1 ounces) granulated sugar
- 2 cups (250 g / 8.8 ounces) all-purpose flour
- 2 tsps baking soda
- 1 tsp vanilla extract
- ½ tsp salt
- 1 (8 oz / 225 g) package cream cheese, softened
- ½ cup (115 g / 4 ounces) unsalted butter, softened
- 2 cups (240 g / 8.5 ounces) powdered sugar
- 1 tsp vanilla extract
- ½ cup (50 g / 1.8 ounces) shredded coconut
- ¼ cup (30 g / 1 ounce) chopped macadamia nuts or pecans
Instructions
- Preparation: Preheat oven to 350F (175C) and thoroughly grease a 9×13-inch baking pan with flour, ensuring complete coverage to prevent adherence.
- Batter Creation: In a large mixing bowl, thoroughly combine dry ingredients by whisking flour, sugar, baking soda, and salt. Integrate eggs, crushed pineapple with its juices, and vanilla extract, gently mixing until just incorporated, avoiding overmixing to maintain cake’s delicate texture.
- Baking Process: Pour batter evenly into prepared pan, spreading smoothly. Bake for 35-40 minutes until golden brown, verifying doneness by inserting a toothpick near the center – it should emerge clean and dry.
- Cooling and Frosting Preparation: Allow cake to cool completely in the pan. Simultaneously, create cream cheese frosting by blending cream cheese and butter until silky, gradually adding powdered sugar and vanilla extract to achieve a luxurious, spreadable consistency.
- Finishing Touches: Once cake reaches room temperature, generously spread cream cheese frosting across the entire surface. Optionally, garnish with shredded coconut and chopped nuts for added tropical flair and textural complexity.
- Serving and Storage: Cut into substantial portions and serve immediately. Preserve remaining cake in a sealed container within the refrigerator, maintaining freshness for up to five days.
Notes
- Optimize Oven Temperature: Ensure precise 350F heating for even baking, preventing dry edges or undercooked centers. Use an oven thermometer to verify accurate temperature calibration.
- Prevent Overmixing: Stir cake batter gently until ingredients just combine, avoiding tough texture. Overmixing develops gluten, resulting in a dense, chewy cake instead of a tender crumb.
- Control Moisture Balance: Drain pineapple slightly to prevent excess liquid, which can make cake soggy. Pat crushed pineapple with paper towels to remove extra juice while retaining fruit’s flavor.
- Enhance Frosting Consistency: Bring cream cheese and butter to room temperature before mixing, ensuring smooth, lump-free frosting. Sift powdered sugar to eliminate clumps and create silky texture.
- Prep Time: 15 minutes
- Cook Time: 35 minutes
- Category: Desserts
- Method: Baking
- Cuisine: Hawaiian
Nutrition
- Serving Size: 11
- Calories: 392
- Sugar: 42 g
- Sodium: 200 mg
- Fat: 18 g
- Saturated Fat: 10 g
- Unsaturated Fat: 8 g
- Trans Fat: 0 g
- Carbohydrates: 52 g
- Fiber: 1 g
- Protein: 4 g
- Cholesterol: 55 mg
Liam O’Sullivan
Founder & Culinary Content Creator
Expertise
Recipe Development, Traditional Irish and European Cuisines, Food Styling and Photography, Culinary Education
Education
Dublin Institute of Technology (DIT) – School of Culinary Arts and Food Technology
Ballymaloe Cookery School
Isabella brings a global spark to the Craft Meats table. Born in Florence and trained at the Apicius International School of Hospitality, she blends classic Italian flavor with modern writing that’s easy to follow and hard to forget.
Her additional training at the Italian Chef Academy fueled her love for well-crafted dishes, especially ones that spotlight beautiful cuts of meat.
She’s a food writer with heart, and a deep love for storytelling through single recipes. Her goal? To help you cook with more confidence and a little more joy, no matter where you start.