Craft Bouncy Bubble Gum at Home: Fun Sweet Recipe
Sweet memories of childhood burst to life with this homemade bubble gum recipe that brings nostalgia right to your kitchen.
Crafting your own chewy treat connects you to the simple joys of sugary delights.
Every bite tells a story of flavor and fun waiting to unfold.
Mixing natural ingredients creates a magical experience far from store-bought varieties.
The process is surprisingly straightforward and delivers a delicious reward for your culinary creativity.
Soft, stretchy, and perfectly sweet, this recipe promises a delightful adventure in confectionery magic.
Dive into the world of homemade treats and rediscover the pure joy of making something deliciously unique.
Quick Recipe Overview
Sweet Stuff In Homemade Bubble Gum Recipe
For Base Ingredients:For Flavor and Color Enhancers:For Texture and Sweetness:What You’ll Need To Make Homemade Bubble Gum Recipe Fun
Steps To Mix Up Homemade Bubble Gum Recipe
Grab your gum base and prepare for a melty transformation. Use a microwave-safe bowl to gently warm the mixture until it becomes a smooth, glossy pool of potential. Stir carefully between short heating bursts to avoid burning.
Time to jazz up your gum! Introduce some zesty citric acid, your favorite extract, and a splash of vibrant food coloring. Mix these ingredients with enthusiasm, creating a flavor profile that’ll make taste buds dance.
Welcome the powdered sugar into your gum party. Slowly incorporate it into the melted mixture, stirring until the consistency becomes challenging to mix. This is where the gum starts to take shape and come alive.
Dust a clean surface with powdered sugar and prepare for some hands-on fun. Using gloved hands, transfer the mixture and knead it like a passionate baker. Work the gum until it becomes smooth, stretchy, and completely irresistible.
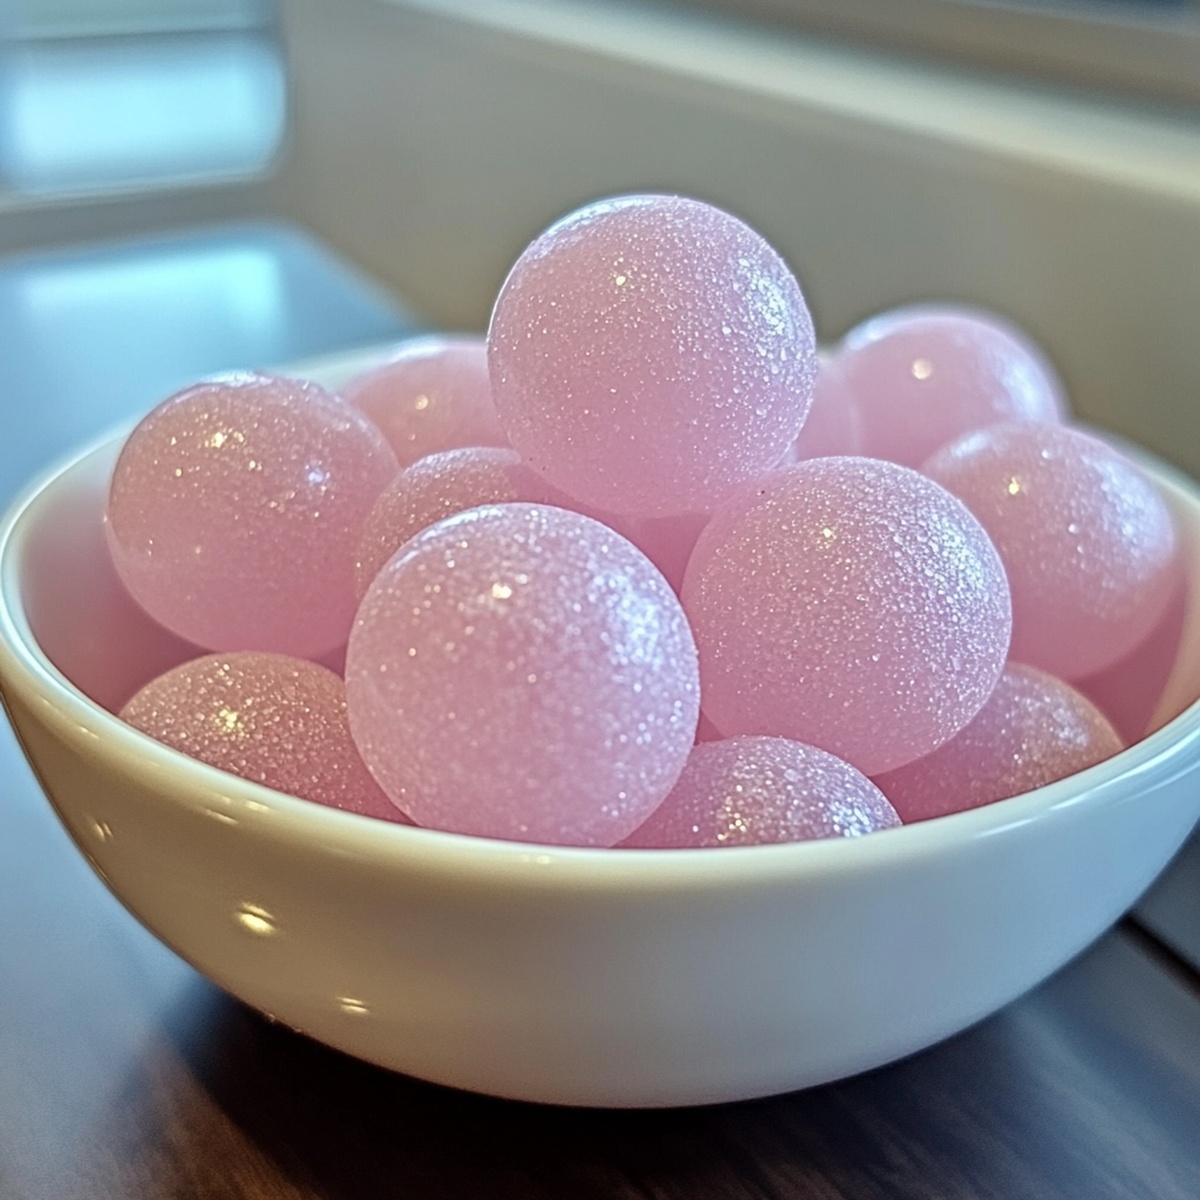
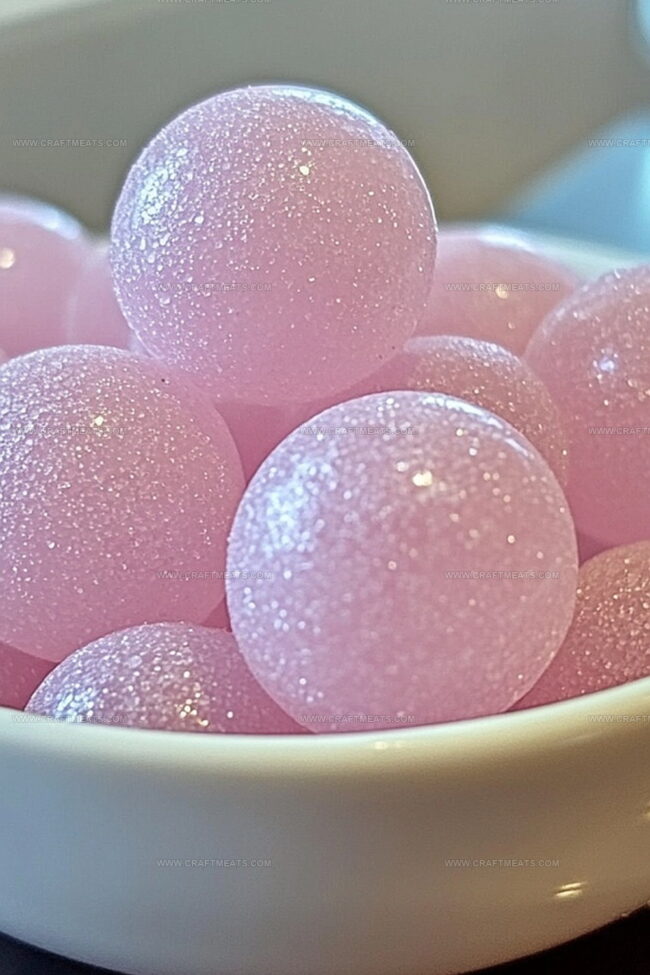
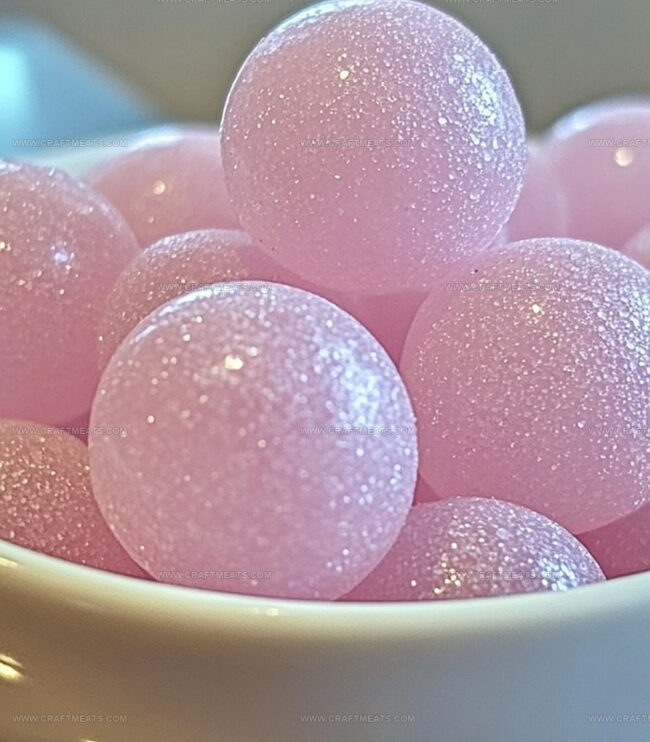
Roll your gum into a playful log and slice it into bite-sized pieces. Get creative with shapes – balls, sticks, or whatever catches your fancy. Let these gum treasures cool and set on a waiting surface.
Once cooled, tuck your homemade bubble gum into an airtight container. Unwrap and savor the sweet success of your culinary adventure!
Tips To Make Homemade Bubble Gum Recipe Pop
Fun Ways To Share Homemade Bubble Gum Recipe
How To Store Homemade Bubble Gum Recipe Without A Mess
Print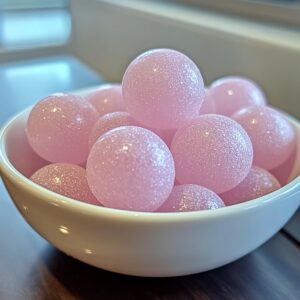
Sweet Homemade Bubble Gum Recipe
- Total Time: 20 minutes
- Yield: 11 1x
Description
Sweet homemade bubble gum brings childhood nostalgia to life with simple ingredients. Crafting this classic treat lets you recreate a playful snack from scratch.
Ingredients
- ⅓ cup (75 g) gum base
- 2 tbsps corn syrup
- ¼ cup (30 g) powdered sugar
- 1 tsp glycerin
- ¼ tsp flavoring extract (bubble gum, mint, fruit, or vanilla)
- ¼ tsp citric acid
- Food coloring
- Powdered sugar (for dusting)
Instructions
- Melt Preparation: In a microwave-safe vessel, gently liquify gum base with corn syrup through brief heating cycles, stirring meticulously to achieve a seamless, uniform liquid consistency.
- Flavor Enhancement: Integrate citric acid, flavoring extract, and food coloring into the molten base, guaranteeing thorough and even ingredient dispersion for balanced flavor profile.
- Sugar Integration: Progressively fold powdered sugar into the warm mixture, utilizing a spatula until the concoction becomes too substantial for effortless stirring.
- Kneading Process: Transfer the sticky amalgamation onto a powdered sugar-dusted surface, employing gloved hands to initiate a rigorous kneading technique, systematically incorporating additional sugar until achieving a non-adherent, pliable texture.
- Shaping Technique: Transform the refined mixture into an elongated cylindrical form, then segment into desired dimensions – whether traditional stick format, bite-sized chunks, or spherical configurations.
- Cooling Protocol: Arrange shaped gum pieces on wax paper or silicone mat, allowing complete temperature reduction and textural stabilization.
- Storage Strategy: Preserve crafted bubble gum by securing in an airtight container or individually wrapping each piece in wax paper, ensuring optimal freshness and convenient consumption.
Notes
- Control Heating Carefully: Melt gum base using short microwave intervals to prevent burning or uneven texture, ensuring smooth consistency.
- Maintain Consistent Sugar Integration: Add powdered sugar gradually and evenly to achieve ideal gum elasticity without becoming too dry or crumbly.
- Use Protective Gear: Wear food-safe gloves during kneading to maintain hygiene and prevent mixture from sticking to hands.
- Watch Mixture Texture: Monitor gum’s consistency during kneading, adding powdered sugar incrementally until it becomes smooth and non-adhesive.
- Prep Time: 10 minutes
- Cook Time: 10 minutes
- Category: Snacks, Desserts
- Method: Mixing
- Cuisine: American
Nutrition
- Serving Size: 11
- Calories: 50
- Sugar: 10 g
- Sodium: 0 mg
- Fat: 0 g
- Saturated Fat: 0 g
- Unsaturated Fat: 0 g
- Trans Fat: 0 g
- Carbohydrates: 13 g
- Fiber: 0 g
- Protein: 0 g
- Cholesterol: 0 mg
Liam O’Sullivan
Founder & Culinary Content Creator
Expertise
Recipe Development, Traditional Irish and European Cuisines, Food Styling and Photography, Culinary Education
Education
Dublin Institute of Technology (DIT) – School of Culinary Arts and Food Technology
Ballymaloe Cookery School
Isabella brings a global spark to the Craft Meats table. Born in Florence and trained at the Apicius International School of Hospitality, she blends classic Italian flavor with modern writing that’s easy to follow and hard to forget.
Her additional training at the Italian Chef Academy fueled her love for well-crafted dishes, especially ones that spotlight beautiful cuts of meat.
She’s a food writer with heart, and a deep love for storytelling through single recipes. Her goal? To help you cook with more confidence and a little more joy, no matter where you start.