
Cherry Lemon Cheesecake Recipe with a Soft Creamy Finish
Creamy and tangy, this cherry lemon cheesecake recipe promises a delightful dessert experience that’ll make taste buds dance with joy.
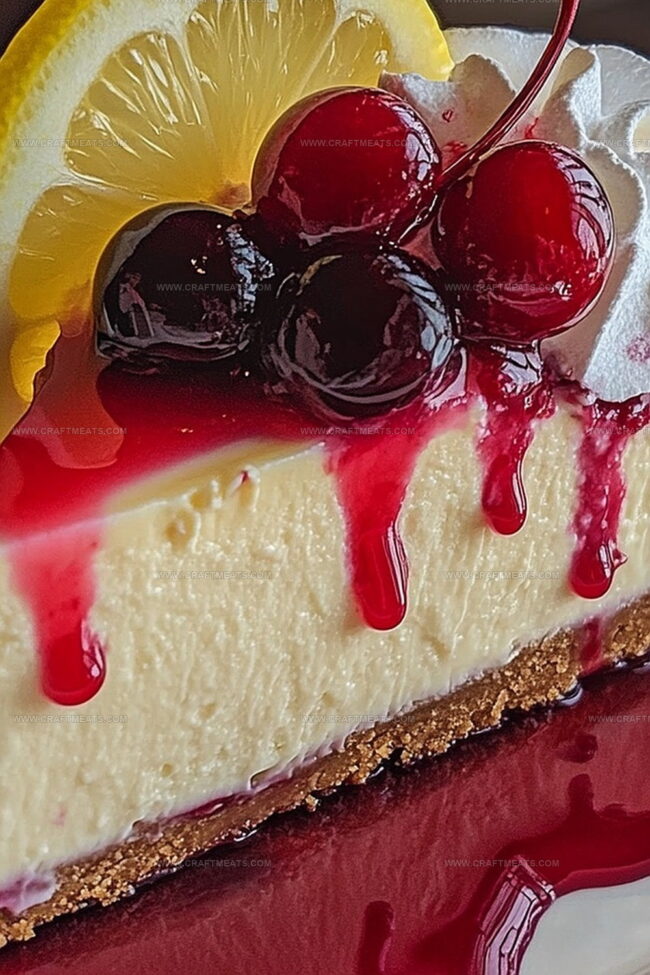
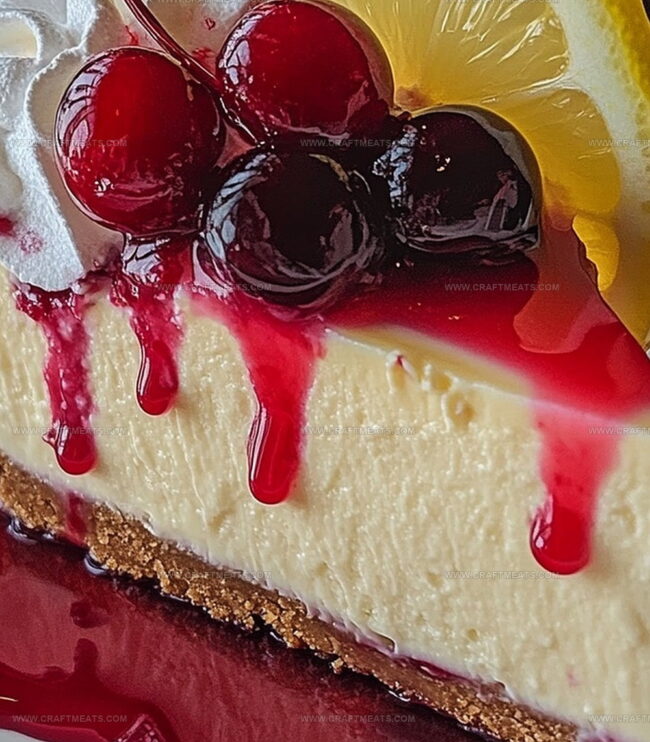
Sweet cherries and zesty lemon create a vibrant flavor combination that sings on the palate.
The silky smooth cheesecake base melts like velvet, complemented by a buttery graham cracker crust.
Each slice offers a perfect balance of tart and sweet notes that leave you craving more.
Summer gatherings or weekend treats come alive with this stunning dessert.
The bright colors and rich textures make this cheesecake a showstopper on any table.
Dive into this irresistible recipe and treat yourself to a slice of pure culinary bliss.
Quick Recipe Overview
Ingredients That Make Cherry Lemon Cheesecake Recipe Pop
For Crust Base:For Creamy Filling:For Topping:Useful Items For Cherry Lemon Cheesecake Recipe
How To Layer Cherry Lemon Cheesecake Recipe Just Right
Create a buttery base using crushed graham crackers pressed into a springform pan. Bake briefly to set the foundation for your dreamy dessert.
Blend cream cheese until silky smooth, incorporating zesty lemon essence and rich dairy components. Whip ingredients gently to create a luxurious, velvety texture that promises decadent bites.
Pour the luscious mixture over the golden crust. Slide into a warm oven, allowing gentle heat to transform the liquid into a cloudlike cheesecake. Watch for subtle wobbling at the center, signaling perfect doneness.
Allow the cheesecake to rest and settle after baking. Place in the refrigerator to develop deep, complex flavors and achieve a firm, elegant consistency.
Lavish the chilled cheesecake with a vibrant cherry topping. Sprinkle delicate lemon zest for a bright, citrusy accent that elevates the entire dessert.
Carefully release the springform pan, slice into elegant wedges, and present your stunning creation to eager dessert lovers.
Tips To Sweeten Up Cherry Lemon Cheesecake Recipe
Plating Cherry Lemon Cheesecake Recipe Nicely
How To Chill Cherry Lemon Cheesecake Recipe The Right Way
Print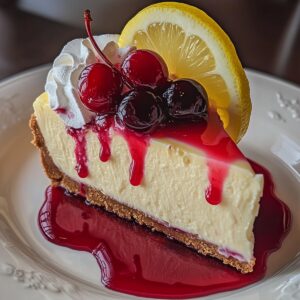
Tangy Cherry Lemon Cheesecake Recipe
- Total Time: 5 hours 20 minutes
- Yield: 7 1x
Description
Creamy cherry lemon cheesecake blends tangy citrus with sweet cherries in a delightful dessert. Silky layers and buttery crust promise a memorable culinary experience you’ll savor from first bite to last.
Ingredients
- 16 oz (454 g) cream cheese, softened
- 3 large eggs
- 1 cup granulated sugar
- ½ cup sour cream
- ¼ cup fresh lemon juice
- 1 ½ cups graham cracker crumbs
- 6 tbsps unsalted butter, melted
- ¼ cup granulated sugar
- 1 (21 oz / 595 g) can cherry pie filling
- 1 tbsp lemon zest
- Optional: additional lemon zest for garnish
Instructions
- Crust Preparation: Pulverize graham crackers with sugar and melted butter, pressing the mixture firmly into a springform pan’s base. Briefly toast in a preheated 325F oven until golden brown, creating a crisp foundation.
- Filling Creation: Whip cream cheese until silky smooth, gradually blending in sugar. Incorporate eggs, lemon juice, lemon zest, vanilla, and sour cream, ensuring a homogeneous and luxurious texture. Mix thoroughly to eliminate any potential lumps.
- Baking Process: Pour the velvety filling over the cooled crust, spreading evenly. Bake in the oven until edges become firm and the center maintains a delicate wobble, signaling the perfect custard-like consistency.
- Cooling Technique: After baking, leave the cheesecake in the oven with the door slightly open, allowing for a gradual temperature reduction. This method prevents surface cracking and promotes even cooling.
- Chilling and Setting: Once cooled to room temperature, refrigerate the cheesecake for several hours or overnight. This resting period enhances flavor development and ensures a perfect set.
- Final Presentation: Before serving, adorn the chilled cheesecake with a luscious layer of cherry pie filling. Optionally, sprinkle additional lemon zest for a vibrant, aromatic garnish. Carefully release the springform pan and slice into elegant portions.
Notes
- Prevent Cracking Surface: Cool the cheesecake gradually inside the oven with door slightly open to minimize surface cracks and ensure smooth, uniform texture.
- Ingredient Temperature Matters: Bring cream cheese and eggs to room temperature before mixing to achieve smooth, lump-free batter and consistent creamy consistency.
- Boost Flavor Depth: Let the cheesecake rest overnight in the refrigerator to develop more complex, integrated flavors and allow proper setting of the custard-like filling.
- Control Baking Moisture: Place a water bath underneath the cheesecake pan during baking to create humid environment, preventing dry edges and promoting even, gentle cooking process.
- Prep Time: 20 minutes
- Cook Time: 1 hour
- Category: Desserts
- Method: Baking
- Cuisine: American
Nutrition
- Serving Size: 7
- Calories: 450
- Sugar: 36 g
- Sodium: 300 mg
- Fat: 26 g
- Saturated Fat: 15 g
- Unsaturated Fat: 9 g
- Trans Fat: 0 g
- Carbohydrates: 47 g
- Fiber: 1 g
- Protein: 7 g
- Cholesterol: 90 mg
Liam O’Sullivan
Founder & Culinary Content Creator
Expertise
Recipe Development, Traditional Irish and European Cuisines, Food Styling and Photography, Culinary Education
Education
Dublin Institute of Technology (DIT) – School of Culinary Arts and Food Technology
Ballymaloe Cookery School
Isabella brings a global spark to the Craft Meats table. Born in Florence and trained at the Apicius International School of Hospitality, she blends classic Italian flavor with modern writing that’s easy to follow and hard to forget.
Her additional training at the Italian Chef Academy fueled her love for well-crafted dishes, especially ones that spotlight beautiful cuts of meat.
She’s a food writer with heart, and a deep love for storytelling through single recipes. Her goal? To help you cook with more confidence and a little more joy, no matter where you start.