Lemon Bar Cookie Cup Recipe That’s Tart and Sweet Combined
Baking delectable lemon bar cookie cups brings pure sunshine to your dessert table.
Sweet, tangy flavors dance together in these delightful treats.
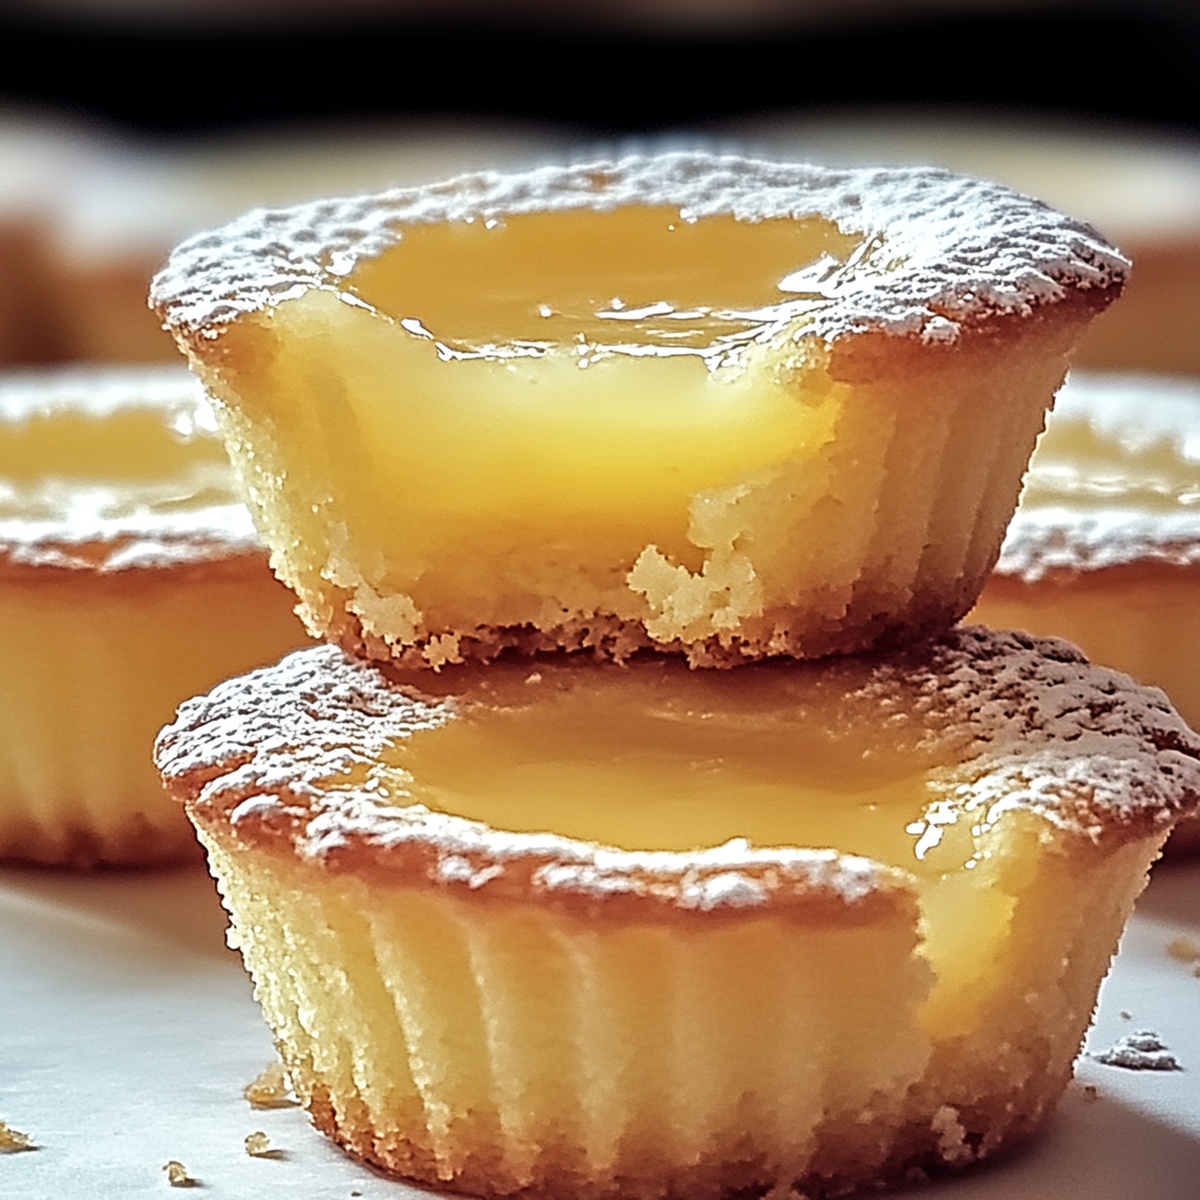
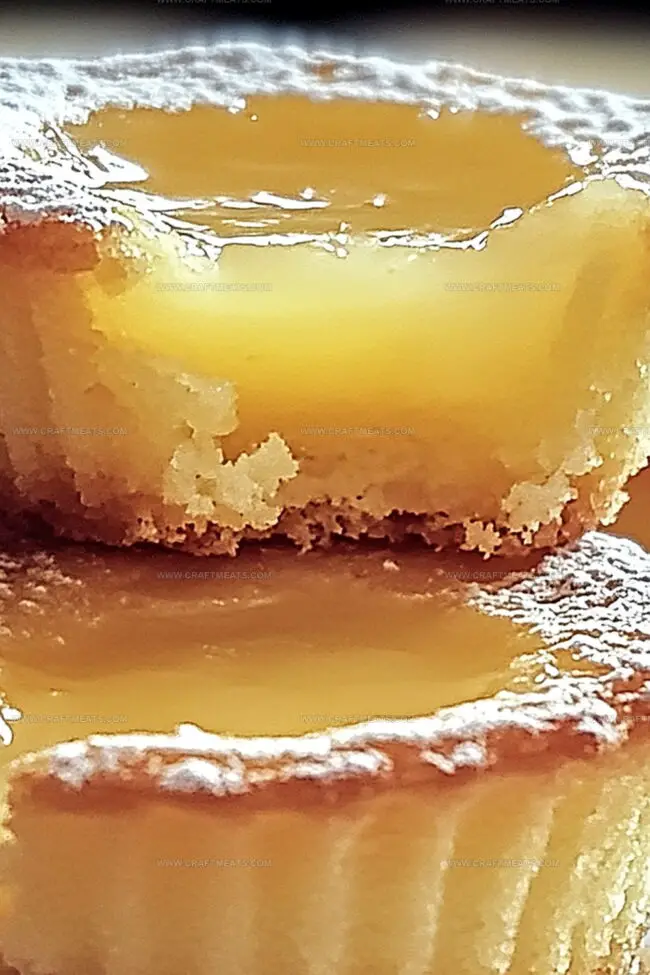
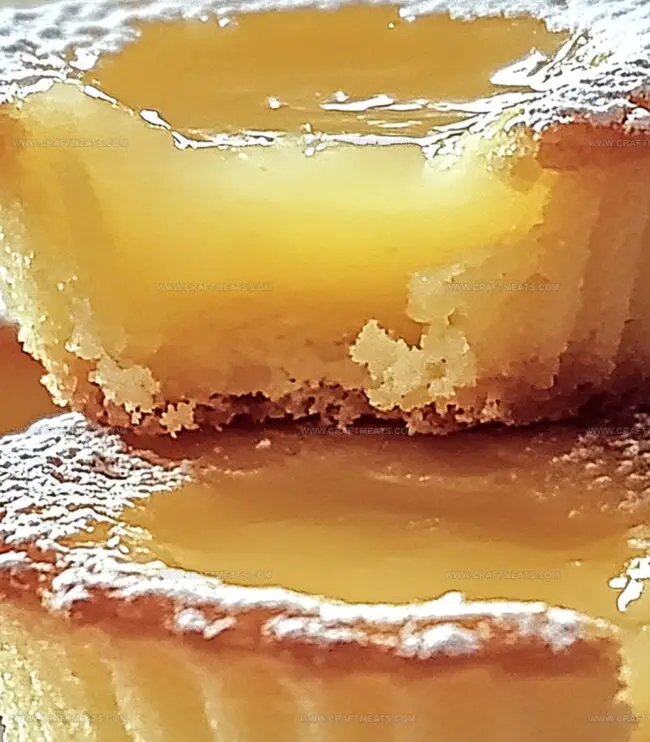
Crumbly cookie bases cradle creamy lemon filling, creating a perfect balance of textures.
Each bite bursts with refreshing citrus notes that make taste buds sing.
These elegant little desserts work magic at potlucks, afternoon teas, or casual gatherings.
Simple ingredients come together quickly to produce an impressive result.
Dive into this delectable recipe and watch everyone’s eyes light up with the first heavenly bite.
Quick Recipe Overview
Everything That Goes Into Mouthwatering Lemon Bar Cookie Cups
For Cookie Base:For Lemon Filling:For Finishing:Helpful Tools For Mouthwatering Lemon Bar Cookie Cups
How To Fill And Bake Mouthwatering Lemon Bar Cookie Cups
Create a soft, buttery dough by mixing butter and sugar until they become a creamy cloud. Blend in egg and vanilla for extra richness. Fold in flour mixture gently, transforming ingredients into a tender cookie base. Form small rounds and nestle them into mini muffin cavities, creating little nests ready for lemony magic.
Bake these golden beauties until their edges turn a delicate amber. Let them rest and settle, gently reshaping their centers if needed. Allow complete cooling, giving them time to develop a perfect crisp exterior.
Whisk together a sunshine-bright filling on the stovetop. Combine ingredients and stir constantly, watching the mixture transform into a silky, vibrant lemon cream. Cook until the texture becomes luxuriously thick and glossy.
Lovingly spoon the tangy lemon filling into each cooled cookie cup. Let the creamy center pool perfectly within the crisp cookie shell.
Dust these little delights with a snowfall of powdered sugar. Optional lemon zest sprinkle adds a bright, citrusy crown. Serve chilled for a refreshing dessert that sparkles with flavor.
Ways To Give Mouthwatering Lemon Bar Cookie Cups A Twist
How To Serve Mouthwatering Lemon Bar Cookie Cups At Parties
Best Way To Store Mouthwatering Lemon Bar Cookie Cups
Print
Tangy Lemon Bar Cookie Cups Recipe
- Total Time: 32 minutes
- Yield: 11 1x
Description
Lemon bar cookie cups blend zesty citrus with buttery shortbread in a delightful dessert. Classic Southern flavors merge seamlessly, creating a perfect treat you’ll savor with each sweet and tangy bite.
Ingredients
- 1 cup (227 g) unsalted butter, softened
- 1 large egg
- 1 cup (200 g) granulated sugar
- 2 ½ cups (313 g) all-purpose flour
- 1 tsp vanilla extract
- ½ tsp baking powder
- ¼ tsp salt
- ¾ cup (150 g) granulated sugar
- 2 large eggs
- ¼ cup (60 ml) fresh lemon juice (about 2 lemons)
- 2 tbsps (16 g) all-purpose flour
- 1 tsp lemon zest
- Powdered sugar (for dusting)
- Lemon zest or curls
Instructions
- Prepare Dough: Blend butter and sugar until fluffy, then integrate egg and vanilla. Softly incorporate flour, salt, and baking powder to form a uniform, pliable cookie dough.
- Shape Vessels: Roll dough into consistent spheres and position within mini muffin cavities. Gently press centers to craft cup-like formations with smooth, even edges.
- Initial Baking: Slide muffin tin into a 350°F oven. Bake cookie shells until peripheries transform to a pale golden tone, roughly 10-12 minutes. Remove and permit natural cooling, delicately reshaping indentations if necessary.
- Craft Lemon Curd: Whisk eggs, sugar, lemon juice, and zest in a saucepan over medium heat. Continuously stir until mixture thickens to a silky, custard-like texture that elegantly coats a utensil.
- Fill and Garnish: Once cookie shells have completely cooled, generously ladle lemon curd into each cup. Dust with a gossamer layer of powdered sugar and optional fresh lemon zest for a vibrant, sophisticated presentation.
Notes
- Choose Cold Butter: Use chilled butter for a flakier, more tender cookie cup texture, ensuring crisp edges and better structural integrity.
- Press Carefully: Gently press cookie dough into muffin tin using the back of a rounded measuring spoon or your fingertips to create even, smooth wells without tearing.
- Control Lemon Intensity: Adjust lemon zest and juice quantities to balance tartness, using fresh citrus for maximum flavor and brightness in the filling.
- Prevent Soggy Bottoms: Allow cookie shells to cool completely before adding lemon curd, preventing moisture absorption and maintaining a crisp, delicate base.
- Prep Time: 20 minutes
- Cook Time: 12 minutes
- Category: Desserts, Snacks
- Method: Baking
- Cuisine: American
Nutrition
- Serving Size: 11
- Calories: 300
- Sugar: 27 g
- Sodium: 80 mg
- Fat: 14 g
- Saturated Fat: 8 g
- Unsaturated Fat: 6 g
- Trans Fat: 0 g
- Carbohydrates: 40 g
- Fiber: 1 g
- Protein: 3 g
- Cholesterol: 50 mg
Liam O’Sullivan
Founder & Culinary Content Creator
Expertise
Recipe Development, Traditional Irish and European Cuisines, Food Styling and Photography, Culinary Education
Education
Dublin Institute of Technology (DIT) – School of Culinary Arts and Food Technology
Ballymaloe Cookery School
Isabella brings a global spark to the Craft Meats table. Born in Florence and trained at the Apicius International School of Hospitality, she blends classic Italian flavor with modern writing that’s easy to follow and hard to forget.
Her additional training at the Italian Chef Academy fueled her love for well-crafted dishes, especially ones that spotlight beautiful cuts of meat.
She’s a food writer with heart, and a deep love for storytelling through single recipes. Her goal? To help you cook with more confidence and a little more joy, no matter where you start.