Juicy Pineapple Cake Recipe That Brings the Tropics Home
Tropical sweet tooths can’t resist this delectable pineapple cake recipe that bursts with sunny flavors.
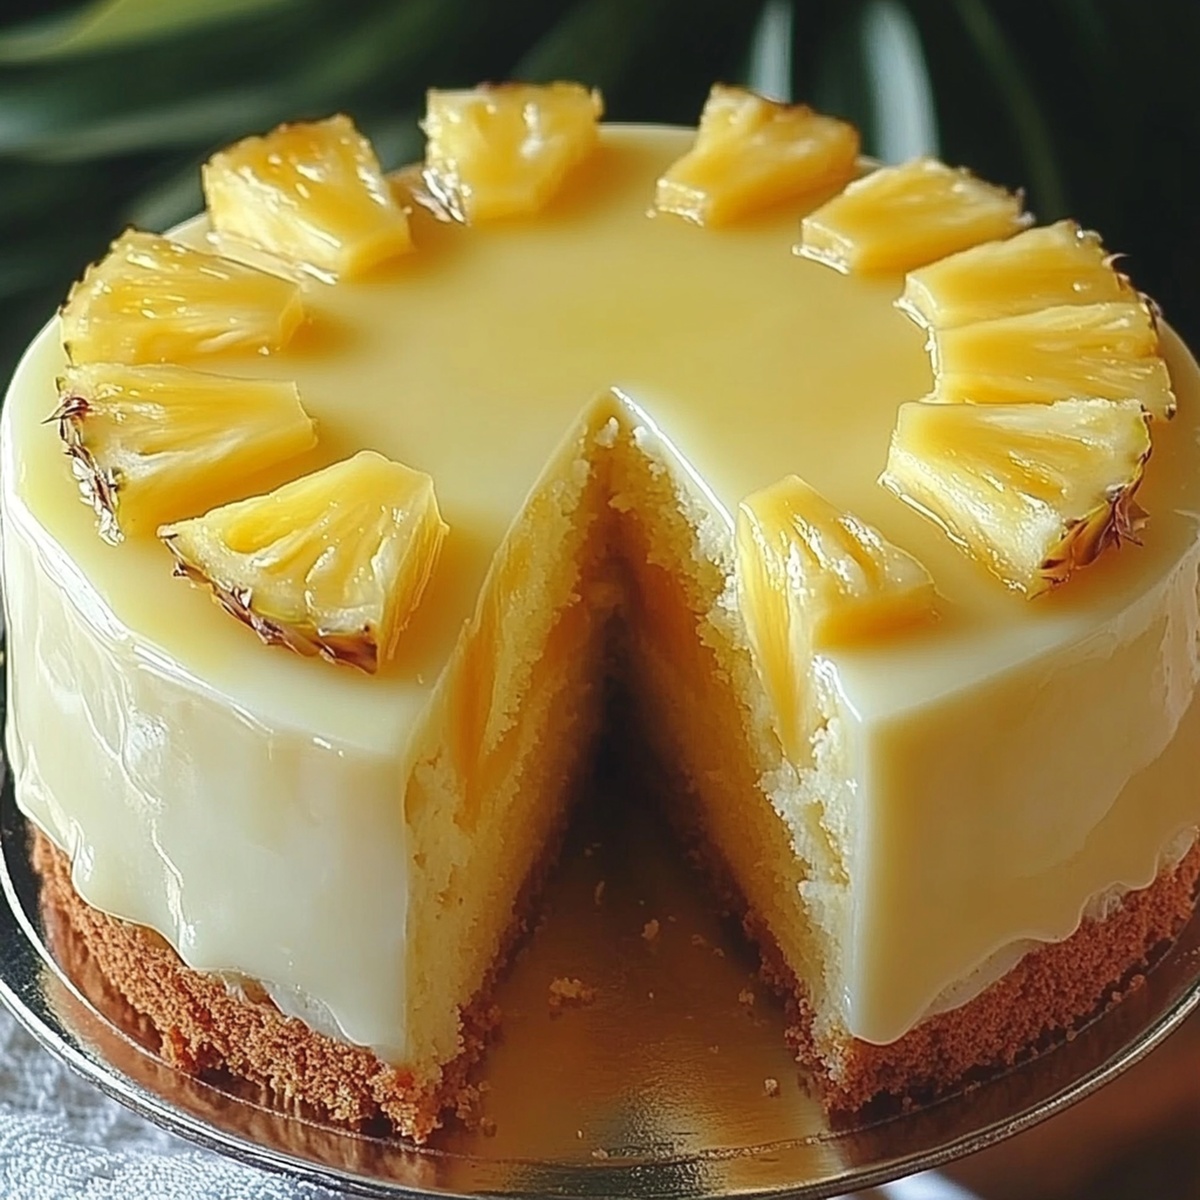
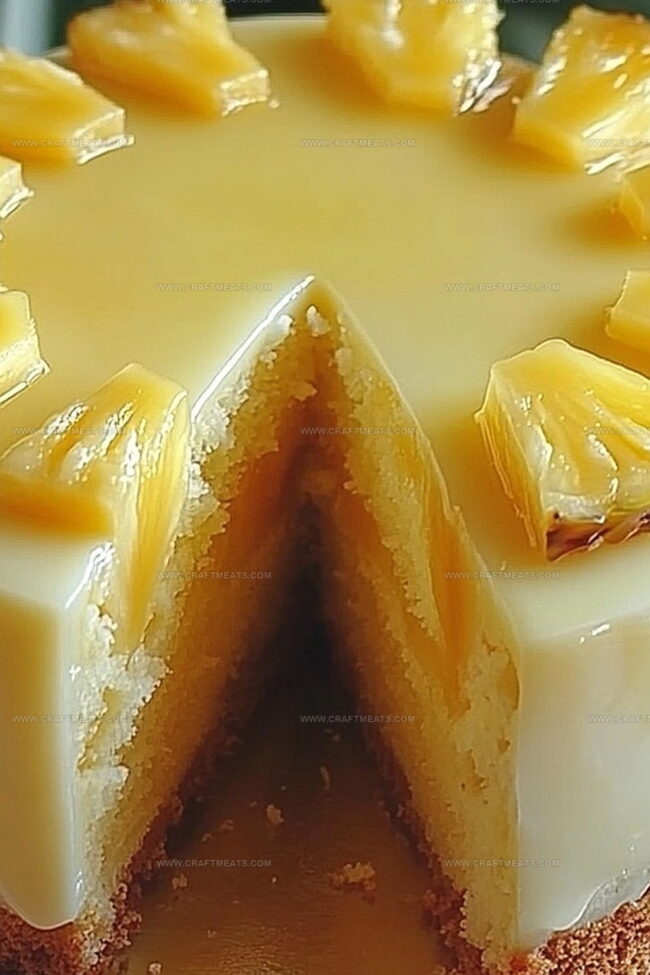
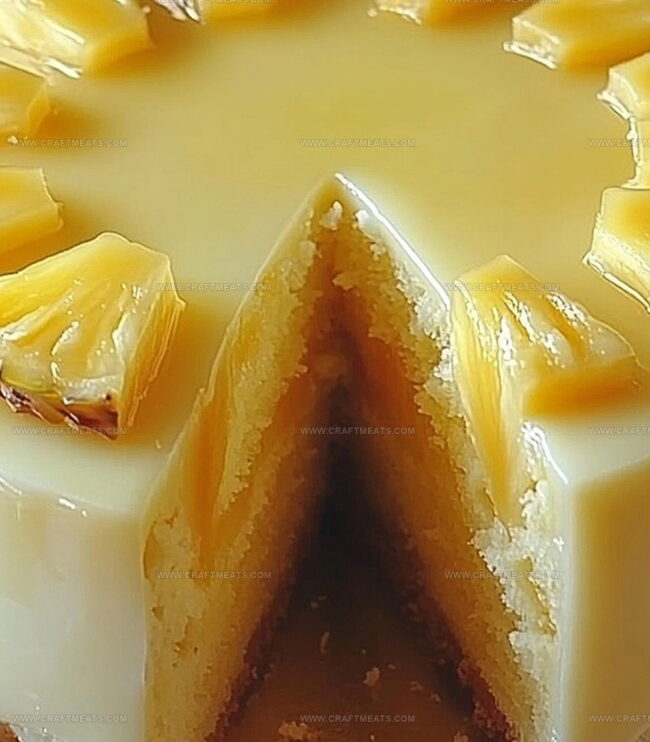
Ripe, golden pineapples mingle perfectly with tender cake layers, creating a mouthwatering dessert.
Each slice promises a delightful blend of tangy and sweet notes that dance across your palate.
Fresh ingredients blend seamlessly to craft a remarkably simple yet impressive treat.
The fragrant pineapple weaves through soft, pillowy cake crumb with irresistible charm.
Creamy frosting adds a luxurious finish that elevates this dessert from ordinary to extraordinary.
Bake this crowd-pleasing cake and watch smiles bloom around the table.
Quick Recipe Overview
What Goes In Juicy Pineapple Cake
For Dry Ingredients:For Wet Ingredients:For Glaze Components:Tools You’ll Need For Juicy Pineapple Cake
How To Bake Juicy Pineapple Cake Smoothly
Warm up the kitchen companion to a cozy 350 degrees. Prepare a rectangular baking canvas with a light butter massage and soft flour dusting.
Combine dry ingredients in a spacious mixing bowl. Blend wet components with a gentle touch, stirring until everything whispers together without aggressive mixing. The crushed pineapple brings tropical magic to the mix.
Pour the sunshine-colored batter into the waiting pan. Let the oven work its magic for 30-35 minutes until a slender wooden tester emerges clean and promising.
In a petite saucepan, dance butter and sweet companions over medium warmth. Stir constantly as the mixture bubbles and transforms into a silky liquid blanket.
While the cake still radiates warmth, create a landscape of tiny holes across its surface. Drench the cake with the golden glaze, allowing it to seep into every delicious crevice.
Allow the cake to cool completely. Slice into generous portions. Optional tropical touches like billowy cream or toasted coconut can elevate this delightful creation to new heights of deliciousness.
Tips For Better Juicy Pineapple Cake Texture
Serving Juicy Pineapple Cake The Easy Way
Juicy Pineapple Cake Storage Made Simple
Print
Tropical Pineapple Cake Recipe
- Total Time: 35 minutes
- Yield: 11 1x
Description
Tropical pineapple cake blends sweet Hawaiian flavors with moist, tender crumb. Delightful dessert brings sunshine to your table with rich cream cheese frosting and caramelized fruit layers.
Ingredients
- 1 can (20 oz/567 g) crushed pineapple in juice
- 2 large eggs
- 2 cups (250 g) all-purpose flour
- 1 cup (200 g) granulated sugar
- ½ cup (100 g) brown sugar
- 2 tsps baking soda
- ½ tsp salt
- 1 tsp vanilla extract
- ¼ cup (60 g) unsalted butter
- ½ cup (100 g) granulated sugar
- ½ cup (120 ml) pineapple juice
- ¼ cup (60 ml) heavy cream
Instructions
- Preheat and Prepare: Heat the oven to 350F (175C). Grease a 9×13-inch pan with butter and dust with flour, or line with parchment paper to ensure easy cake release.
- Blend Dry Components: In a large mixing bowl, thoroughly combine flour, white and brown sugars, baking soda, and salt until evenly distributed, creating a uniform dry mixture.
- Create Batter: Gently fold eggs and vanilla extract into the dry ingredients. Carefully incorporate crushed pineapple and its juice, maintaining a smooth consistency without overmixing to preserve the cake’s delicate texture.
- Bake to Perfection: Pour the batter into the prepared pan, spreading evenly. Bake for 35 minutes, testing doneness by inserting a toothpick into the center – it should come out clean with minimal crumbs.
- Craft Pineapple Glaze: In a saucepan, melt butter over medium heat. Whisk in sugar, pineapple juice, and cream, stirring continuously until the mixture thickens and develops a glossy consistency.
- Infuse and Glaze: Once baked, remove the cake and puncture the surface with a fork. Pour the warm glaze over the cake, ensuring it seeps into the small holes for maximum flavor penetration.
- Cool and Serve: Let the cake cool completely, allowing the glaze to set and flavors to meld. Slice and present, optionally garnishing with a dollop of whipped cream or a sprinkle of toasted coconut for an elegant finish.
Notes
- Preserve Moisture: Avoid overmixing the batter to maintain the cake’s soft, tender texture and prevent a dense, tough result.
- Pineapple Precision: Drain crushed pineapple slightly to control moisture content, ensuring the cake doesn’t become soggy while retaining its juicy character.
- Glaze Absorption Technique: Create multiple fork punctures while the cake is still warm to maximize glaze penetration and enhance overall flavor intensity.
- Temperature Control: Let the cake cool completely before slicing to allow the glaze to set properly and develop a rich, cohesive taste profile.
- Prep Time: 10 minutes
- Cook Time: 25 minutes
- Category: Desserts
- Method: Baking
- Cuisine: American
Nutrition
- Serving Size: 11
- Calories: 293
- Sugar: 34 g
- Sodium: 204 mg
- Fat: 12 g
- Saturated Fat: 7 g
- Unsaturated Fat: 4 g
- Trans Fat: 0 g
- Carbohydrates: 43 g
- Fiber: 1 g
- Protein: 3 g
- Cholesterol: 44 mg
Liam O’Sullivan
Founder & Culinary Content Creator
Expertise
Recipe Development, Traditional Irish and European Cuisines, Food Styling and Photography, Culinary Education
Education
Dublin Institute of Technology (DIT) – School of Culinary Arts and Food Technology
Ballymaloe Cookery School
Isabella brings a global spark to the Craft Meats table. Born in Florence and trained at the Apicius International School of Hospitality, she blends classic Italian flavor with modern writing that’s easy to follow and hard to forget.
Her additional training at the Italian Chef Academy fueled her love for well-crafted dishes, especially ones that spotlight beautiful cuts of meat.
She’s a food writer with heart, and a deep love for storytelling through single recipes. Her goal? To help you cook with more confidence and a little more joy, no matter where you start.