Mini Red Velvet Cheesecake Recipe for Sweet Gatherings
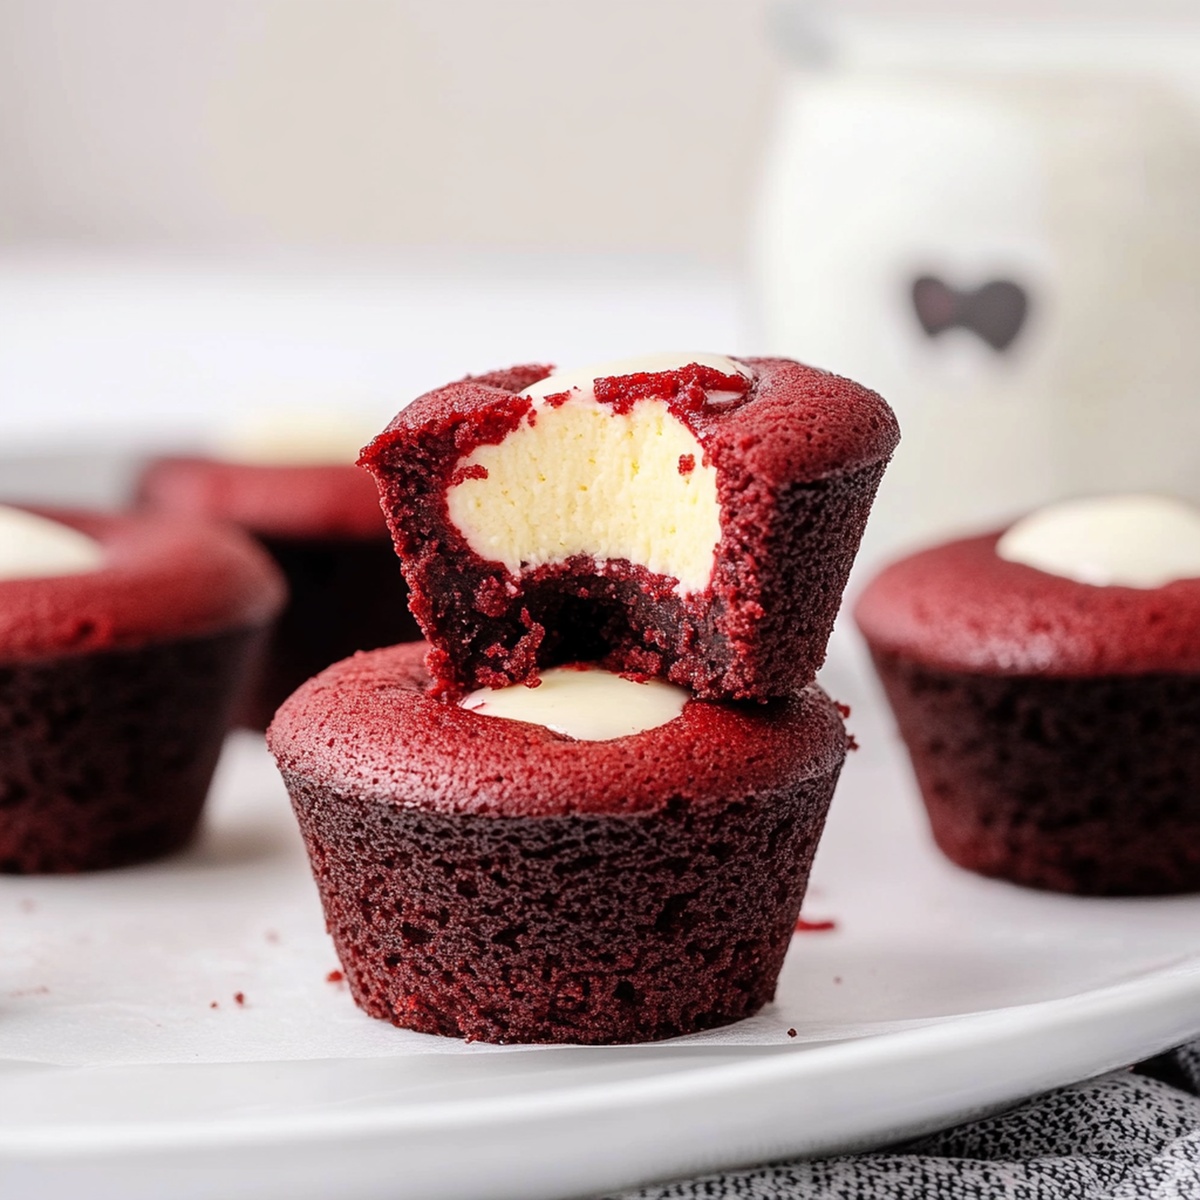
Indulgence takes center stage with this mini red velvet cheesecake that promises pure dessert bliss.
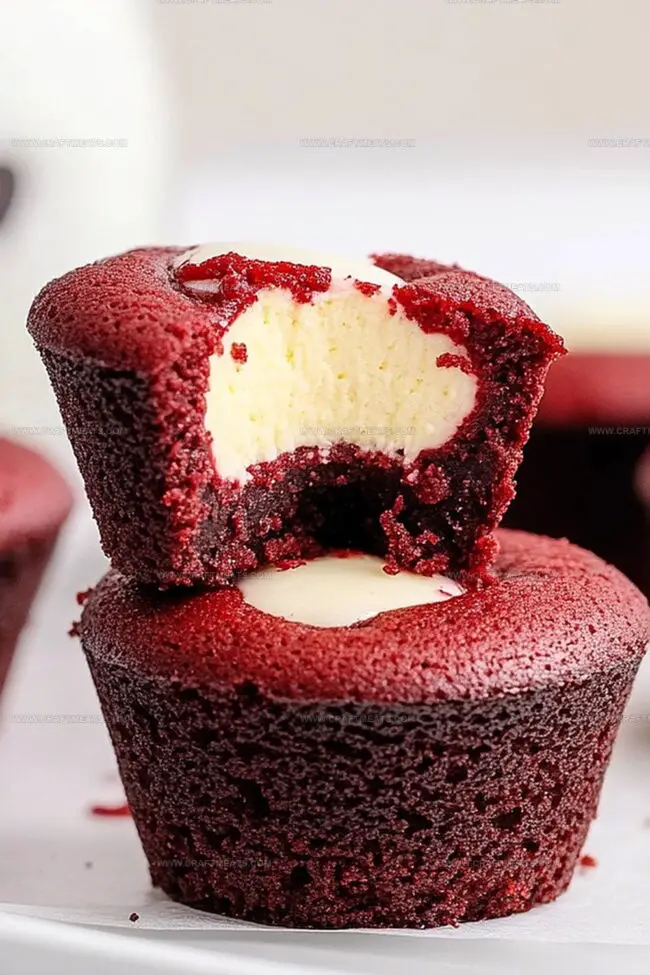
Creamy layers of velvety goodness melt seamlessly into a rich, decadent treat.
Chocolate undertones dance with smooth cream cheese, creating a dessert that whispers pure elegance.
Each bite brings a delightful combination of textures and flavors that will make your taste buds sing.
The vibrant red color adds a dramatic touch to this irresistible mini cheesecake.
Perfectly portioned and incredibly luxurious, these little delights are sure to impress at any gathering.
Dive into this delectable recipe and experience a dessert that transforms an ordinary moment into something extraordinary.
Quick Recipe Overview
Ingredients For Mini Red Velvet Cheesecake
For The Crust:For The Cheesecake Filling:For Decoration And Topping:Tools And Items For Mini Red Velvet Cheesecake
How To Make Mini Red Velvet Cheesecake At Home
Crush Oreo cookies into fine crumbs and blend with melted butter. Press the mixture firmly into muffin liners, creating a solid base. Quickly bake to set the foundation for your delightful mini cheesecakes.
Whip cream cheese until silky smooth. Blend in sugar, creating a luxurious mixture. Gently incorporate egg, vanilla, and sour cream. Add a splash of rich cocoa and vibrant red food coloring, transforming the batter into a stunning crimson delight.
Carefully pour the red velvet mixture into each prepared liner, filling them almost to the top. Slide the tray into a warm oven, allowing the cheesecakes to bake until they’re set with a gentle wobble in the center.
Let the mini cheesecakes rest at room temperature, then transfer to the refrigerator. Allow them to chill and firm up, developing a perfect creamy texture.
Adorn each mini cheesecake with a cloud of whipped cream or delicate cream cheese frosting. Sprinkle with chocolate shavings or a dusting of cocoa for an elegant presentation that will make mouths water.
Tips And Variations For Mini Red Velvet Cheesecake
How To Serve Mini Red Velvet Cheesecake Sweetly
Storage Tips For Mini Red Velvet Cheesecake
Print
Velvety Mini Red Velvet Cheesecake Recipe
- Total Time: 2 hours 35 minutes
- Yield: 11 1x
Description
Irresistible mini red velvet cheesecake delights dessert enthusiasts with its luxurious layers of creamy filling and rich cocoa base. Chocolate lovers will adore this elegant miniature treat that combines classic southern charm with sophisticated cheesecake technique.
Ingredients
- 8 oz (225 g) cream cheese, softened
- 1 large egg, room temperature
- ⅓ cup (65 g) granulated sugar
- 12 Oreo cookies, crushed (filling removed)
- 3 tbsps unsalted butter, melted
- 2 tbsps sour cream
- 1 tbsp unsweetened cocoa powder
- 1 tsp red food coloring (gel or liquid)
- 1 tsp vanilla extract
- Whipped cream or cream cheese frosting
- Chocolate shavings or red sprinkles (optional)
Instructions
- Prep Station: Line a 12-cup muffin tin with paper liners and preheat oven to 325F (160C), ensuring all equipment is ready for precise baking.
- Crust Formation: Combine Oreo crumbs with melted butter, pressing one tablespoon firmly into each liner’s base. Toast crusts for 5 minutes, then cool completely to establish a robust foundation.
- Filling Composition: Whip cream cheese until luxuriously smooth, gradually blending in granulated sugar. Incorporate egg, vanilla extract, and sour cream with minimal agitation, maintaining a delicate texture.
- Color Transformation: Sift cocoa powder into the mixture, then introduce red food coloring, stirring until the batter reaches a vivid crimson tone with uniform consistency.
- Batter Distribution: Carefully fill each crust about three-quarters full, smoothing surfaces with the back of a spoon to create an impeccable finish.
- Thermal Treatment: Bake mini cheesecakes for 18-20 minutes, monitoring for centers that stabilize and cease wobbling when gently nudged. Rest in pan for 10 minutes post-baking.
- Cooling and Setting: Transfer cheesecakes to a wire rack, allowing complete cooling at room temperature, then refrigerate for a minimum of 2 hours to achieve optimal density and structure.
- Artistic Garnishing: Adorn each mini cheesecake with delicate whipped cream or cream cheese frosting swirls. Enhance with chocolate shavings, festive red sprinkles, or a light cocoa powder dusting for an elegant presentation.
Notes
- -Prevent Cracking: Avoid overmixing cheesecake batter to maintain smooth texture and minimize surface cracks during baking.
- -Temperature Control: Allow cream cheese to reach room temperature before mixing to ensure silky, lump-free filling and consistent blending.
- -Moisture Management: Use a water bath or place a pan of water in the oven to create humid environment, preventing cheesecake from drying out and cracking.
- -Gentle Handling: Cool cheesecakes gradually by leaving them in the turned-off oven with door slightly open, reducing sudden temperature changes that cause surface imperfections.
- Prep Time: 20 minutes
- Cook Time: 23 hours
- Category: Desserts, Snacks
- Method: Baking
- Cuisine: American
Nutrition
- Serving Size: 11
- Calories: 180
- Sugar: 10 g
- Sodium: 150 mg
- Fat: 9 g
- Saturated Fat: 5 g
- Unsaturated Fat: 4 g
- Trans Fat: 0 g
- Carbohydrates: 22 g
- Fiber: 1 g
- Protein: 3 g
- Cholesterol: 30 mg
Liam O’Sullivan
Founder & Culinary Content Creator
Expertise
Recipe Development, Traditional Irish and European Cuisines, Food Styling and Photography, Culinary Education
Education
Dublin Institute of Technology (DIT) – School of Culinary Arts and Food Technology
Ballymaloe Cookery School
Isabella brings a global spark to the Craft Meats table. Born in Florence and trained at the Apicius International School of Hospitality, she blends classic Italian flavor with modern writing that’s easy to follow and hard to forget.
Her additional training at the Italian Chef Academy fueled her love for well-crafted dishes, especially ones that spotlight beautiful cuts of meat.
She’s a food writer with heart, and a deep love for storytelling through single recipes. Her goal? To help you cook with more confidence and a little more joy, no matter where you start.