Dried Orange Slice Recipe That’s Perfect for Gifts or Snacks
Crafting dried orange slices brings a burst of citrusy magic to your kitchen.
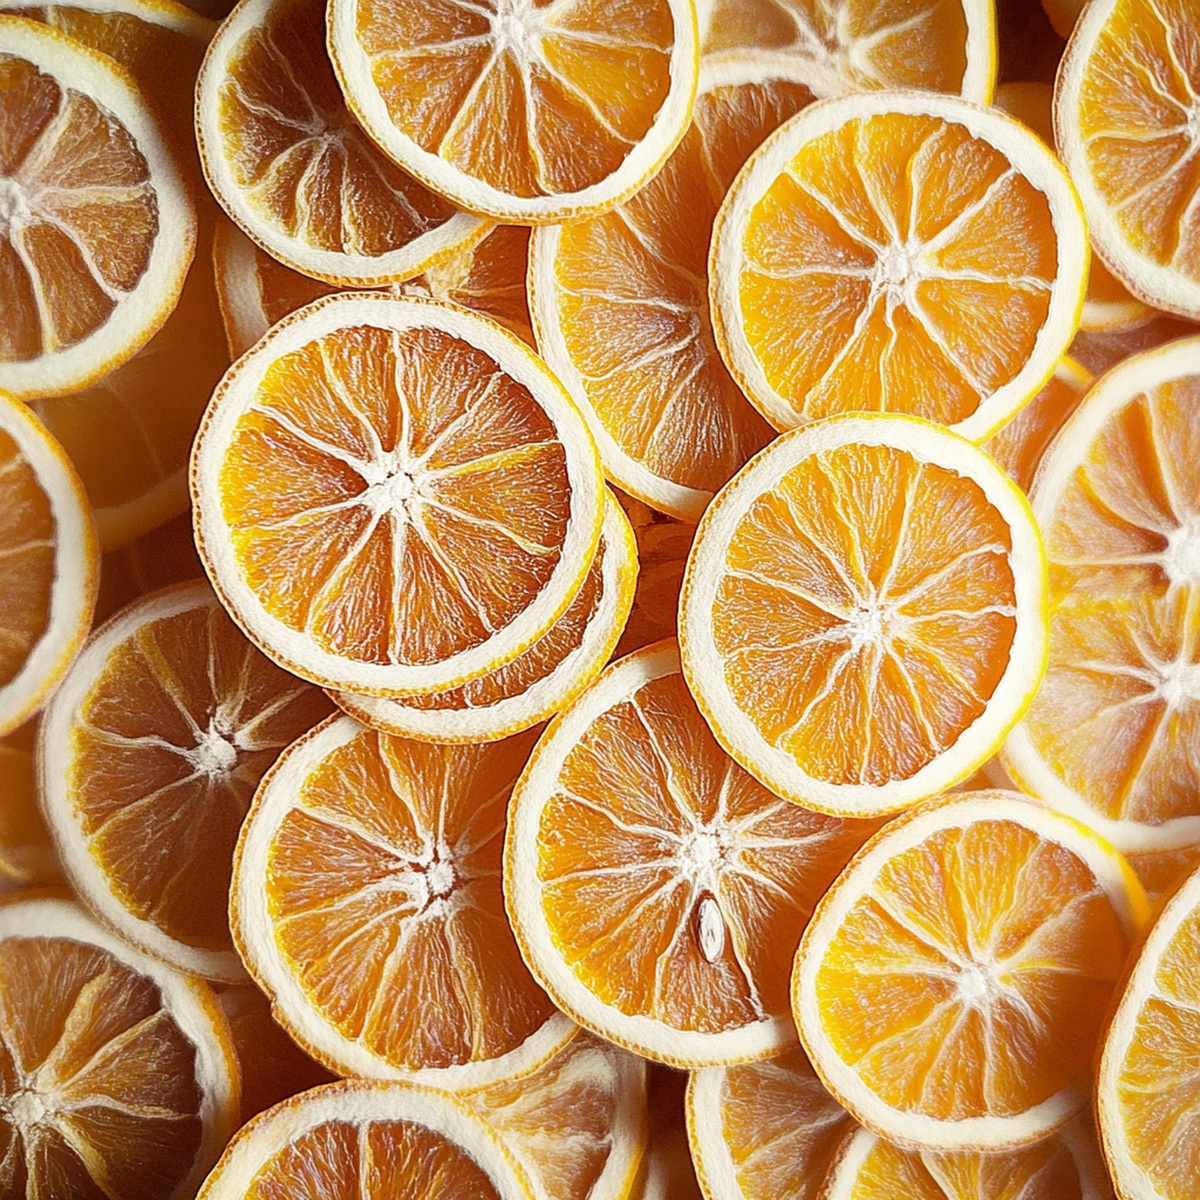
These vibrant, sun-kissed dried orange slices transform ordinary snacks into gourmet delights.
Dehydrating oranges concentrates their natural sweetness and creates a versatile ingredient for baking, garnishing, or enjoying as a standalone treat.
The process is surprisingly simple and requires minimal equipment.
Bakers and food enthusiasts love how these delicate, translucent slices can elevate both sweet and savory dishes.
A handful of dried orange slices can add a sophisticated touch to cocktails, teas, and desserts.
Embark on this delightful culinary adventure and unlock a world of zesty, aromatic possibilities.
Quick Recipe Overview
Dried Orange Slices Ingredient List
For Citrus Base:For Preparation Surface:For Drying Equipment:Tools To Slice And Dry Orange Slices At Home
Steps To Make Dried Orange Slices Crisp And Bright
Cozy your kitchen with a gentle oven warmth, setting the temperature low and inviting. Line a baking tray with a soft protective layer.
Grab plump, vibrant oranges and create delicate, translucent circles with smooth, consistent edges. Each slice should whisper of summer’s golden glow.
Spread orange rounds across the tray like colorful puzzle pieces, ensuring no slice touches another. Space creates magic in the drying process.
Slide the tray into the oven’s embrace. Watch as oranges gradually transform, turning from juicy to crystalline. Gently flip each slice every hour, allowing even dehydration and rich color development.
Once oranges reach a leathery, translucent state, remove from oven. Let them rest and cool completely. Tuck these sunshine-infused slices into a sealed container, ready to sprinkle magic into future culinary adventures.
Ideas To Use Dried Orange Slices Creatively
Serving Dried Orange Slices For Snacks Or Decor
Storing Dried Orange Slices So They Stay Crisp
Keep dried orange slices in a cool, dark pantry in sealed glass jars to maintain their vibrant color and crisp texture.
Print
Vibrant Dried Orange Slices Recipe
- Total Time: 3 hours 10 minutes 4 hours 10 minutes
- Yield: 33 1x
Description
Homemade dried orange slices elevate culinary experiences with Mediterranean charm. Citrus enthusiasts can easily create these delicate, translucent garnishes for desserts, cocktails, and seasonal decorations.
Ingredients
- 34 oranges (navel, Valencia, or blood oranges)
- 1 wire rack
- 1 baking sheet
- Parchment paper
- 1 mandoline slicer (optional)
- 1 sharp knife
Instructions
- Preparation: Thoroughly wash oranges under cool water, eliminating any external residue or protective wax layer.
- Slicing: Meticulously cut oranges into delicate, uniform translucent rounds using a sharp mandoline, maintaining consistent 1/8-inch thickness to ensure balanced dehydration.
- Arrangement: Distribute orange medallions across a parchment-lined baking sheet, positioning slices with minimal spacing to facilitate optimal heat circulation and even drying.
- Oven Configuration: Position rack in center position and preheat oven to 200°F, creating a gentle, controlled environment for moisture extraction.
- Dehydration Process: Place prepared baking sheet in preheated oven, rotating sheet and flipping slices every hour to guarantee uniform drying and prevent potential texture inconsistencies.
- Monitoring: Observe transformation over 3-4 hours, checking for subtle edge curling and leathery, flexible texture with no visible moisture – indicating complete dehydration.
- Cooling and Storage: Remove baking sheet, allowing slices to cool completely at room temperature, then transfer to an airtight, opaque glass container stored in a dark, cool pantry for optimal preservation up to two weeks.
Notes
- Slice Thickness Matters: Maintain precise 1/8-inch thickness for consistent dehydration and uniform texture throughout each orange slice.
- Temperature Control is Critical: Keep oven temperature steady at 200°F to prevent burning and ensure gentle moisture extraction without caramelization.
- Rotate for Even Drying: Flip slices every hour to prevent uneven dehydration and guarantee uniform leathery texture across all pieces.
- Storage Preservation Technique: Use airtight glass container in cool, dark space to extend shelf life and maintain crisp, vibrant citrus quality for maximum two weeks.
- Prep Time: 10 minutes
- Cook Time: 34 hours
- Category: Snacks, Desserts
- Method: Baking
- Cuisine: American
Nutrition
- Serving Size: 33
- Calories: 30
- Sugar: 6g
- Sodium: 0mg
- Fat: 0g
- Saturated Fat: 0g
- Unsaturated Fat: 0g
- Trans Fat: 0g
- Carbohydrates: 8g
- Fiber: 2g
- Protein: 1g
- Cholesterol: 0mg
Liam O’Sullivan
Founder & Culinary Content Creator
Expertise
Recipe Development, Traditional Irish and European Cuisines, Food Styling and Photography, Culinary Education
Education
Dublin Institute of Technology (DIT) – School of Culinary Arts and Food Technology
Ballymaloe Cookery School
Isabella brings a global spark to the Craft Meats table. Born in Florence and trained at the Apicius International School of Hospitality, she blends classic Italian flavor with modern writing that’s easy to follow and hard to forget.
Her additional training at the Italian Chef Academy fueled her love for well-crafted dishes, especially ones that spotlight beautiful cuts of meat.
She’s a food writer with heart, and a deep love for storytelling through single recipes. Her goal? To help you cook with more confidence and a little more joy, no matter where you start.